Using SelecType
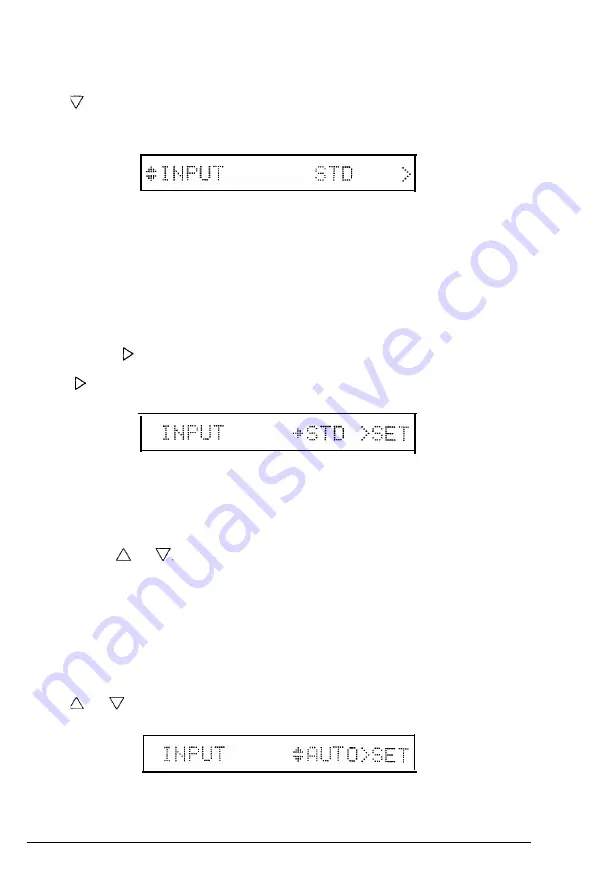
Press until the INPUT option appears on the display, as shown
below.
The display shows one of the choices in the INPUT option to the
right. Most options have further levels, called submenus, or a list of
choices connected to the option. Some options, like the SUB CONFIG
option, may display only the main option until you enter the
submenu. And some options, like the VERSION option, simply
display information about your printer.
You use the button to enter the next level of an option.
Press enter the next level of the INPUT option.
The icon to the left of STD indicates that STD is selected, and the
message SET appears to the right of the option.
In the INPUT option, you can display any of the choices listed below
by pressing or .
STD
OPT
AUTO
OPT appears only when you have installed the optional multi-media
feeder.
Press or to move to AUTO. Your display should look like this:
4-8
SelecType
Summary of Contents for Action Scanner II
Page 1: ......
Page 2: ......
Page 11: ...X ...
Page 197: ...Interface Specifications 8 14 Technical Specifications ...
Page 251: ...HP Emulation Mode HP Roman 8 Set Symbol Set ID 8U Character Samples and Symbol Sets C 9 ...
Page 256: ...LQ and FX Emulation Modes Pc USA C 14 Character Samples and Symbol Sets ...
Page 297: ......
Page 298: ......
Page 299: ...Epson America Inc 20770 Madrona Avenue Torrance CA 90503 Printed in Japan 91 11 30 ...


