Capturing and Printing dataPAC Screens
dataPAC User’s Guide
101
4.
Under Transfer Device, select the COM port that the dataPAC is connected to, or the
drive letter of the card drive.
To transfer with a serial cable, select one of the COM options. To transfer with a
PCMCIA drive, select the drive letter of that device.
5.
Select a baud rate for transferring the images, then click OK.
6.
From the File menu, choose Unload Bitmaps.
The message “Unloading Bitmaps” appears on the status line at the bottom of your
screen. The Utility transfers the images and displays them on the screen. You can view
the transferred images while the computer continues to transfer the other images.
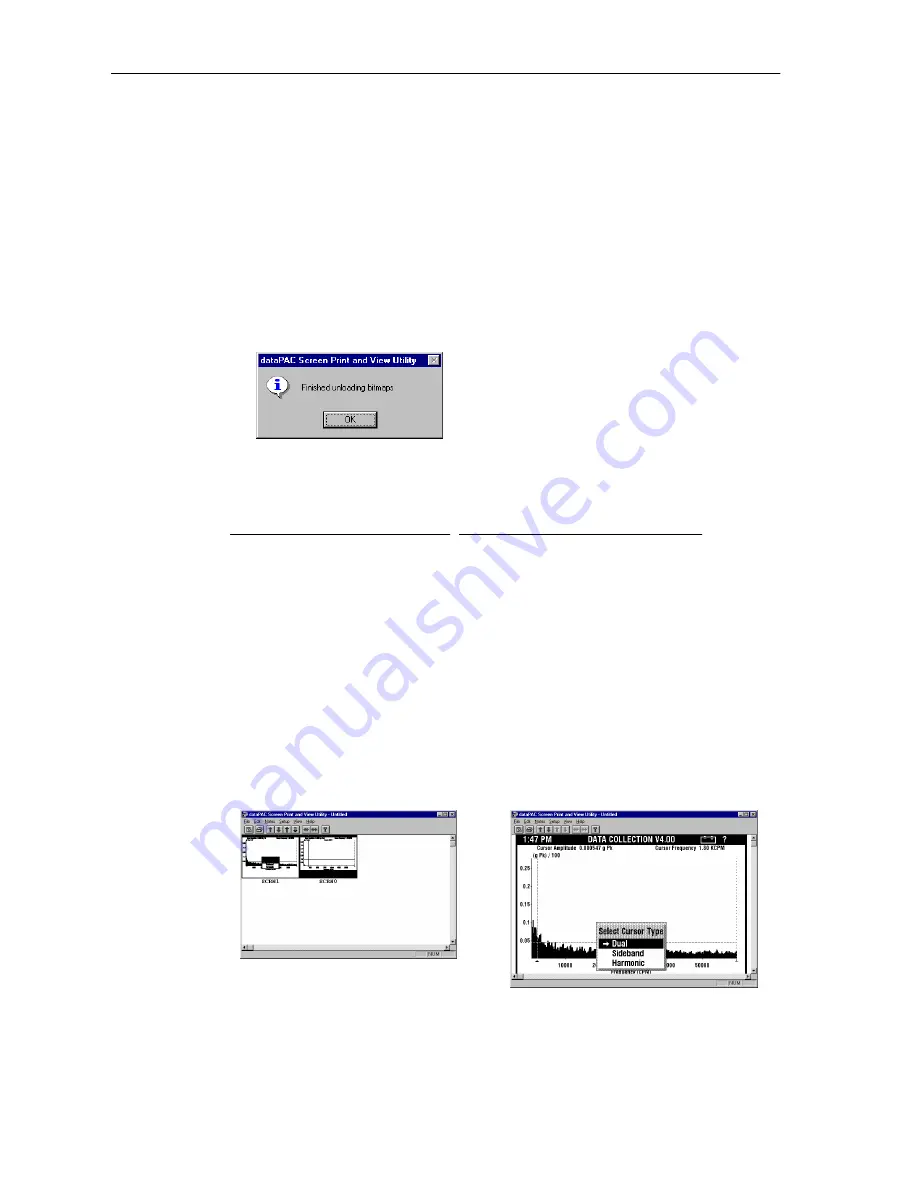
When the computer displays this message, the transfer is complete.
Error messages in dataPAC Screen Print and View Utility
Viewing Captured Screens on your Computer
After the computer transfers the images, they are displayed on the screen in either multiple
image mode or single image mode.
Below are the steps for enlarging, reducing, printing, copying and deleting screen images
using the dataPAC Screen Print and View Utility.
Message
Solution
Screen ____ cannot be transferred
because a duplicate screen name
exists.
Either delete or rename the screen in the
dataPAC 1500 Screen Print and View
Utility.
A serial communications failure
occurred while attempting to unload
bitmaps.
Make sure that the settings on the
Unload Device (Setup menu) on the
dataPAC 1500 Screen Print and View
Utility are correct. Make sure the
dataPAC is securely connected to the
computer.
Artisan Technology Group - Quality Instrumentation ... Guaranteed | (888) 88-SOURCE | www.artisantg.com
Artisan Technology Group - Quality Instrumentation ... Guaranteed | (888) 88-SOURCE | www.artisantg.com


