51
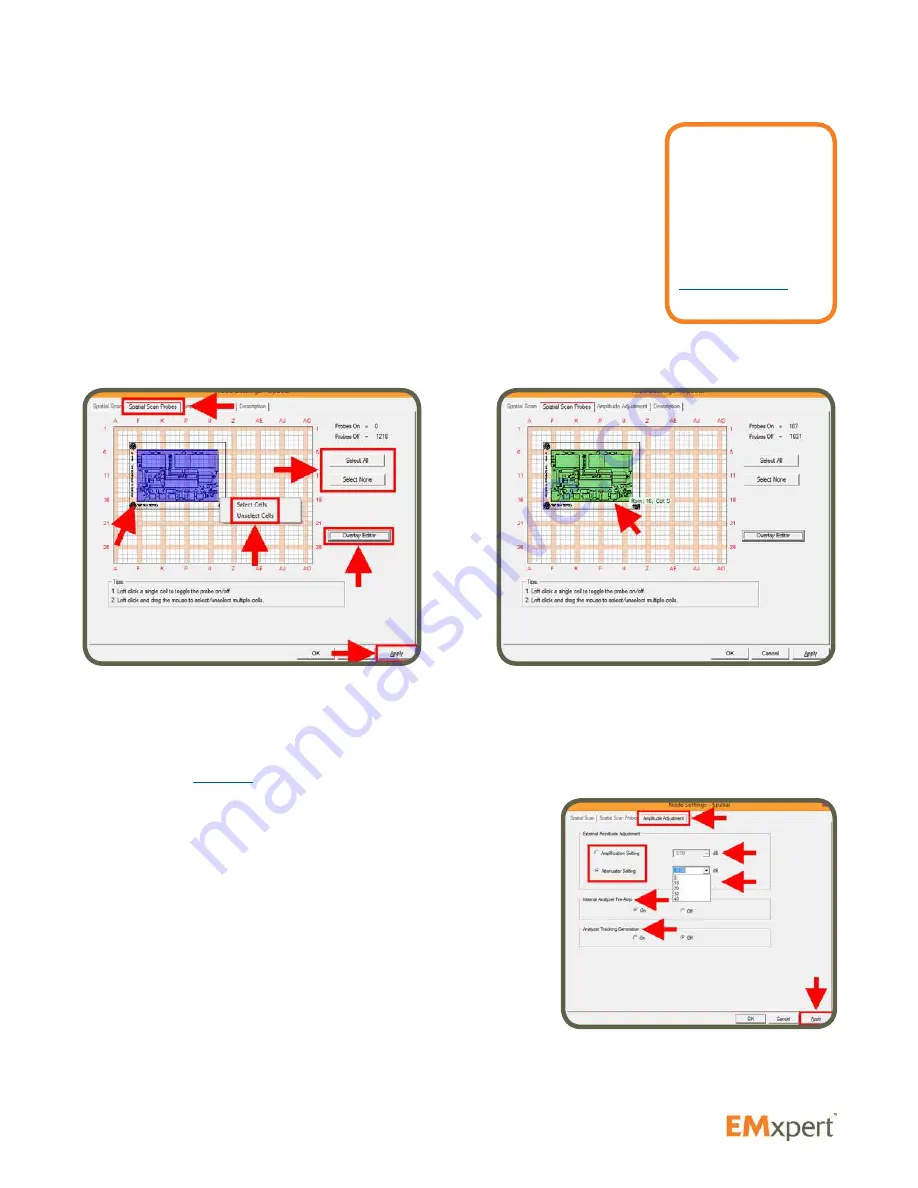
Spatial Scan Probes Tab
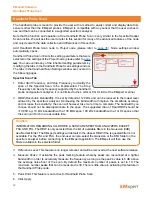
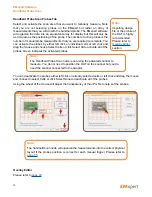
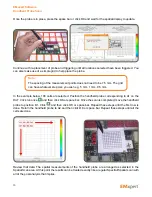
Select and activate all of the probes under the DUT. You can activate the probes
by either left click on individual cells or left click and drag the mouse and choose
Select Cells or click Select All to activate all of the probes. Green indicates the
activated probes.
You can deactivate the probes either left click on already selected cells or left
click and drag the mouse and choose Unselect Cells or click Select None to
deactivate all of the probes.
When you mouse over the grid, row and column coordinates are displayed.
Using the wheel of the mouse will adjust the transparency of the JPG file to help
set the probes.
It is important to activate all of the probes under the DUT to have a complete view of the emissions on
the DUT.
Overlay Editor
Please refer to
page 40
.
Amplitude Adjustment Tab
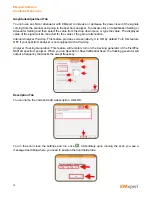
You can use an LNA or attenuator with EMxpert to increase
or decrease the power level of the signals coming from the
scanner and going to the spectrum analyzer. To activate click on
Amplification Setting or Attenuator Setting and then select the
value from the drop down menu or type the value. The displayed
value of the signal will be corrected for the value of the gain or
attenuation.
Internal Analyzer Pre-Amp:
This feature provides extra sensitivity.
It is ON by default. Turn this feature OFF if your spectrum analyzer
is not equipped with a Pre-Amp.
Analyzer Tracking Generation:
This feature will remotely turn on the tracking generator of the FieldFox
N9912A spectrum analyzer. When you run Spectral or Spectral/Spatial Scan, the tracking generator will
output a frequency that tracks the swept frequency.
EMxpert Software
Spatial Scan
Note:
Importing design
file or the picture of
the DUT is highly
recommended.
Please refer to
Overlay Editor
section.


