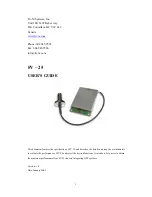
background image

ETS1 ver. 1.22

MOXA UPort 1450I  -  

RS-485 to RS-232 (via USB)

Specifications and product information for the Moxa Uport 1450I is available on Moxa's 
web site:

http://www.moxa.com/Product/UPort_1410_1450.htm

The displays in this document is from Windows Vista and may diverge from other 
Windows versions (and languages).

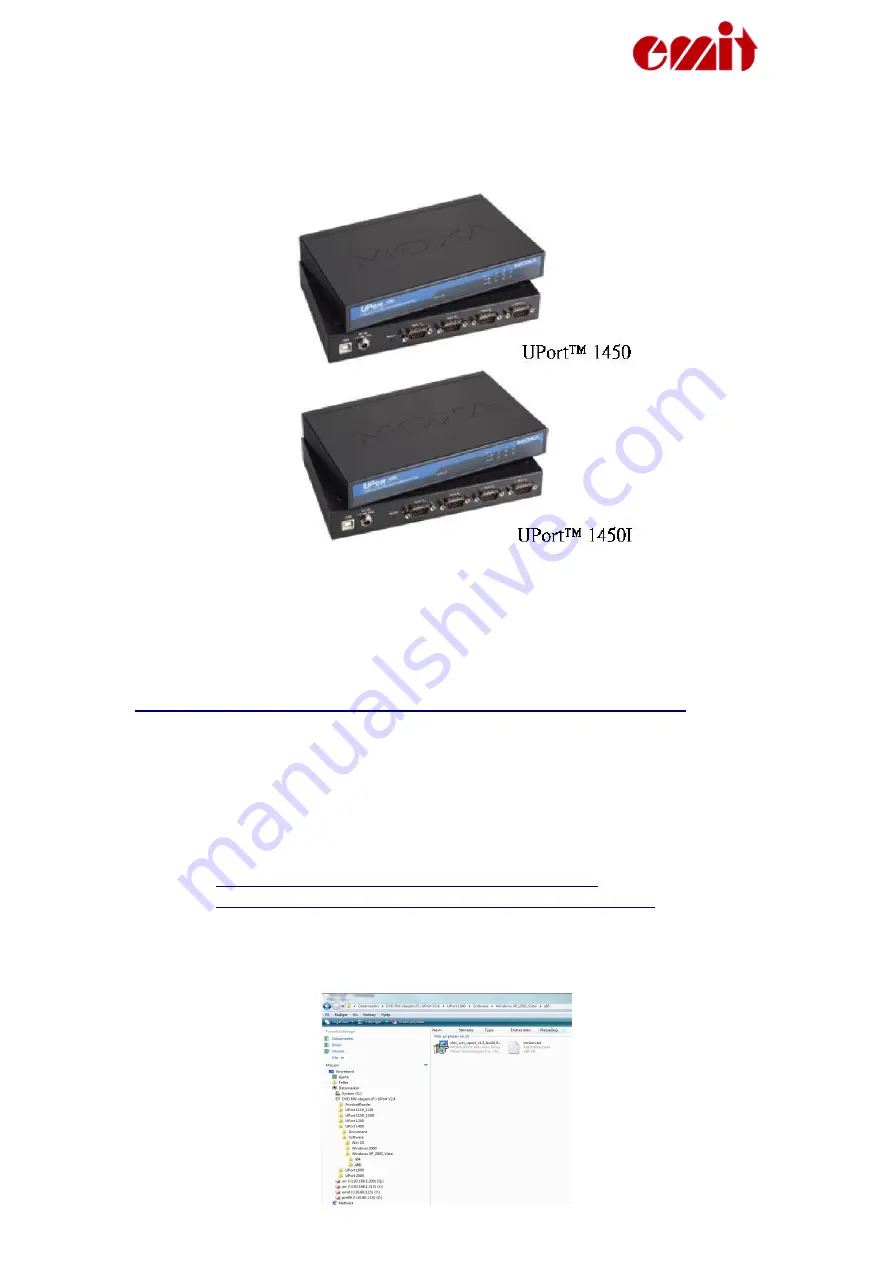
Plug in the MOXA UPort1450I, but do not connect it to the PC immediately.

Download the newest version of the driver (per 01.03.2009 this is the 1.3 
version) from the following address: 

http://www.moxa.com/support/resource_result.aspx?
r_type=1,2,7,8,9&dr_id=1&dprodline_id=21&dprod_id=344

If Internett not should be available you can use the enclosed driver CD, but it 
may have an older version of the driver. Insert the CD which was enclosed 
with the UPort14501 in the CD/DVD player in your PC.

Page 

20

Summary of Contents for ETS1

Page 1: ...Instructions for use Emit split time station ETS1 ver 1 22 rev 1 22a 03 03 09 Emit as St Halvards gt 33 0192 Oslo Norway phone 47 22910300 fax 47 22910301 e mail emit emit no www emit no ...

Page 2: ...ws so this user manual includes a whole chapter on this This matter is only of interest if you need long cable stretches between ECB1 ETS1 and the computer normally split time stations and therefore must use the RS 485 port on the ECB1 ETS1 When using this port it is possible to use cables that are several hundred meters long if you convert the signal to RS 232 or USB in the other end of the cable...

Page 3: ...in keyboard with 6 variable menu keys and a numeric keyboard The ETS1 has 5 LEDs light emitting diodes and a graphic display which shows current information The LEDs change colour depending on the status of the event it is connected to You may use the ETS1 connected to the internal eLine loop or with up to two external eLine loops The accuracy is better when you use two loops ca 1 100 second depen...

Page 4: ...20V power cable Charging batteries The ESD1 has 8 built in rechargeable batteries 9Ah NiMH You charge the batteries by connecting the included power cable Make sure that the charging switch is set on ON When the charger is connected the LED marked Charge will be lit Charge the ETS1 until the LED turns green The process usually takes about 8 hours if the batteries were flat when you started If you ...

Page 5: ...nish line An external eLine loop You should use an external eLine loop if the track is wider than 3 metres or if the competitors pass more than 3 metres from the ETS1 Mill off a track for the loops with a chain saw or some other suitable tool if the loops are to be placed in the snow If the surface is asphalt or other solid ground the loops must be taped and secured under mats suitable for the pur...

Page 6: ...t functioning An orange light indicates that the eLine loop was disconnected when the power was switched on or that the connection has been broken but is now OK A blue light indicates that no connected antenna is needed This may be the case when you wish to use the ECB1 with only one eLine loop In such cases you connect the eLine loop to LOOP 1 and the LOOP 2 LED will be blue Connecting the ETS1 t...

Page 7: ...ances from the ETS1 by using the RS 485 port When you use this port the cables may be several hundred meters long but you have to convert the signal to RS 232 or USB in the other end of the cable We have chosen converters from Moxa Inc for this use because they are among the best and the most stable converters one can get We mostly supply Moxa Uport 1450I 4 ports insulated but we can also provide ...

Page 8: ...ically adjusted every time the ETS1 is turned on When the start procedures are done ca 5 sec the display will show what time it is HH MM SS how many tags that are registered zero when the unit is started anew and to which code the ETS1 is set usually code 70 when used for split times If the external eLine loop is not connected you will be asked the following question Do you want to use the interna...

Page 9: ...Code New Race Settings In the main menu you have four choices setting the clock starting a new race setting the code and settings Clock HH MM SS Use the numeric keys to set a valid time between 00 00 00 and 23 59 59 You start the clock by pressing Enter or by passing the starting line or the photo cell Page 9 ...

Page 10: ... sets the code 249 Should only be used when you need an extra backup ETS1 at the finish Finish sets the code 248 and activates both loop1 and loop2 Start sets the code 0 which resets the internal clock in the emiTags The set code for the ETS1 decides what kind of registration you will get and which frequency the radio will transmit on Therefore it is very important to set the right code We recomme...

Page 11: ...y the eLine loops amperage etc Display Normal RSSI Dev Eline status Choose display modus Normal Shows running time station code tag number and finishing time RSSI Dev Shows the radio s deviations in frequency and transmitting ability eLine status Shows the eLine loops consumption of electricity far down on the display Reset all Page 11 ...

Page 12: ...ump Sets a protocol that will give extended information when reading the tags Eline Reset L1 0 0 With this function you may move the finishing line electronically by adjusting the loops amperage Do not try this if you re not sure of what you are doing You may reset the amperage by choosing Reset L1 Check the loops amperage if the loops don t function as they should The amperage should ideally be c...

Page 13: ...ming is found or chosen If the ETS doesn t appear automatically you should check if it is switched on and that the cable is connected If you use an USB cable you may remove it wait for 30 seconds and reconnect it Press to search for the ETS We recommend connecting the USB cable after switching on the ETS1 Page 13 ...

Page 14: ...clock Intervall for starttidssjekk Interval for checking the starting time This is where you decide how big the deviation between the tag s time and the calculated time may be before a warning appears in the timing grid Utlesning Reading Is only used if you wish to read the tags after they have passed the finishing line The tag system will normally ignore all incoming times from before the competi...

Page 15: ...xed starting time Remember that the ETS1 s internal clock must be synchronized with the start clock It is also important to set the station number See the tag reader s code up to the right The most used codes are as follows Finish double antenna loops 248 Backup finish 249 Finish single antenna loop 90 Split time forewarning 70 Penalty loop registration 67 Relay handover 66 Start 0 Press Next to c...

Page 16: ...get all the messages from the ETS1 Functions in the timing display Transfer data from the clock again You will be asked how many times to transfer Deletes all data in the error log Reads the last ten times from the file log again Notification on unupdated times The icon will only be active if there are times read from the ETS1 but not updated in the data base If you leave the screen when the icon ...

Page 17: ...at the ETS1 is connected Incoming times The illustration above is a typical display during timing apart from that many common errors appear simultaneously Column explanation Shows the tag reader s station code a running message number and the tag s deviation in radio frequency and intensity Startnr The competitor s start number Unknown competitors will be listed as no number Brikke The tag number ...

Page 18: ...with the tag reader Tider Oppdaterte logs the number of times updated in the data base Sist lest shows when the last tag was read Feil shows the number of errors during the timing Ukjente løpere shows the number of read unregistered tags For sprint there is a special field for the starting time which is the same for all the competitors in the same heat CORRECTING ERRORS The tags are registered in ...

Page 19: ...hat there is communication and that the ETS1 is connected and switched on Check that the eLine loop is connected to LOOP1 when you use one eLine loop at the finish Pass the finishing line in the correct direction The tag will blink rapidly when it reaches the finish area and blink more slowly for 15 seconds after passing the finishing line Check that the time was transferred Check that the white e...

Page 20: ...anguages Plug in the MOXA UPort1450I but do not connect it to the PC immediately Download the newest version of the driver per 01 03 2009 this is the 1 3 version from the following address http www moxa com support resource_result aspx r_type 1 2 7 8 9 dr_id 1 dprodline_id 21 dprod_id 344 If Internett not should be available you can use the enclosed driver CD but it may have an older version of th...

Page 21: ... shown above The installation program will start Click Next to continue through the next displays The Moxa Uport 1450I drivers are now correctly installed PC setup Connect the Moxa Uport 1450I to the PC with the enclosed USB cable The first time you use the Uport you must configurate it by starting the Device Manager Page 21 ...

Page 22: ...Uport 1450I under Flerporters serielle kort Multi port serial adapter Set all the ports you are going to use to RS 485 2W under Interface Note the Com numbers allotted to the different ports Click Save to save the changes in the box so that you avoid going via the control panel every time you use the box Page 22 ...

Page 23: ...ETS1 ver 1 22 Setup of Etiming Start the timing and choose port in accordance with the allotted port numbers Page 23 ...

Page 24: ...e you use the MOXA Uport 1450I If the communication fails check as follows Have you set the right connection in eTiming Normally it will be 485 19200 b Do you use the right cables Do they have polarity defects Maybe you should alter the cables pairing Have you set the interface for Uport 1450I to 485 2W in the control panel Page 24 ...

Page 25: ...ETS1 ver 1 22 Page 25 ...

Reviews: