Emdeon Vx570 User’s Guide
Chapter 4: Run Emdeon Transactions
© 2011 Emdeon Business Services LLC. All rights reserved.
Page 32
This material contains confidential, proprietary information. Unauthorized use or disclosure of the information is strictly prohibited.
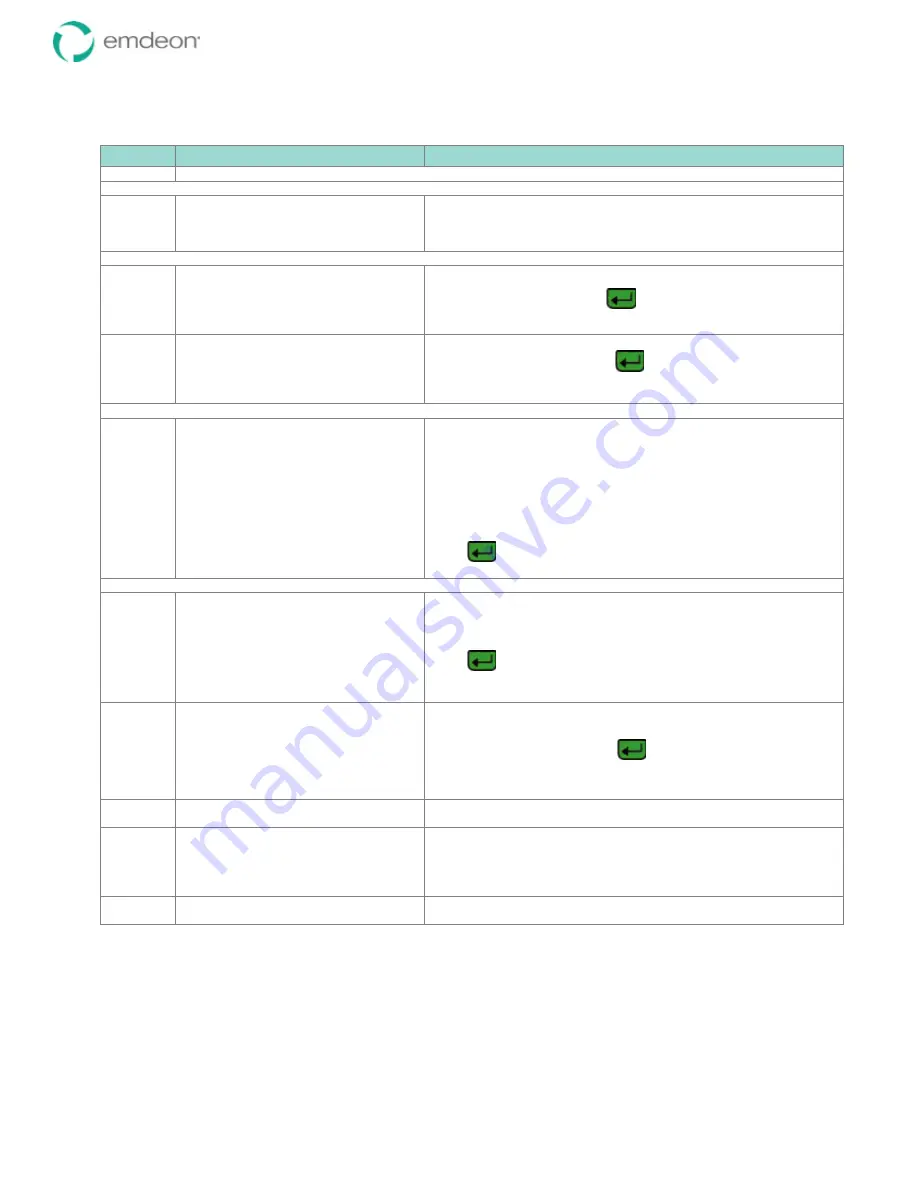
Card Swipe (not configured for idle swipe)
Step
Terminal Display
Action
1
Follow steps 1 through 3 under Submitting a Transaction on page 29 to display the Emdeon Menu.
The Emdeon Menu appears:
2
MM/DD/YY HH/MM
Medical
Address Verify
i
Financial
Press
<F2 >
to select
Medical
.
Log on, if prompted:
3
Emdeon Logon:
Enter User ID:
Enter your User ID, and press
.
4
Emdeon Logon
Enter PassCode:
Enter your passcode, and press
.
Asterisks will display as you type.
Select the payer to query:
5
SELECT PAYER:
FLORIDA
GEORGIA
ILLINOIS
INDIANA
i
IOWA
Note: your actual payer list may vary.
Highlight the name of the payer you wish to query:
•
Press
<Scroll Page
i
>
or
<Scroll Page
h
>
to scroll
screen by screen.
•
Press
<Scroll Line
i
>
or
<Scroll Line
h
>
to scroll line by
line.
•
To move to the first payer beginning with a specific letter,
press the number key which displays the letter. Press one,
two, or three times depending on the letter’s position on the
key.
Press
to select the payer. An hourglass and a brief message
may display: “LOADING DATABASES. PLEASE WAIT…”
If your payer supports more than one transaction type:
6
SELECT TRANSACTION:
Sub Eligibility
Dep Eligibility
Sub Claim Status
Dep Claim Status
Note: the transaction types vary per
payer.
Press
<Scroll Line
i
>
or
<Scroll Line
h
>
to highlight the type of
transaction you wish to perform.
Press
.
7
SELECT SEARCH TYPE:
ID Card #
Medicaid #
SSN/Date Of Birth
SSN/Name
Name/Date of Birth
Note: search types vary per payer.
Highlight
ID Card #
, and press
.
8
input prompts, such as Provider ID
Enter the data for input prompts that are displayed prior to the ID
Card # search.
9
Florida
Please Enter:
ID Card #
Swipe the hardcard. The magnetic stripe should be facing the keypad
and at the bottom of the card (see the icon on the terminal).
10
additional input prompts, such as dates
of service
Enter the remaining data for which you are prompted.


