47
5.1 Basic configuration
Basic configuration includes three sub menus: system, date & time and DST.
5.1.1 System
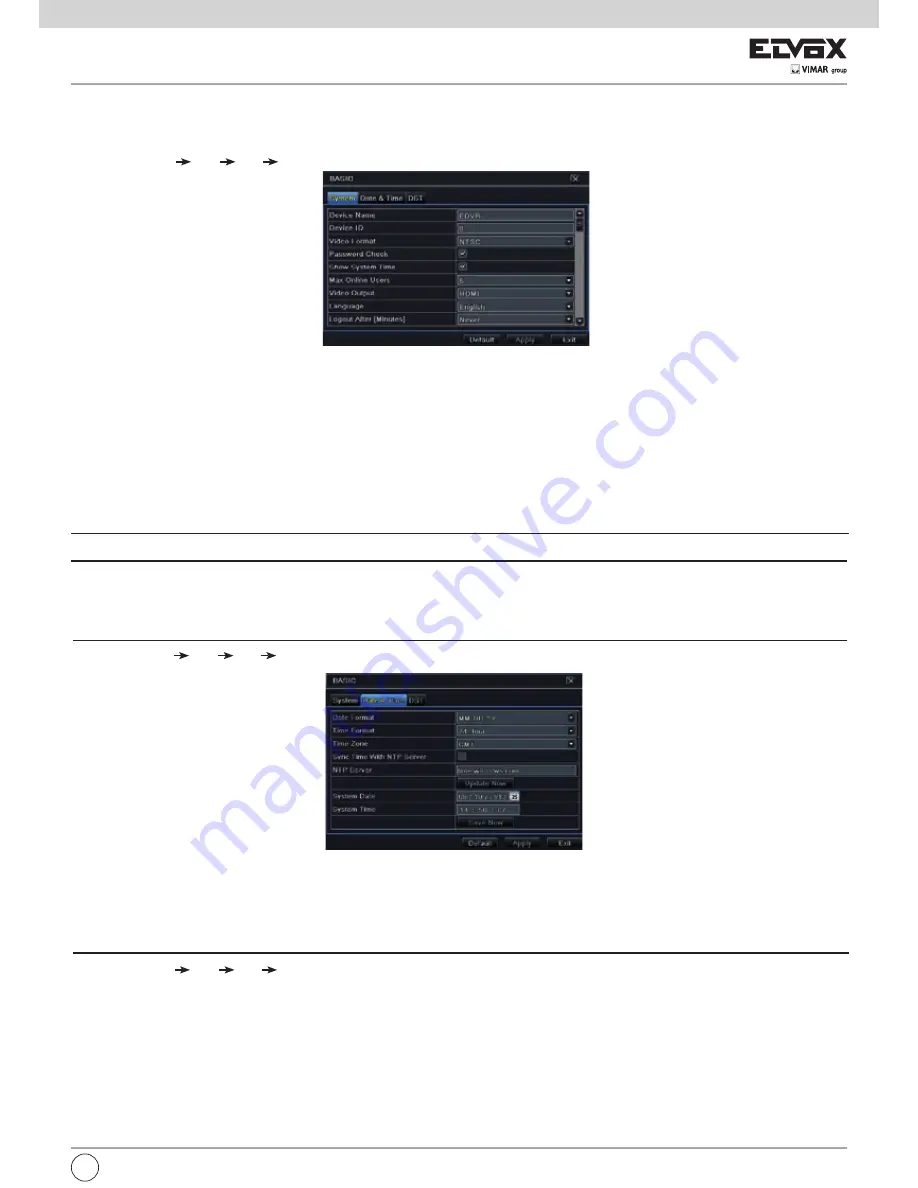
1 - Go to Main Menu Setup Basic System. Refer to Fig 5-3.
Fig 5-3 Basic Configuration-System
2 - In this interface you can set up the device name, device ID, video format, max network user, VGA resolution and language. The definitions for every pa-
rameters display as below.
Device Name:
The name of the device as it may display on the client end or on CMS, this would help the user to recognize the device remotely.
Device ID:
This ID is used to map the NVR with speed dome cameras.
Video Format:
Two modes: PAL and NTSC. User can select the video format according to the cameras being used.
Password Check:
If enabled the user would need to input the user name and the password for performing corresponding operations.
Show System Time:
If selected, displays the current time during live monitoring.
Max Online Users:
To set the maximum number of concurrent user logins in the NVR.
Show wizard:
If selected, the GUI would launch the startup wizard on every boot, allowing user to do basic setup.
Video Output:
Resolution of live display interface.
Language:
To set up the menu language.
Note:
After changing the language and video output, the device needs to login again.
Logout After (Minutes):
You can set up the screen interval time (30s, 60s, 180s, 300s). If there is no any operation within the setting period, the device will
auto logout and return to the login interface.
No Image When Logout: If selected, there will be no image showing when logout.
5.1.2 Date & Time
1 - Go to Main Menu Setup Basic Date & Time tab. Refer to Fig 5-4.
Fig 5-4 Basic Configuration-Date & Time
2 - Set the date format, time format, time zone in this interface; checkmark “sync time with NTP server” to refresh NTP server date. You can adjust system
date manually.
3 - Click “Apply” button to save the settings.
5.1.3 DST
1 - Go to Main Menu Setup Basic DST interface. Refer to Fig 5-5.
2 - In this interface, enable daylight saving time, time offset, mode, start & end month/week/date, etc.
3 - Click “Apply” button to save the setting.
EN


