- 21 -
item. The default setting is “
ˇˇˇˇ
” - checked.
Log – to log to event logs or not. Press
ENTER
or
+/-
to check/uncheck this item. The default setting is “
ˇˇˇˇ
” - checked.
Screen Message – to display the event message on the screen or not. Press
ENTER
or
+/-
to check/uncheck this item. The
default setting is “
ˇˇˇˇ
” - checked.
E-mail – to send the event e-mail to remote station or not. The e-mail will be sent to the predefined receivers when the event
is triggered. Press
ENTER
or
+/-
to check/uncheck this item. The default setting is “
––––
” - unchecked.
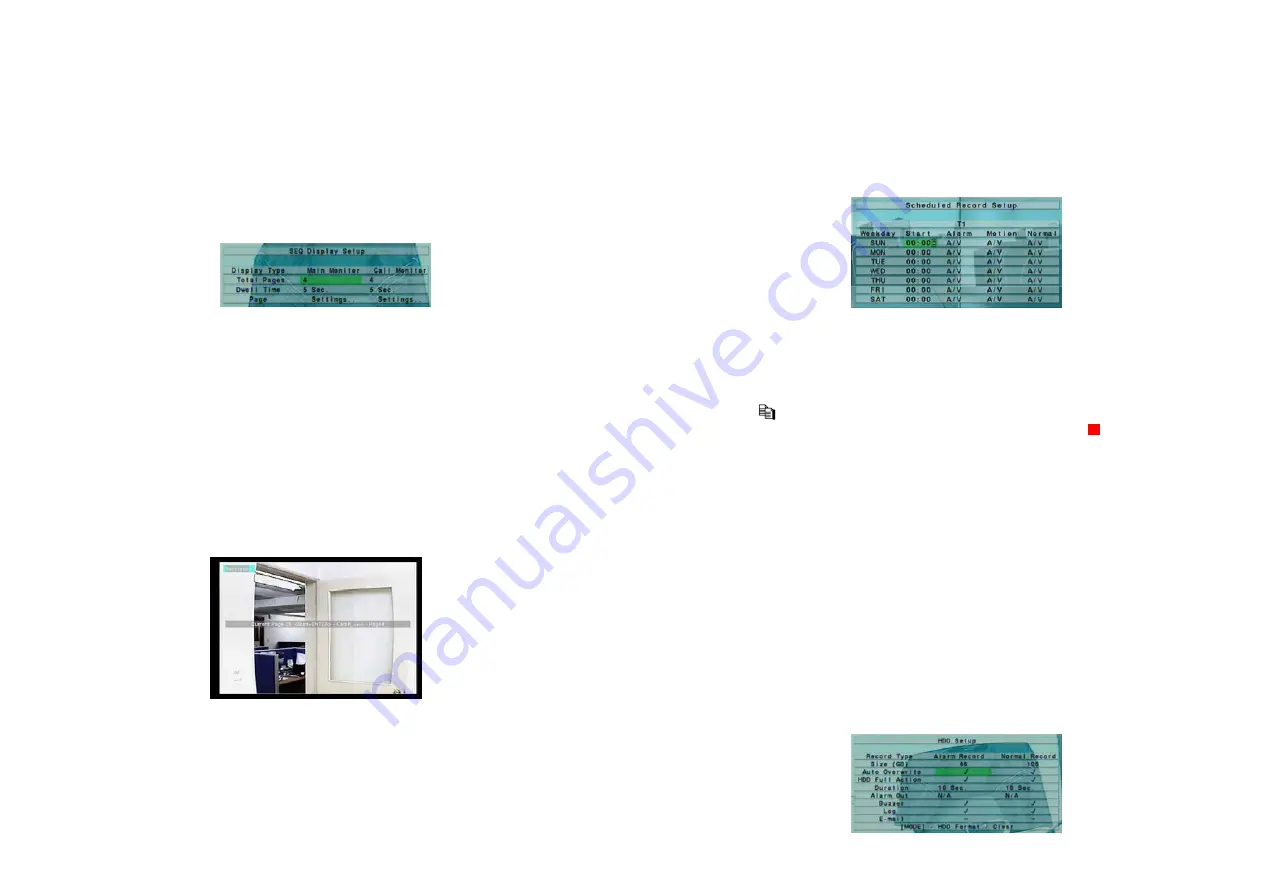
6.4 SEQ Display Setup
In Setup Menu display, press
▲▼
to change the highlighted option to SEQ Display, and then press
ENTER
to call up SEQ
Display Setup as shown.
The SEQ Display Setup allows the administrator to define the display pages in SEQ Display for main monitor and call monitor.
There are 1 display type - 1-Window for main monitor, and 1 display type for call monitor.
The general operations are as
follows:
▲▼
◄►
Press these buttons to select the items.
ESC
Press this button to escape from this screen, and return to Setup Menu display. If the Save dialog is shown, press
ENTER
to
exit and save,
ESC
to exit without saving.
The following
is a brief description for each item and its specific operations:
Total Pages – total pages for this SEQ Display Type. The maximum number varies
with
the display type. Press
+/-
buttons to
select the desired number from the available list.
Dwell Time – the dwell time (3 ~ 60 seconds, discrete) for each page of this display type. Press
+/-
buttons to change the
value.
Page Settings.. – used to set the camera in each viewing window for each page of this SEQ Display Type. Press
ENTER
to
call up Display Page Setup as shown.
In Display Page Setup, the split window display for the current page is shown. And the title of the camera for the focus
window is highlighted.
The following
is a brief description for the operations:
Numeric
Press these buttons to change the camera for the current page.
+/-
Press these buttons to change the current page for this SEQ Display Type.
ESC
Press this button to escape from Display Page Setup, and return to SEQ Display Setup.
- 22 -
6.5 Scheduled Record Setup
In Setup Menu display, press
▲▼
to change the highlighted option to Scheduled Record, and then press
ENTER
to call up
Scheduled Record Setup as shown.
The Scheduled Record Setup allows the administrator to define when and how to record for the system. There are up to 16 time
segments (T1 – T16) for each weekday.
The general operations are as f
ollows
:
▲▼
◄►
Press these buttons to select the items. The display will scroll left/right if the selected item is not shown on the screen.
COPY
(
)
Press this button to copy the settings of the focus weekday to all the following weekdays. (eg. focus weekday is TUE, its
settings will be copied to those of weekdays WED-SAT.)
ESC
Press this button to escape from this screen, and return to Setup Menu display. If the Save dialog is shown, press
ENTER
to
exit and save,
ESC
to exit without saving.
The following
is a brief description for each item and its specific operations:
Start – the start time of this time segment, increment at 30 minutes. (The end time of this time segment is implicitly set as the
start time of next time segment, or the start time of the first time segment of the same weekday if it’s the last one.) Press
+/-
buttons to select the desired start time.
Example: If the user sets the start time of T1/MON as 9:00, T2/MON as 18:00, T3-T16/MON as N/A (Not Available), then
T1/MON is 9:00-18:00, T2/MON is 0:00-9:00, and 18:00-24:00.
Alarm – record mode (No, Video, or Audio/Video) when certain alarm input is triggered. Press
+/-
buttons to change the
value.
Motion – record mode (No, Video, or Audio/Video) when motion is detected for certain camera. Press
+/-
buttons to change
the value.
Normal – normal record mode, including No, V (Video only), or A/V (Audio/Video). Press
+/-
buttons to change the value.
6.6 HDD Setup
In Setup Menu display, press
▲▼
to change the highlighted option to HDD, and then press
ENTER
to call up HDD Setup as
shown.


