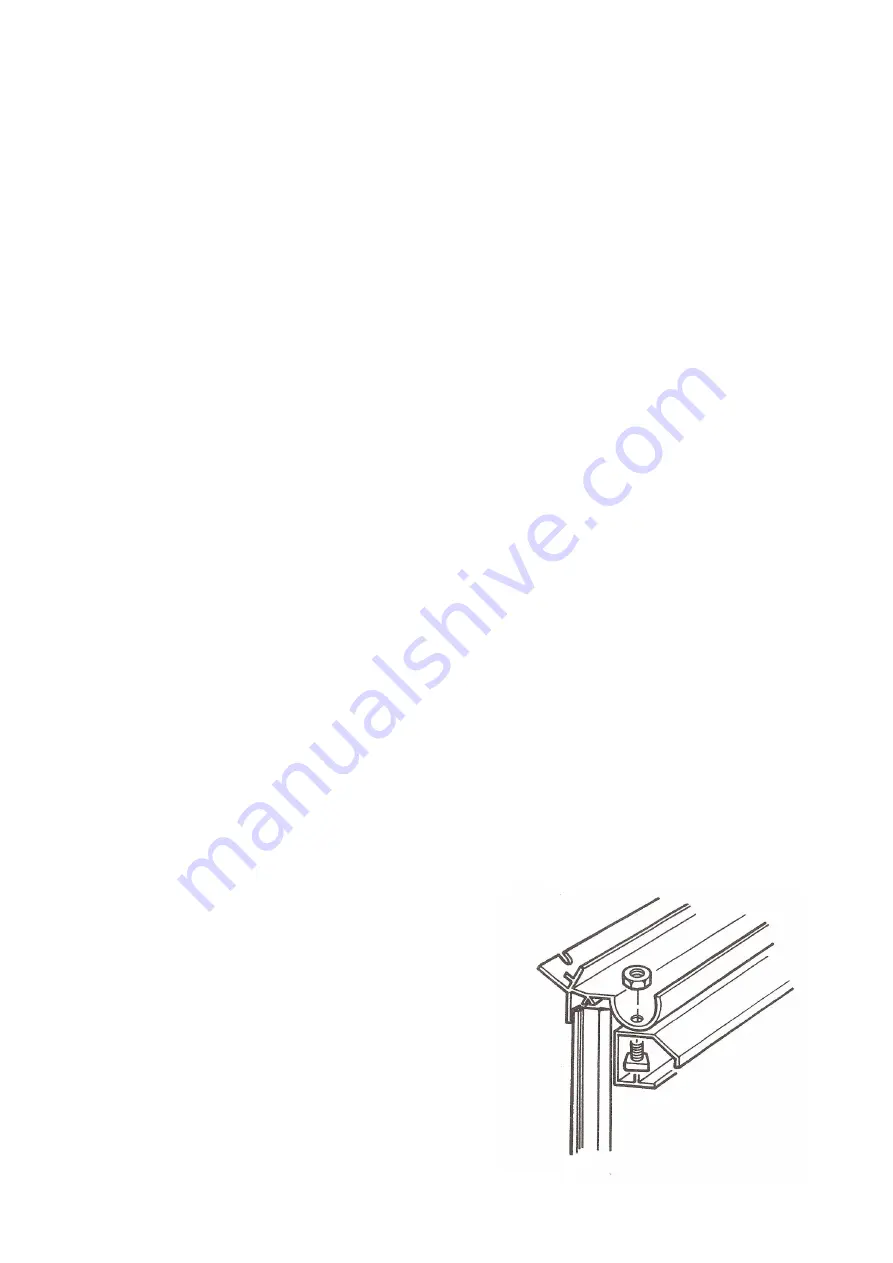
5. At the other end of the door track, drill a hole through the door track and gutter approximately 2“
from the end of the door track.
6. Push a bolt upwards through the door track and into the gutter. Put a nut on and leave
loose
.
7. Squeeze a small amount of silicon around the bolt and the hole in the gutter, then tighten the nut.
8. Door track is now fitted and ready for the addition of the door.
9. Before fitting the door you must cut away the horizontal bracing angle using a hacksaw and met-
al file, to afford access through the door opening.
10. Fit the door in the same manner as previously described in this booklet.
11. Single front door installation is now complete.
12. Remember the catch for the single door operates as an end stop.
INSTALLATION OF DOUBLE FRONT DOOR
1. You must first establish which two bays the doors are to be fitted over.
2. Having established this, remove the middle glazing bar which would have been positioned
between the doors. N.B. The door track support is not utilised in a double front door.
3. Offer the door track to the eaves bar directly under the gutter, push right back so that it is
touching the front glazing bars.
4. Drill up through the door track and gutter simultaneously. Drill 3 holes, one at each end and
one in the middle.
5. Insert 3 bolts through the door track and gutter with the threads facing upwards.
6. Squeeze a small amount of silicon around the bolts and bolt holes in the gutter, then tighten
the nuts.
7. The door track is now fitted and ready for the addition of the doors.
8. . Before fitting the door you must cut away the
horizontal bracing angle using a hacksaw and metal
file, to afford access through the door opening.
9.
Fit the door in the same manner as previously
described in this booklet. For the double door, fit the
left hand door from the left hand side and the right
hand door from the right hand side.
10. The installation of the double door is now
complete.
11. Remember, for the double door, the catches are
friction operated.
Summary of Contents for KENSINGTON 10 x 6
Page 1: ......
Page 2: ......
Page 3: ......
Page 17: ...DOOR FRAME...
Page 36: ...6 WIDE LT TOUGHENED GLASS PLAN Glass pane for standard door on gable end Louvre on rear end...
Page 39: ...OPTIONAL EXTRAS RAIN WATER KIT FOR GUTTERING...
Page 40: ...ELITE 1407...


