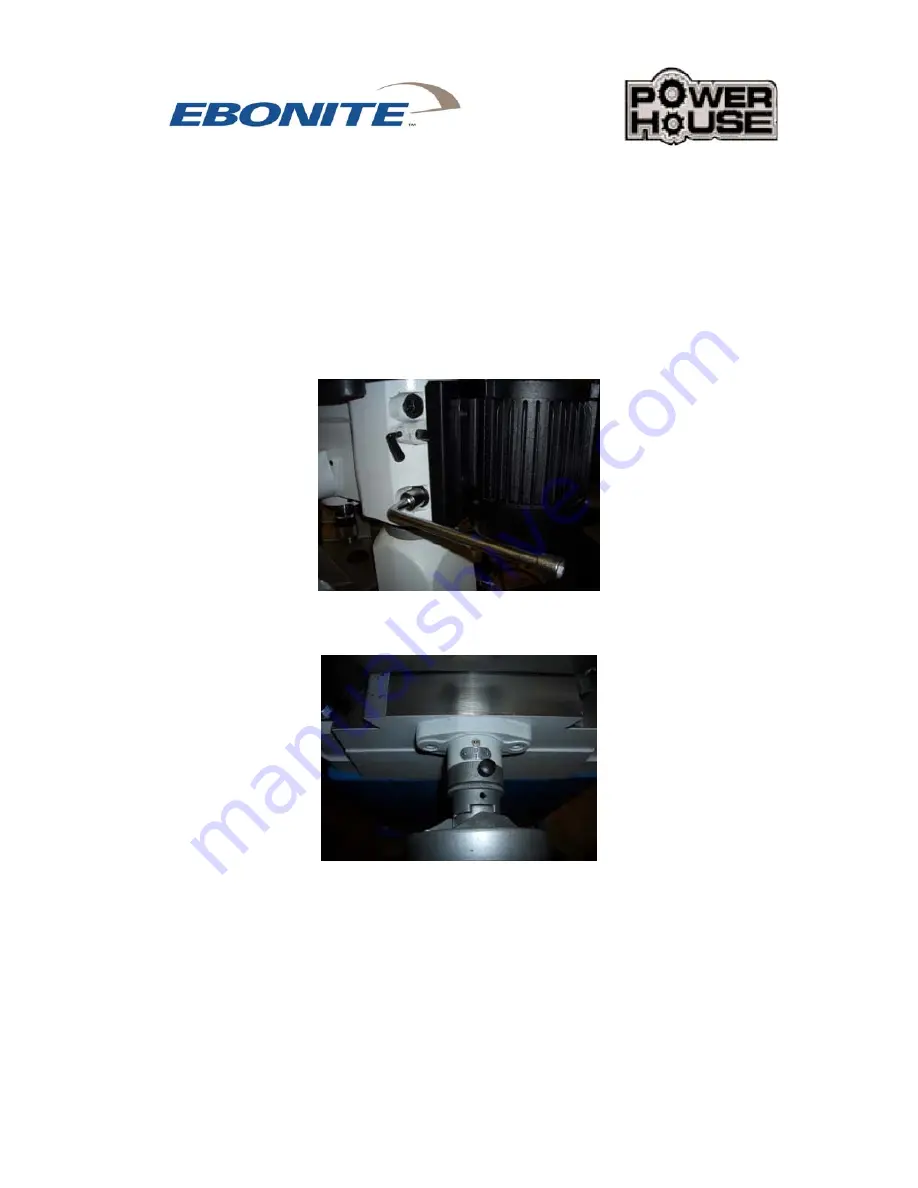
4.
There will also be another scribed line on that runs up and down on the post along with
another one scribed into the bottom of the head, pivot the head of the machine until
these two lines are matched up. Once this is done tighten the large nuts on the right
hand side again. This puts the head of the machine in the position that the machine
was calibrated in at the factory. This centers the head of the machine but is not the
final calibration that will come later in the set up process. ( note when tightening these
nuts make sure to tighten one then the other and go back and forth until they are tight,
Tightening one all the way first could cause damage to the head of the machine so use
caution)
5.
Attach the 3 table crank handles to the table cranks and tighten set screws.
6.
Next the digital are shipped with the batteries out of the unit. Remove the cover of
each digital reader and place the batteries into each unit. Use care as the clips that
hold the batteries in place are very fragile. (Do not try to bend the contacts) replace
the cover and make sure that the connecting cords are in place. Push and hold the on
button until the reader comes on. Push the mode button until it is reading in decimal
inches.
REV A 12-2-05 6


