7.
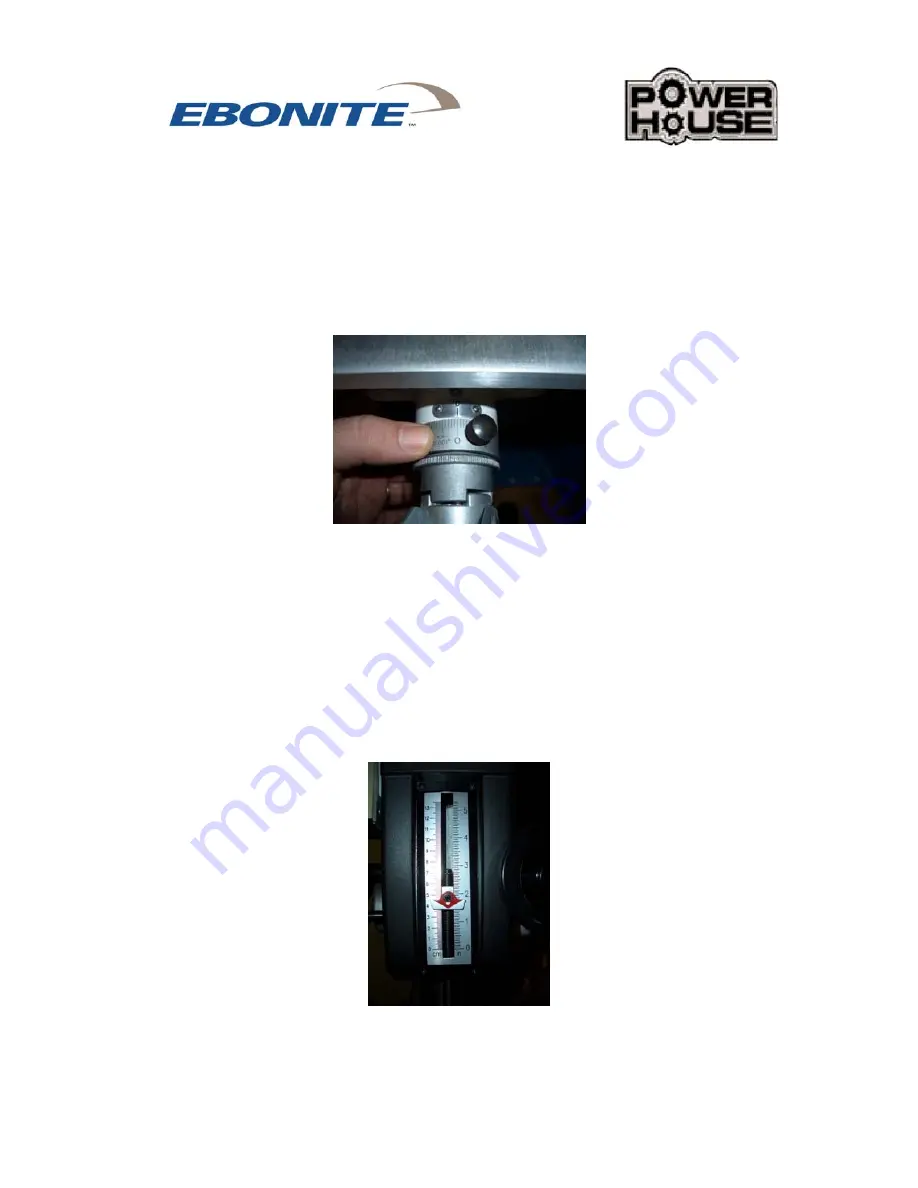
Next before moving the tables, look on the inside of the front and the right handles,
each one has a ring with marks that indicate .001 of and inch. Each of these rings has a
thumb screw, loosen the thumb screw and turn the ring so the 0 on the ring lines up on
the line, then tighten the thumb screw. This is a fail safe that is used in the event a
digital scale is not working properly. It allows you to have the same accuracy you have
with the digital scales. (Note that in the zero position the ruled scales should be on the
zero line as well)
8.
Place an old ball in the jig and tighten the safety plate on top of the ball. Place the 1”
bit in the chuck and drill into the ball until only the point of the bit is in the ball then
stop and turn the machine off. Pull the down until it stops in the hole and tighten the
quill lock, then on the front of the machine there is an adjusting screw for the ruler on
the face plate on the head of the machine. Turn the adjusting screw until the marker is
on the 3” line. This is your reference for zero depth as the point of the bit does not
count when measuring the depth of the hole. From this point you can determine the
depth of the hole you want to drill with out ever needing to measure the depth every
time.
9.
Now your machine is ready for operation
REV A 12-2-05 9


