


45
Mounting and operating instructions compact emergency power supply CEAG LP-STAR
40071860247 (L) September 2018 www.ceag.de
7 Operating
7 .4 .5 Menu 5: “Luminaire setup”
Selection of lines 1, 2, 4 and/or the
input fields in line 1 with
Step-by-step selection of the final
circuit with
In line 3 the current settings for
t h e l u m i n a i r e s ( 1 t o 2 0 ) a r e
displayed in the circuit selected
Luminaire is available (pos.1) – no
luminaire parametrised (pos. 2)
Select luminiare (line 2) with
(e.g. flashing cursor in position 3)
In line 4 the message “Luminaire
Text”, for example, is displayed either
as a default setting or, if already
defined, as a luminaire name.
Add/Remove
Luminaire search
Text-assignment
Switch assingnment
Notes:
Using this menu luminaire layouts can
be viewed and luminaire names given or
changed, without the need to change the
luminaire configuration.
It is necessary to carry this out e. g. upon
first commissioning or after the addition/
removal of luminaires.
These luminaire names are saved to the
memory card and displayed in the graphic
display menu as an operational tool. If no
memory card has been installed, no text
assignments can be made!
Overview:
Main menu
Test & Statusmenu
Block & Reset Alarms
Basic setup
Circuit setup
Luminaire setup
Memory card
Send ServicePinMsg
Menu 5
Add/Remove
Luminaire search
Text-assignment
Switch assingnment
Selection of the
menu points
with the keys
<ok>:
confirm
selection
<Menu>: Exit
and return to
previous menu
(with input of
any changes
made)
<ESC>: Exit and
back to previous
menu (without
input of any
changes made)
Flashing input
prompt
<ok>
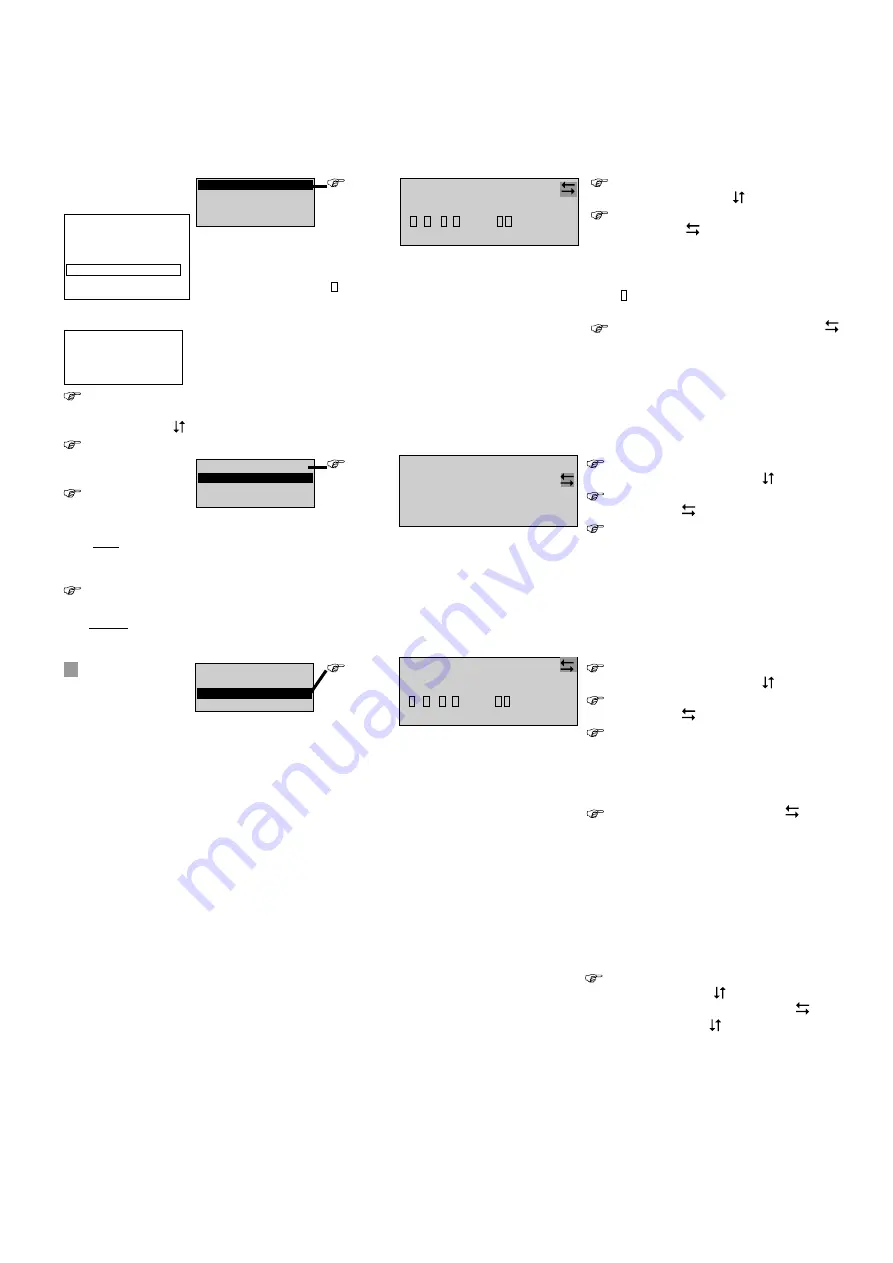
Menu 5.1:
Circuit: 2
. . . . 5 . . . . 1 0 . . . . 1 5 . . . 2
- - - ------ ---------
-
Luminaire text
<ok>
Menu 5.3:
Add/Remove
Luminaire search
Text-assignment
Switch assingnment
Notes:
In the positions 1 to 20 only “Available”
( ) or “Not Available”(–) is displayed. This
means that even individual luminaires can
be removed (not available) in a very targeted
manner.
Functionality and/or switching status can
be queried in Menu 1.6 “Luminaire-state”
for CG-S LEDs.
Selection of line 1 and/or the input
fields in line 1 with
step-by-step selection of (end) power
circuit with
In line 3 the current settings for the
luminaires (1 to 20) in the power circuit
selected are displayed:
Luminaire is available (pos. 1)
– no luminaire parametrised (pos. 2)
Selectionof a luminaire (line 2) with
(e.g. flashing cursor in position 3)
In line 4 the luminaire text (name, if
already entered) is shown.
Using the <ok> key a luminaire is
placed in or removed from the position
selected.
<ok>
Menu 5.2:
Add/Remove
Luminaire search
Text-assignment
Switch assingnment
All circuits
Circuit: 2
Circuit name
Selection of lines 1 and 2 and/or the
input fields in line 2 with
step-by-step selection of (end) power
circuit with
All connected luminaires incl. the
addresses of a device are automatically
sought and displayed. Please note
that luminaires with double addresses
in a circuit are only recognised as 1
address. If necessary correct your
luminaire addresses in the relevant
circuit.
Change the luminaire name:
Select line 4 with
Selection of input position with
Using the cursor all the
alphanumeric characters possible are
displayed as a cycle. If the name has
been entered in full, the entry can be
confirmed with <ok>. The remaining
characters behind the actual position
of the cursor are deleted
Circuit: 2
. . . . 5 . . . . 1 0 . . . . 1 5 . . . 2
- - - ------ ---------
-
Luminaire text


