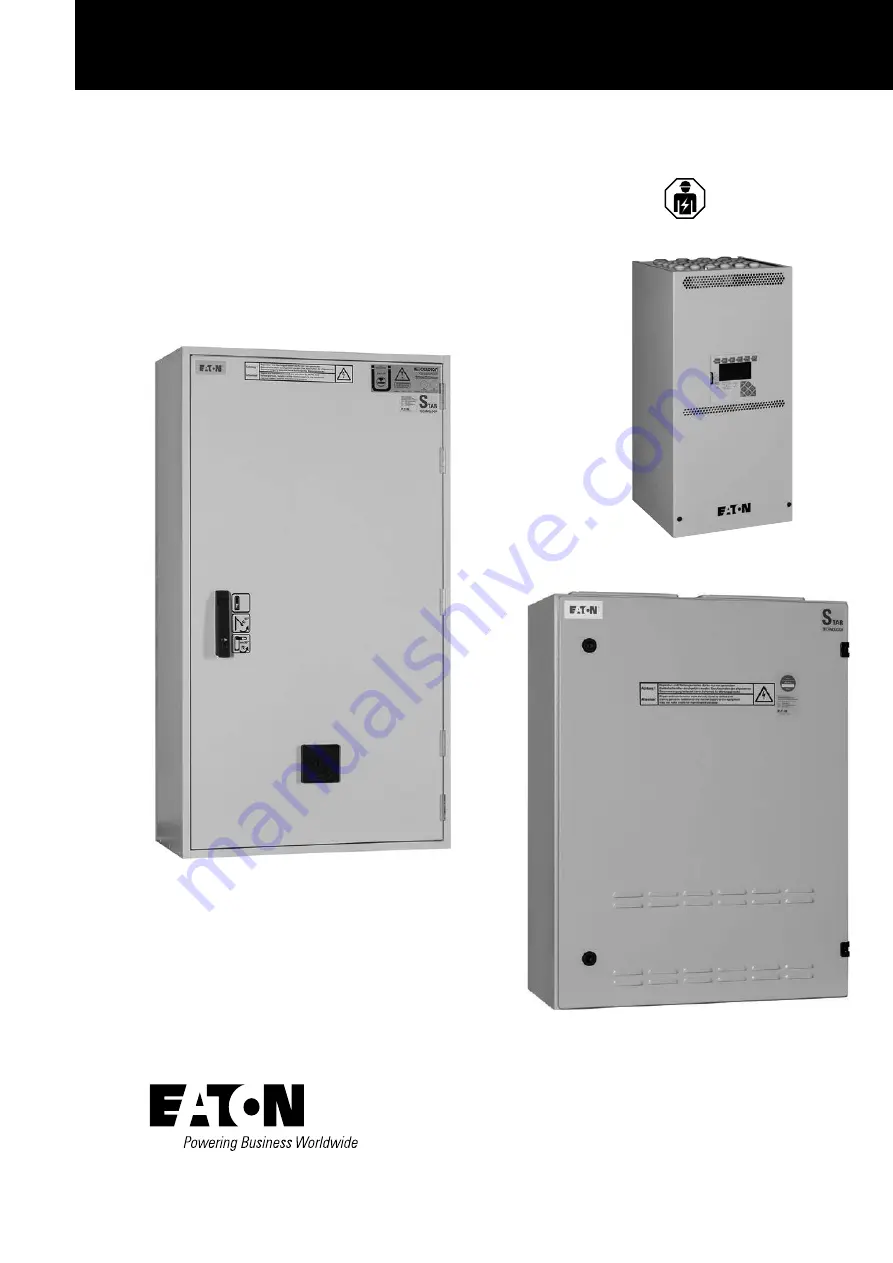
CEAG LP-STAR
Mounting and operating instructions
compact emergency power supply CEAG LP-STAR
Target group part 1: Qualified electrician acc. to DIN VDE 0105, part 1
Target group part 2: Electrical instructed persons
Page 1: ...P STAR Mounting and operating instructions compact emergency power supply CEAG LP STAR Target group part 1 Qualified electrician acc to DIN VDE 0105 part 1 Target group part 2 Electrical instructed pe...
Page 2: ...orage 22 4 1 Safety instructions 22 4 2 Transport inspection 22 4 3 Packaging 22 4 4 Storage 22 5 Setting up and installation 23 5 1 Safety instructions 23 5 2 Mains connection 24 5 3 Connecting the b...
Page 3: ...e subject to the manufacturer s risk assessments The compliance of these constructions with the valid European and national regulations has been certified by the manufacturers of these components 1 4...
Page 4: ...GmbH The contract number is 85405 This guarantees that all registered packaging material is reused and all the requirements of the Packaging Ordinance are fulfilled INTERSEROH collection points are o...
Page 5: ...prohibited and is deemed to be improper use The automatic test system of the LP STAR devices complies with the requirements of the EN 62034 and is classified as type PERC ATTENTION Please observe the...
Page 6: ...rning health and safety 3 Construction and function 3 1 Technical data Input Rated voltage AC 400 230 V Rated frequency 50 60 Hz Max rated current AC 5 5 A Rated voltage DC 19 2 28 8 V Battery VRLA 2x...
Page 7: ...IP54 LP STAR 4 36 IP54 LP STAR 4 48 IP54 Circuits 4 4 4 4 Max battery size AhK10 1 8 V Z 20 C 12 Ah 2 x 12 V 12 Ah 24 Ah 4 x 12 V 12 Ah 36 Ah 6 x 12 V 12 Ah 48 Ah 8 x 12 V 12 Ah Dimensions H x W x D 8...
Page 8: ...Battery string 1 4 7 Optional battery compartment 8 Cover 9 Cover battery 10 Cabinet lock Mounting procedure 1 Disassemble 8 9 the cover 2 Mount 1 wall casing drill template see above 3 Mount optional...
Page 9: ...Final circuit fuses 2 5 AT 250 V VE 10 Pieces 9 Battery string 1 4 3 2 1 Assembly of the equipment IP54 815 800 600 300 Pos 2 Pos 3 1 x M50 32 4 x M32 20 8 x M25 16 2 x M20 24 x M16 13 x M20 4 3 2 1 F...
Page 10: ...ab scale Teilecode part code Anz Blatt sheets Blatt Nr sheet No Sprache language Format size Separate St ckliste anderer Nummer separate part list with different number Separate St ckliste gleicher Nu...
Page 11: ...hting in the event of a power failure in the general 230V mains supply During normal operations the LP STAR device monitors the state of the batteries and if required it recharges them gently The LP S...
Page 12: ...ttings via menu operated parametrisation see Chapter 7 by means of data exchange via memory card e g for the transfer of the settings between similar LP STAR devices external configuration of the cont...
Page 13: ...a exchange and security with standard PC and CEAG software for the LP STAR device Standard PC with CEAG software for the LP STAR device Standard printer for the printing of the log book stored on the...
Page 14: ...d switches the circuit or LED s with S function External switch inverted Level control via switch 230 V AC OFF 0 V ON Manual reset Flank control via a button LOW HIGH To reset the switch type Manual r...
Page 15: ...se dimensions 5 mm x 20 mm sand filled order number 40071361234 packaging unit 10 Additional features Freely programmable mixed operations between maintained light standby lighting and switched mainta...
Page 16: ...2 12 14 22 22 24 32 31 32 34 S1 S1 S2 S2 24V 24V 24V F3 Module recessed mounting Connecting F3 Module to LP STAR R 1K Klemmen F3 Fernanzeige Klemmen 2 5 mm starr flexibel Klemmen LP STAR 11 21 12 12 1...
Page 17: ...a standard web browser e g Internet ExplorerTM Integrated mail client for comfortable event related error reporting for up to 5 email recipients Parameter enabled access accounts with password protec...
Page 18: ...eft hand side next to the control unit in the interior of the device Input Battery Input Battery Input Battery Input Battery Fuse Fuse Fuse Fuse Only Use CEAG Spare Parts String 1 String 2 String 3 St...
Page 19: ...dex Benennung designation Werkstoff material Freim Toleranz tolerance Winkel angle Radius radius L ngen length Entstanden aus developed from Ersatz f r replacement for Ersetzt durch replaced by Freige...
Page 20: ...l connections the same place at a additional connection terminal with the same lettering 24V CG S CSU X501 CGVision UH UH UH UH CG S B CG S B CG S A CG S A Rel 1 Rel 2 Rel 3 Rel 4 11 12 14 21 22 24 31...
Page 21: ...N L B B B B 24V DC 220V DC L DLS8 N DLS8 X100 PE X102 Protective earth connection bar CNV t L3 FE L2 N L1 U1 01 U2 02 U3 03 U4 04 3 phase monitoring 1 Funktional earth factory wired ATTENTION 2 Protec...
Page 22: ...cording to type and size and place them in the recycling container ATTENTION Always dispose of the packaging material in an environmentally sound manner and in accordance with the valid local waste di...
Page 23: ...pecialist standards and procedures it is also important to pay attention to Chapters 1 2 in particular and to observe all the special notes and instructions NOTE Moving the connection cables may only...
Page 24: ...tegral 200 A s for the power cable Please note The circuit breaker or fuses must also have a separator function for the power cable Easily accessibility is necesary Please connect the protective earth...
Page 25: ...bridge c Then connect the other battery strings in the same way see pictures 2 3 and 4 When disconnecting the battery power supply the same sequence applies in reverse 3 4 String 1 String 1 String 1 S...
Page 26: ...0 h 24 W 2 7 A 86 W 5 3 A 149 W 8 0 A 212 W 10 7 A 8 0 h 16 W 2 2 A 38 W 3 3 A 66 W 4 4 A 1 Values incl converter efficiency Discharge current Important note The aging provision for batteries 25 is in...
Page 27: ...diagram for the connection of several CEAG 3 phase monitors CEAG 3 PM Module NOTE If several sub distributors are being monitored more devices must be connected and switched on with the other devices...
Page 28: ...installations are reserved for CEAG service personnel alone 6 4 Insulation measurements Check whether the whole system has been deactivated and ensure that it is shut down Only switch the power supply...
Page 29: ...lay The final circuits are individually fused ATTENTION Never remove the fuses when on load 6 6 Checking the fuses For safety reasons the system should first be disconnected from the mains by blocking...
Page 30: ...ation in each month NOTE The following descriptions are not an integral part of this manual as comprehensive instructions within the technical documentation on these systems is required Handling and c...
Page 31: ...for the control software can be called up and or their parametrisation can be changed Using the key 7 designated with Menu in the current text the main menu for the control software is called up from...
Page 32: ...eter is also possible via a menu point 3 10 Display Setup in the menu 3 Basic setup The parameters can be determined numeri cally in percentages here Main screen example Main menu 1 Test Statusmenu 2...
Page 33: ...setup 3 10 Charger setup 3 11 Webserver Setup 3 12 Timer setup 3 13 Group device Setup 3 14 Connection to BMS 4 Circuit setup 4 1 Monitoring Mode 4 2 Switch assingnment 4 3 Text assignment 4 4 get new...
Page 34: ...t Cancel durationtest ISO monitor test etc Start durationtest Cancel durationtest ISO monitor test Sum failure info etc Overview Main menu Test Statusmenu Block Reset Alarms Basic setup Circuit setup...
Page 35: ...status of the optional input is shown Select entry fields lines with Select circuit with In line 3 the current settings for the luminaire addresses for the power circuit selected are shown 1 20 Lumina...
Page 36: ...rge Overview Main menu Test Statusmenu Block Reset Alarms Basic setup Circuit setup Luminaire setup Logbooksetup Send ServicePinMsg Menu 2 Block device Release device Manual reset Reset DeepDischarge...
Page 37: ...3 F Test Date Time We 11 12 02 12 00 FT lead time 300s Days between FT 07 Determine the start time date and time for the first function testand the interval 1 to 14 days for the following function tes...
Page 38: ...relay does not switch no with ok Exit and return to Menu 3 with Menu Note Also see menu point 1 9 Relay state in Menu 1 Test Statusmenu Delaytime Mains Ret Manual reset Selective emergency light Relay...
Page 39: ...tive display can be made at any time via the default display by simultaneously clicking ok and the key for contrast or for brightness in the active graphic display Setting contrast and brightness back...
Page 40: ...unit then shows Blocked S1 S2 the message Blocked LON then appears on the screens of the control units in the sub stations Possible settings S1 S2 Slave or Master or S3 S4 Slave or Master or Explanati...
Page 41: ...ated to functions which are immediately carried out when the relevant 230 V digital inputs are controlled One function only can be assigned to one input the asterisk disappears if a different function...
Page 42: ...ked sub menu was selected in the main menu The password is entered using the keys F1 1 F2 2 F3 3 a flashing square marks the current entry position In the case of activated password protection all the...
Page 43: ...circuit see the settings under 4 4 get nrew rated Value With the selection of Current Monitoring the permissible deviation 1 20 which was determined from the reference value under 4 4 get nrew rated V...
Page 44: ...the control unit returns to Circuit Setup in Menu 4 A premature abort is possible by clicking the ESC or Menu keys Notes By confirmingyour selection with ok the get nrew ratedValue procedure is starte...
Page 45: ...hing input prompt ok Menu 5 1 Circuit 2 5 10 15 2 Luminaire text ok Menu 5 3 Add Remove Luminaire search Text assignment Switch assingnment Notes In the positions 1 to 20 only Available or Not Availab...
Page 46: ...ment Switch assingnment Selection of the menu points with the keys ok confirm selection Menu Exit and return to previous menu with input of any changes made ESC Exit and back to previous menu without...
Page 47: ...on the memory card A new start up is then carried out Return to default display Overview Main menu Test Statusmenu Block Reset Alarms Basic setup Circuit setup Luminaire setup Memory card Send Service...
Page 48: ...originate from the adjacent equipment e g safety grilles barriers safeguarding of traffic routes The maintenance and repair work on your emergency lighting system can be carried out by the Customer Se...
Page 49: ...locked and resume operations Use the keys to select from the options displayed ok Menu 2 2 ok triggers the function All functions are aborted All exits are switched voltage free There is no battery op...
Page 50: ...54 Version 4 String 1 String 1 String 1 String 1 String 2 String 2 String 2 String 3 String 3 String 4 String 1 String 1 String 1 String 1 String 2 String 2 String 2 String 3 String 3 String 4 String...
Page 51: ...lue nominal value with current value monitoring Luminaire fault x Luminaire fault means Faulty luminaire Sum failure x Sum failure is active for every kind of disruption e g luminaire fault charge mod...
Page 52: ...re 8 Switch 1 Switch 1 Switch 2 Switch 2 Luminaire 17 Luminaire 7 Switch 1 Switch 1 Switch 2 Switch 2 Luminaire 16 Luminaire 6 Switch 1 Switch 1 Switch 2 Switch 2 Luminaire 15 Luminaire 5 Switch 1 Swi...
Page 53: ...itoring module with change over unit V CG S 4 400 W Monitoring module V CG SE 4 400 W Monitoring module with control input IMPORTANT NOTICE When using standard EVGs it must be ensured that the functio...
Page 54: ...on ________________ by _______________________ Signature _______________________ Function Durationtest no ___________________ Date _________________ Time _________________ Device no Location ________...
Page 55: ...55 Mountingandoperatinginstructions compactemergencypowersupplyCEAGLP STAR40071860247 L September2018 www ceag de Notes Notes...
Page 56: ...e efficient and safe electrical power management solutions Combined with our personal service support and bold thinking we are answering tomorrow s needs today Follow the charge with Eaton Visit eaton...