165
Specific Trail Options
Delete Trail
To delete a specific trail: From the Trails Menu, press
↓
to
Trail
Name
|
ENT
. The Edit Trail menu appears as seen in the following fig-
ure. Press
→
to
D
ELETE
T
RAIL
|
ENT
|
←
to
Y
ES
|
ENT
.
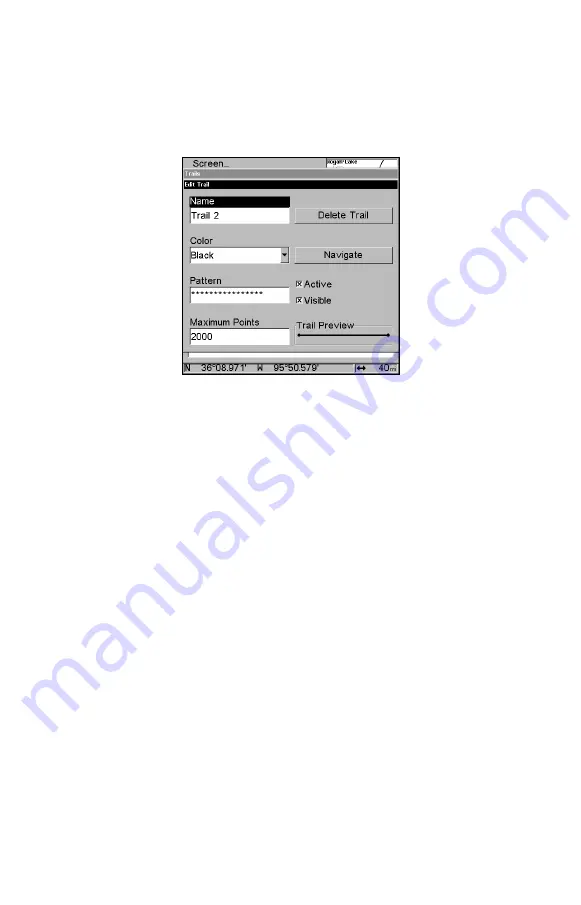
Edit Trail menu.
New Trail
To manually start a new trail, in the Trails Menu, make sure
N
EW
T
RAIL
is highlighted and press
ENT
.
Trail Visible/Invisible and Other Trail Options
The name, maximum number of points in the trail, activity, and visi-
bility are all changed on the Edit Trail menu screen. The Active setting
determines whether or not the unit is recording new points for a par-
ticular trail.
On the Edit Trail menu, press
↓
or
↑
to highlight the section you wish
to change, then press
ENT
. Make your changes, then press
EXIT
to erase
this menu. Related trail functions are discussed in further detail under
the Trails topic in Sec. 7,
Advanced GPS Operations
.
Units of Measure
This menu sets the speed and distance (statute or nautical miles, me-
ters), depth (feet, fathoms, or meters), temperature (degrees Fahrenheit
or Celsius) and heading (true or magnetic) units. To change the units:
Press
MENU
|
MENU
|
↓
to
S
YSTEM
S
ETUP
|
ENT
|
ENT
.
Summary of Contents for FishElite 480
Page 20: ...12 Notes ...
Page 100: ...92 Notes ...
Page 144: ...136 Notes ...
Page 194: ...186 Notes ...
Page 198: ...190 Notes ...