3
4
Display Compatibility Requirements
The iScan Duo is compatible with a wide range of displays including digital TVs, projectors and
monitors. Your display is compatible with the iScan Duo if it has an HDMI or DVI input. The iScan
Duo is not compatible with displays with analog inputs.
Note: If your display has a DVI input, verify that it is HDCP-compliant. If your display is not HDCP-
compliant you will need to use the component or other analog connections from your source.
Document Conventions and Menu Navigation
Text that is in bold refers to a button on the remote control or on the front panel.
Text that is in italic refers to an item that is in the On Screen Display (OSD).
The
t
,
u
,
q
, and
p
symbols refer to the navigational buttons on the remote control and the front
panel.
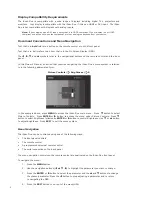
In this Owner’s Manual, an action that requires navigating the iScan Duo’s menu system is referred
to in the following abbreviated form:
Picture Controls
_
Brightness
_
0
In the example above, press MENU to access the iScan Duo main menu. Press
q
button to select
Picture Controls. Press ENTER or
u
button to access the menu under Picture Controls. Press
q
button to select Brightness followed by ENTER or
u
button to control Brightness. Use
q
or
p
button
to adjust brightness. Press EXIT to exit the menu system.
Menu Navigation
The iScan Duo can be controlled using one of the following ways:
• The front panel controls
• The remote control
• A programmed universal remote control
• The serial connection on the back panel
The menu navigation controls on the remote control are duplicated on the iScan Duo front panel.
To navigate the menu:
1. Press the MENU button.
2. Use the navigation buttons (
t
,
p
,
q
,
u
) to highlight the parameter you want to change.
3. Press the ENTER or
u
button to select the parameter and the
p
and
q
buttons to change
the chosen parameter. Press the
t
button to stop adjusting a parameter and to return
to navigating the OSD.
4. Press the EXIT button to exit out of the menu/OSD.
Remote Control Battery Installation
The remote control uses two AAA batteries (included), which should be replaced as needed.
To install the remote control batteries:
1. Locate the battery compartment on the back of the remote control.
2. Remove the cover from the back. To do this, push the cover in the direction indicated.
3. Remove the old batteries (if applicable).
4. Insert two new AAA batteries in the compartment as shown on the inside of the battery
compartment. Make sure the batteries are correctly inserted, observing the proper polarity.
5. After installation, replace the cover and recycle the old batteries (if applicable).
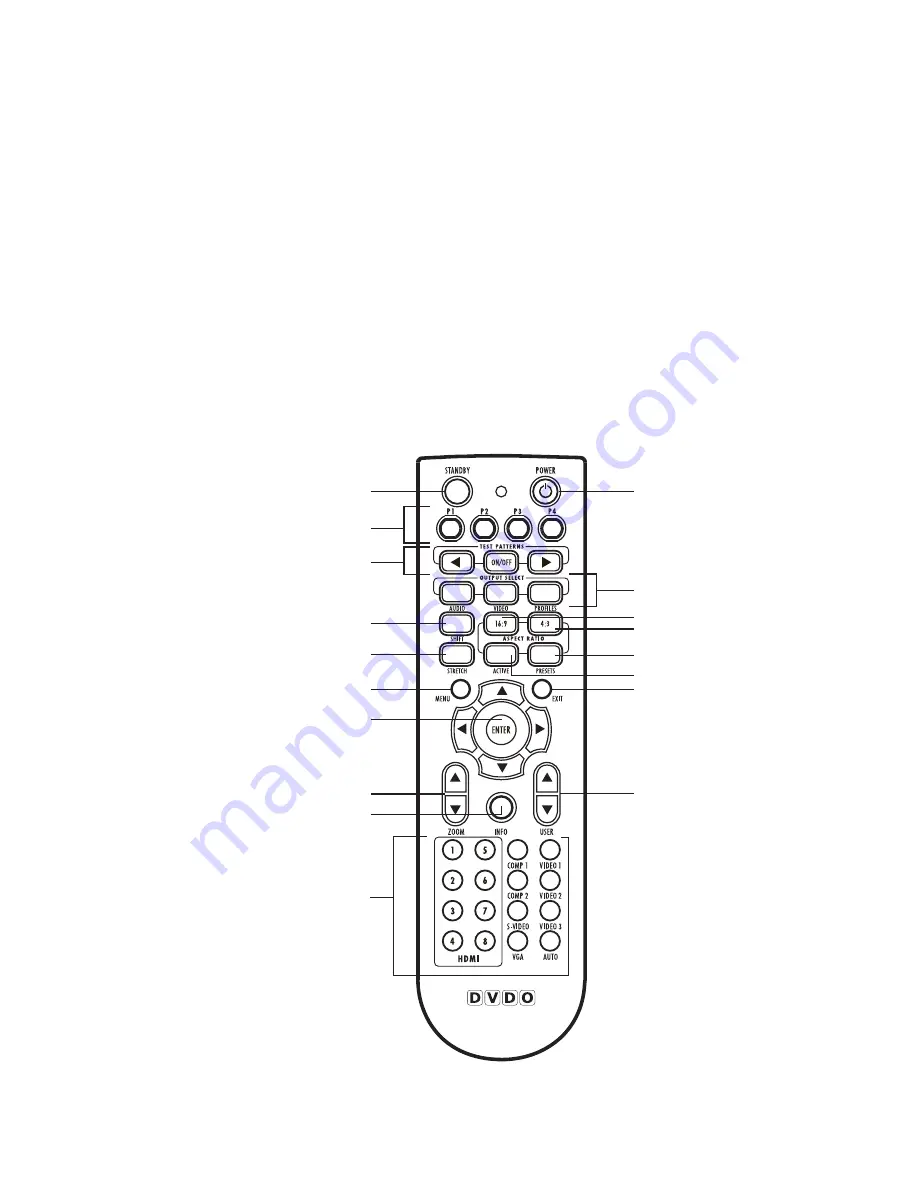
Remote Control
The supplied remote control is used to operate the iScan Duo. The table below describes the function
of the remote control buttons.
1
5
8
9
11
13
17
10
2
6
7
12
14
15
16
18
3
4


