VigorNIC 132 Series User’s Guide
127
6.
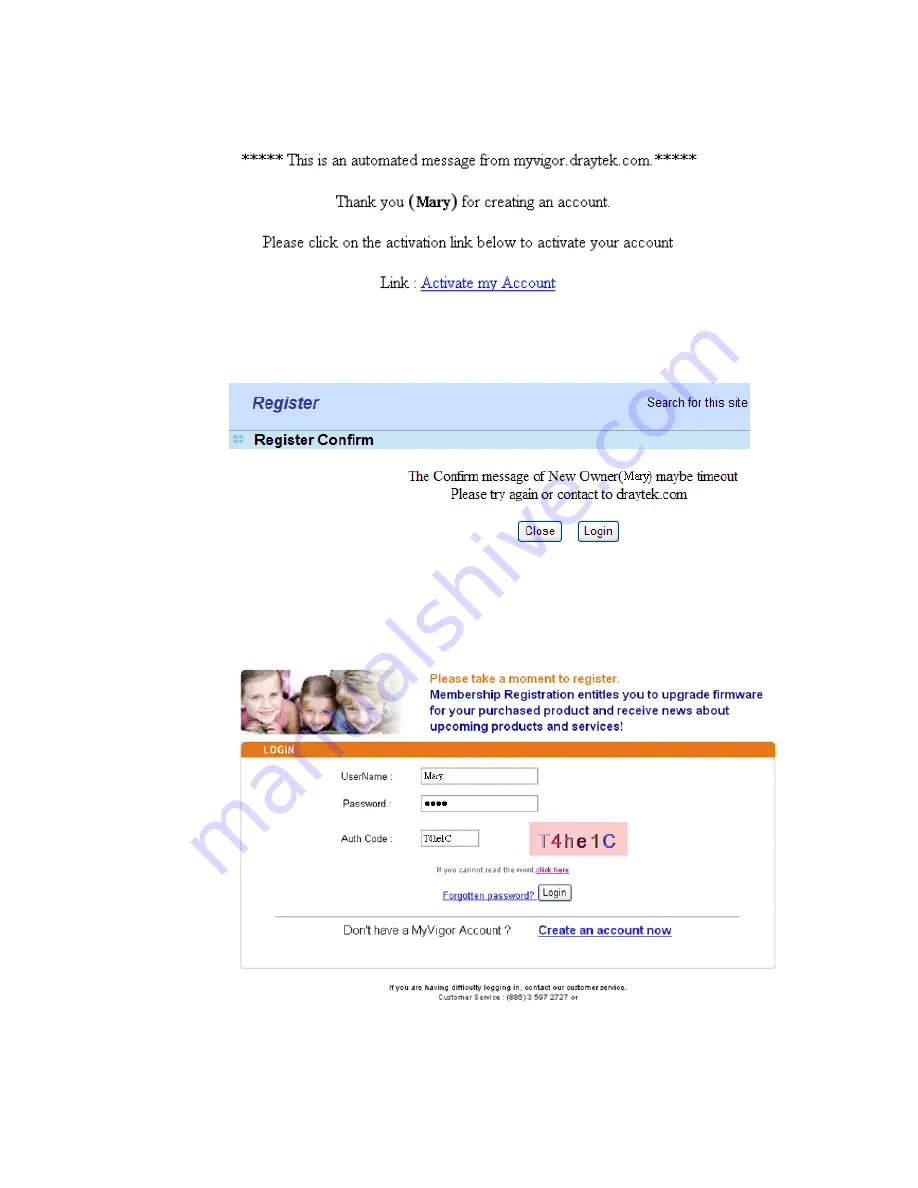
Check to see the confirmation
with the title of New Account Confirmation Letter
from myvigor.draytek.com.
7.
Click the Activate my Account link to enable the account that you created. The following
screen will be shown to verify the register process is finished. Please click Login.
8.
When you see the following page, please type in the account and password (that you just
created) in the fields of UserName and Password. Then type the code in the box of Auth
Code according to the value displayed on the right side of it.
Now, click Login. Your account has been activated. You can access into MyVigor server to
activate the service (e.g., WCF) that you want.
Summary of Contents for VigorNIC 132 series
Page 1: ......
Page 8: ......
Page 10: ......
Page 19: ...VigorNIC 132 Series User s Guide 9 ...
Page 65: ...VigorNIC 132 Series User s Guide 55 ...
Page 108: ...VigorNIC 132 Series User s Guide 98 This page is left blank ...
Page 121: ...VigorNIC 132 Series User s Guide 111 ...
Page 125: ...VigorNIC 132 Series User s Guide 115 ...
Page 158: ...VigorNIC 132 Series User s Guide 148 This page is left blank ...
Page 197: ...VigorNIC 132 Series User s Guide 187 ...
Page 201: ...VigorNIC 132 Series User s Guide 191 This page is left blank ...
Page 245: ...VigorNIC 132 Series User s Guide 235 WAN2 00 00 00 00 00 00 CONNECTED LAN NONE ...
Page 275: ...VigorNIC 132 Series User s Guide 265 Executation category bas bat com exe inf pif reg scr ...


