THE DNP100 DRAKE NETWORK PLAYER
LAYOUTS Tab (continued)
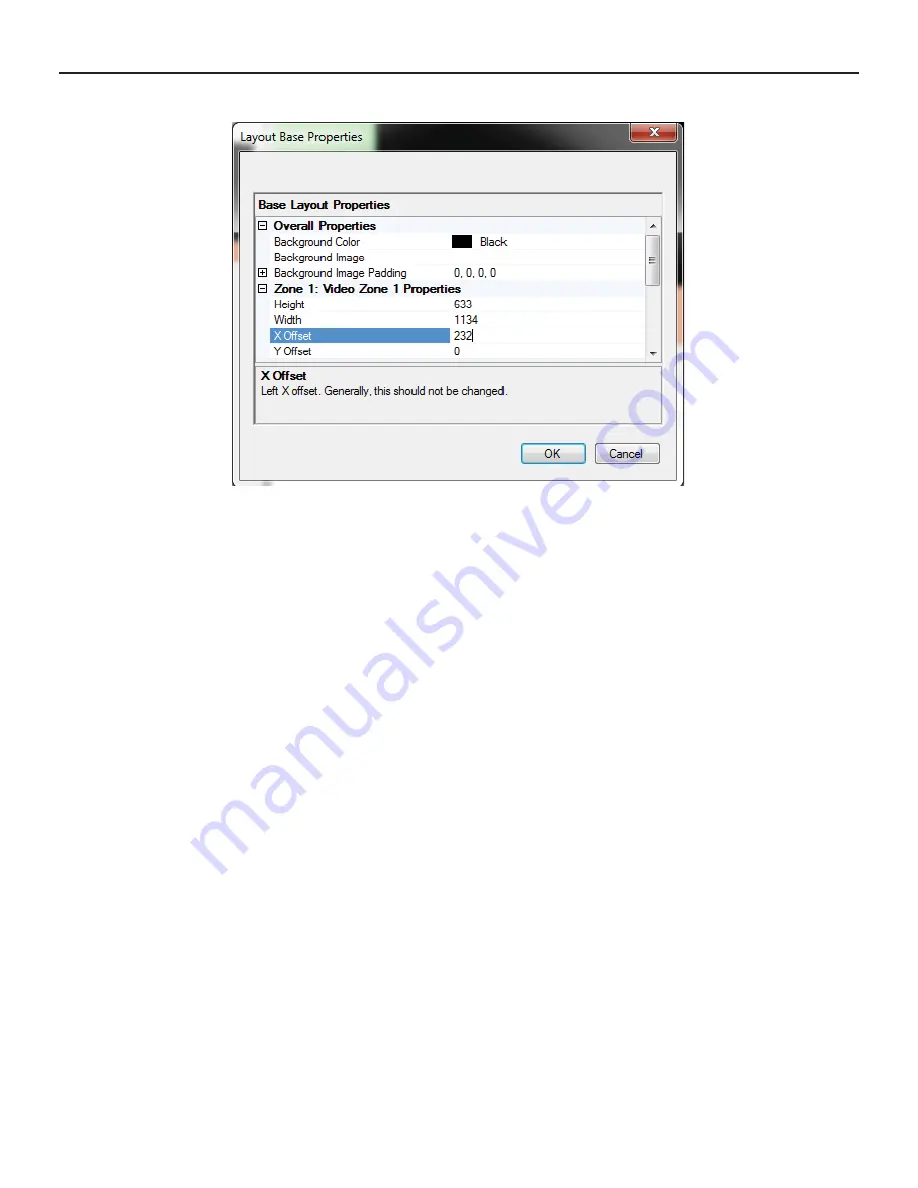
IMAGE: BASE PROPERTIES Window
OK will save your changes made in the NEW LAYOUT Window.
CANCEL will cancel any changes made in the NEW LAYOUT Window and revert back
to the LAYOUT ZONE ASSIGNMENT Window.
6. Click the OK Button once all of your desired parameter changes have been made. The
NEW LAYOUT Window will close and your NEW LAYOUT will be ADDED to the LAYOUTS
List.
Once you have had some experience authoring NEW LAYOUTS based off of pre-designed
TEMPLATES, you may wish to try DESIGNING your own CUSTOM LAYOUT TEMPLATE. A
completed and saved CUSTOM LAYOUT TEMPLATE will then be available as a choice from
the SELECT BASE LAYOUT Window. To Design a CUSTOM LAYOUT TEMPLATE:
1. Click the DESIGNER Button. A window labeled BASE LAYOUT DESIGNER will open. This
window contains all of the tools needed to add as many ZONES to the CUSTOM LAYOUT
TEMPLATE as you deem necessary to deliver your media content in the professional man-
ner that you desire (an image of the BASE LAYOUT DESIGNER is located on Page 25).
2. From the TOOLBOX (located in the upper right of the BASE LAYOUT DESIGNER Window),
use the mouse from your PC / laptop to single-click on a ZONE TYPE and drag it into the
viewable LAYOUT Area.
To MODIFY the dimensions of a ZONE, do one or both of the following:
A. Click on a corner of the ZONE and adjust its shape and size.
B. Type in new dimensions in the LOCATION AND SIZE
fi
elds in the ZONE PROPER-
TIES area.
(continued on Page 27)
26


