


8
4
3 Ring
2 Tip
1
RJ11 Phone Line Connection
Fig. 4.6.
Pinouts for the RJ11 connection
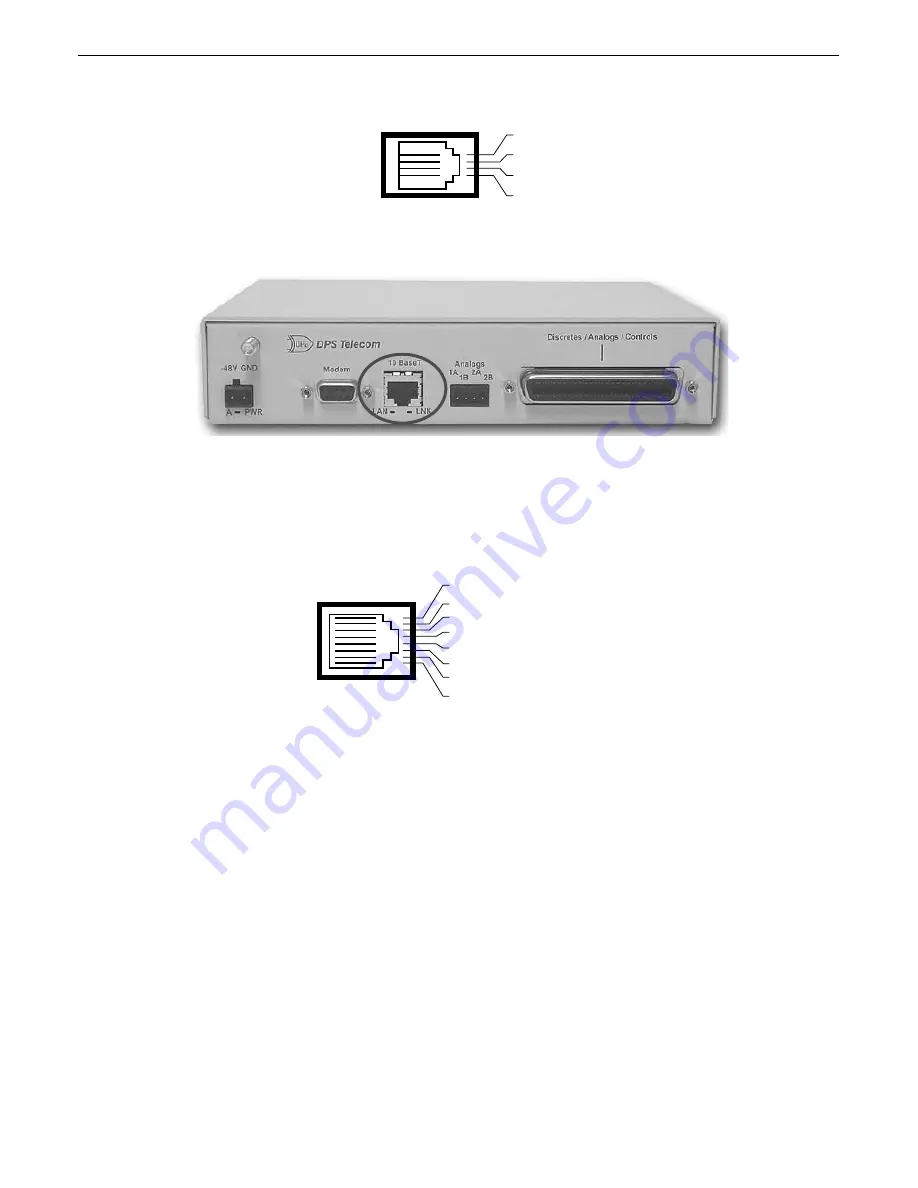
LAN Connection
4.6
Fig. 4.7.
10BaseT port
The NetGuardian 216 connects to your LAN or WAN for reporting alarms to T/Mon. Connect a standard RJ45
Ethernet cable from your LAN to the 10BaseT jack located on the NetGuardian 216 back panel, as shown in
Figure 4.7. Pinouts for the communication line connectors are shown in Figure 4.8.
RJ45 Ethernet Connection
8
7
5
6 Receive In– (RI–)
4
3 Receive In + (RI+)
2 Transmit Out– (TO–)
1 Transmit Out + (TO+)
Fig. 4.8.
Pinouts for the RJ45 10BaseT Ethernet connection
4.6.1 Preliminary Network Configuration
In order for the NetGuardian to become configurable over the LAN, the IP address of the NetGuardian must be in
the same subnet or on the same hub as your computer or network. The NetGuardian has a default IP address of
192.168.1.100 and a default subnet mask of 255.255.0.0. Configuring the NetGuardian to be in the same subnet as
your computer or network can be achieved in one of two ways:
1.
The most commonly used method:
by accessing the NetGuardian via the front panel craft port and changing
the IP address and subnet mask of the NetGuardian to match those of your computer or network, or
2. By temporarily changing the IP address and subnet mask of your computer in order to coincide with the
NetGuardian's default IP address and subnet mask — Once you are in the same subnet as the NetGuardian's
default settings, you can access the NetGuardian and change it's IP address and subnet mask in order to
coincide with your computer or network settings.
To temporarily adjust your computer's IP address and subnet mask to correspond to these settings, follow these
steps:
1. Access and write down your computer's IP address and subnet mask.


