24
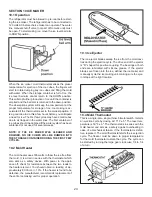
10.4 mold thermostat
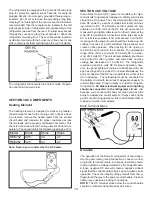
This is a single-pole, single-throw, bimetal switch. It starts
an ejection cycle by closing at 15º F ± 5º. The reset tem-
perature is 50º F ± 5º. The thermostat is in series with the
mold heater and acts as a safety against overheating in
case of a mechanical failure. If the thermostat is defec-
tive, replace it. The mold thermostat starts the ice ejection
cycle. The freezer must be down to proper temperature
for the mold thermostat to stare the cycle. The cycle can
be started by turning the large gear clock wise 1/8 to 1/4
of a turn.
SectIon 10 Ice maKer
10.1 operation
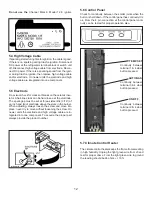
The refrigerator must be allowed to pre-cool before start-
ing the ice maker. The refrigerator has to be connected to
120 volts AC before the ice maker can operate. The water
line manual shutoff valve (not part of Dometic unit) must
be open. To start making ice, move the ice level bail arm
to DOWN position.
When the ice maker mold thermostat senses the preset
temperature for ejection of the ice cubes, the fingers will
start to rotate dumping any ice cubes and filling the mold
with water. When the storage container is full of ice, the
ice level bail arm cannot return to the DOWN position.
This will stop further production of ice until the container is
emptied and the bail arm is returned to the down position.
The absorption system will keep the compartment at the
proper temperature for storage of ice. Ice making is ac-
celerated if the thermostat is set to the coldest position. It
is a good idea to do this a few hours before you anticipate
a need for ice. The first few cycles may have small cubes
due to air trapped in the water lines. The first container of
ice cubes should be dumped if the water system has been
winterized or not used for several weeks.
note: If tHe Ice maKer WaS cleaned and
draIned, no Ice cuBeS WIll Be dumPed Into
tHe Storage contaIner durIng tHe fIrSt feW
cycleS.
10.2 mold Heater
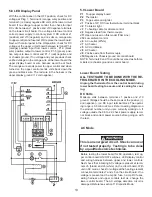
The mold heater uses 165 watts to thaw the ice free from
the mold. It is wired in series with the thermostat which
also acts as a safety device. With power to the appli-
ance off, check for resistance between the two leads to
the heater element. You should obtain a reading of ap-
proximately 80 ohms +/- 10%. If the heater is found to be
defective, the manufacturer recommends replacement of
the entire ice making unit for proper operation.
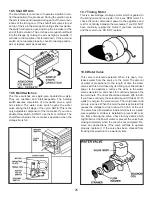
10.3 Ice ejector
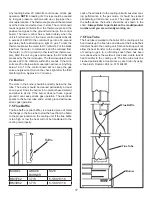
The ice ejector blades sweep the ice from the mold cavi-
ties during the ejection cycle. The drive end of the ejector
is “D” shaped for positive coupling. The bearings at both
ends are lubricated with silicone grease. If the ejector
blades are frozen into the ice, defrost the ice maker and
manually cycle the ice making unit, making sure the ejec-
tor stops at the right location.
Summary of Contents for RM3962
Page 15: ...14 RM3762 RM3962...
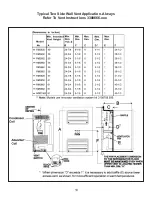
Page 20: ...19 Typical Two Side Wall Vent Application Always Refer To Vent Instructions 3308666 xxx...
Page 23: ...22...
Page 28: ...27...
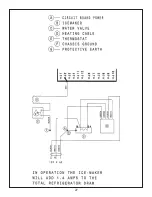
Page 29: ...28 ICE MAKER TYPICAL WIRING DIAGRAM...
Page 33: ...32...

