【
7-29
】
ELECTRICAL SYSTEM
Lighting
System
Headlight
Bulb
and
Assembly
Replacement
●
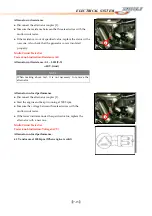
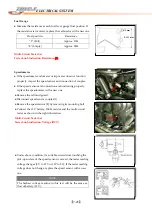
Remove:
Headlight
Unit
[A].
Bulb
Holder
[B]
●
Slide
back
the
dust
protection,
and
remove
the
bulb
from
the
headlight
unit.
○
Turn
the
holder
counterclockwise
and
pull
it
out.
●
Be
sure
the
socket
is
clean.
●
Insert
the
new
bulb
by
aligning
the
tang
with
the
notch
in
the
headlight
unit.
A
●
Push
the
holder
in,
turn
it
clockwise,
and
release
it,
it
should
lock
in
position.
●
Fit
the
dust
cover
completely.
Taillight
Bulb
and
Assembly
Replacement
●
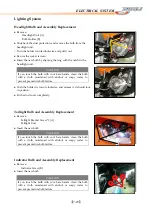
Remove:
Taillight
Bracket
Screw
*3
[A]
Taillight
Unit
●
Insert
the
new
bulb
Indicator
Bulb
and
Assembly
Replacement
●
Remove:
Indicator
Screw
[B]
●
Insert
the
new
bulb
B
CAUTION
If
you
touch
the
bulb
with
your
bare
hands,
clean
the
bulb
with
a
cloth
moistened
with
alcohol
or
soapy
water
to
prevent
premature
bulb
failure.
A
CAUTION
If
you
touch
the
bulb
with
your
bare
hands,
clean
the
bulb
with
a
cloth
moistened
with
alcohol
or
soapy
water
to
prevent
premature
bulb
failure.
CAUTION
If
you
touch
the
bulb
with
your
bare
hands,
clean
the
bulb
with
a
cloth
moistened
with
alcohol
or
soapy
water
to
prevent
premature
bulb
failure.
B
Summary of Contents for DL-702 2008
Page 1: ...FOREWORD INDEX 0 0...
Page 41: ...3 11 BRAKE...
Page 180: ...6 70 ENGINE Install the starter motor...
Page 201: ...7 21 COOLING AND LUBRICATION SYSTEM Engine Lubrication System Chart...
Page 202: ...7 22 COOLING AND LUBRICATION SYSTEM Engine Lubrication System 1 2 3 1 2 3 1 2 3...
Page 203: ...7 23 COOLING AND LUBRICATION SYSTEM 1 2 3...
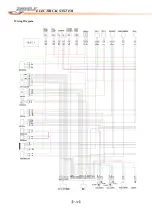
Page 235: ...7 32 ELECTRICAL SYSTEM Wiring Diagram...
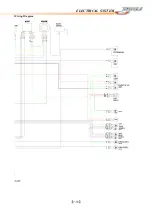
Page 236: ...7 33 ELECTRICAL SYSTEM Wiring Diagram...
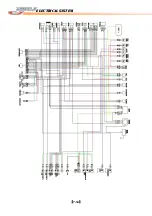
Page 237: ...7 34 7 34 ELECTRICAL SYSTEM ELECTRICAL SYSTEM...
Page 238: ...7 35 ELECTRICAL SYSTEM NOTE...
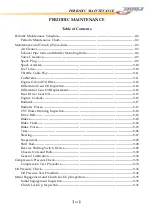
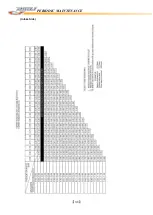
Page 240: ...9 2 PERIODIC MAINTENANCE...
Page 246: ...9 8 PERIODIC MAINTENANCE Intake Side...
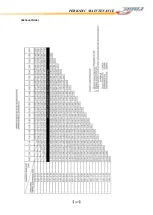
Page 247: ...9 9 PERIODIC MAINTENANCE Exhaust Side Side...
Page 270: ...9 32 PERIODIC MAINTENANCE 1 2 3 4 18 19 12 16 17 21 13 14 15 22 23 5 6 7 8 9 12 10 11 20...

