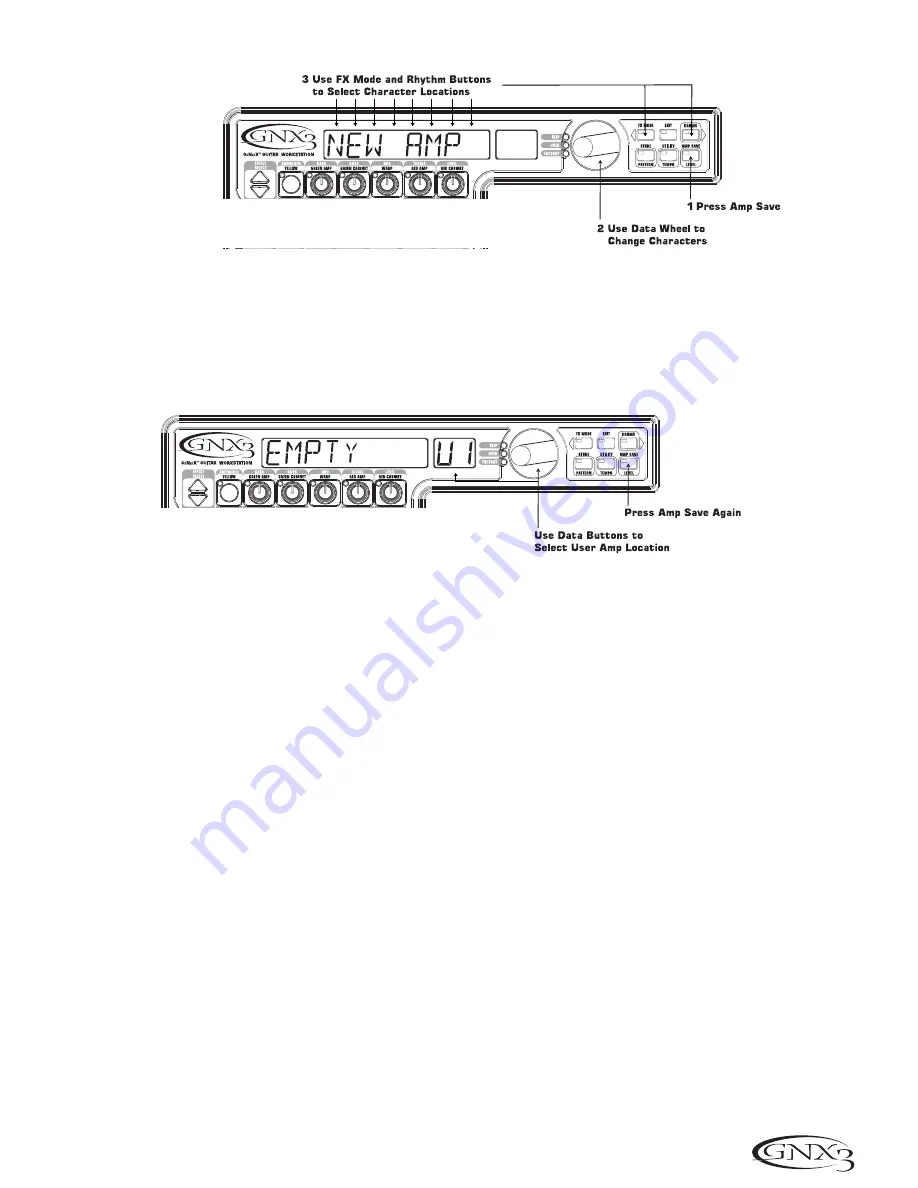
4. When the display reads
RECTWeeD
, press the
AMP SAVE
button again. Now we need to choose one
of the 9 User HyperModel™ locations.The alpha-numeric display should read
EMPTY
(Empty) and the
red numeric display should read
U1
if this is the first HyperModel™ stored to your GNX3.
5. Press the
AMP SAVE
button again to save to this Amp location.The display briefly reads
AMP SaVD
(Amp Saved) and then returns to the name of the selected preset.
Select Models for the Preset’s Channels
In the previous steps, we selected a Tweed amp model for the Green Channel and a Rectified amp model
for the Red Channel. Then we Warped the two together to create our HyperModel™. This
HyperModel™ is saved as an amp type that we named Rectweed, but it is not currently part of our
preset. In this example preset, we need to be able to toggle between an acoustic guitar simulation and
our new HyperModel™. To do this we need to select the Acoustic model for the Green Channel and
Rectweed for the Red Channel of our preset, as follows:
1. The LED next to the
STATUS
button should be yellow. If it is not, press
EXIT
.
2. Rotate the Parameter 1 knob until the display reads
ACOUSTic
.This is the Green Channel Model for
the preset.
3. Rotate the Parameter 4 knob until the display reads
RECTWeeD
(our new HyperModel™). This is the
Red Channel Model for the preset. This lets us toggle between these two sounds using the Amp
Footswitch (when Stompbox Mode is active).
Edit the Preset
The next step to creating our example preset involves the editing the preset. To edit the preset, do
the following:
1. Press the
EFFECT SELECT DOWN
button. The Matrix LED in the Wah-Pickup row lights.
The display briefly reads
EDIT
and then cycles between the status of the Wah and Pickup
Simulator effects.
2. If the red display reads
WAH
On
, press the
STATUS
button once to turn the Wah off (since our
example does not use a Wah).
33
Tutorial
Summary of Contents for GNX3
Page 1: ...GENETX GUITAR WORKSTATION TM USER S GUIDE...
Page 4: ......
Page 82: ......
Page 83: ......


