(No.HD001<Rev.001>)1-15
SECTION 3
DISASSEMBLY
Before disassembly, be sure to turn OFF the power and unplug
the power cord.
3.1
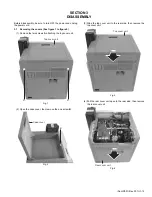
Removing the covers (See figure 1 to figure 5)
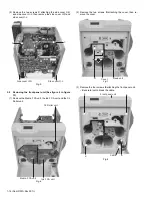
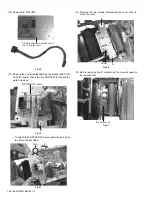
(1) Remove the two screws
A
attaching the top cover unit.
Fig.1
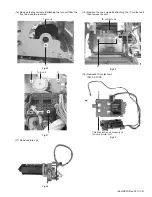
(2) Open the case cover, then remove the one screw
B
.
Fig.2
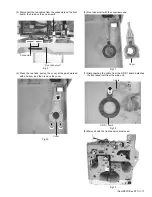
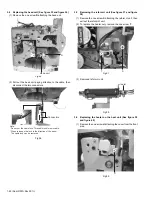
(3) Slide the top cover unit to the rear side, then remove the
top cover unit.
Fig.3
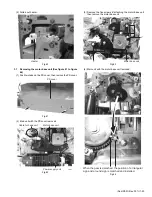
(4) Pull the rear cover unit open to the rear side, then remove
the rear cover unit.
Fig.4
A
A
Top cover unit
B
Case cover
Top cover unit
Rear cover unit
Summary of Contents for XID 8300
Page 1: ...No HD001 Rev 001 2010 10 SERVICE MANUAL CARD PRINTER XID8300 XID8300 DS XID8300C XID8300C DS ...
Page 46: ......
Page 56: ......


