DVM-500 User’s Guide
Digital In-Car Video System
Digital Ally DVM User Guide Rev. F (334/1.6.2) Page
1
of
36
DVM-500 System – Initial Setup
1. VideoManager should be installed and configured on a computer
running Windows XP SP2 before using the DVM for the first time.
Vehicles, Users, and Event IDs are defined during the initial setup of
VideoManager. Please refer to the VideoManager User’s Guide for
instructions.
2. The DVM’s CF card comes with 2 default login settings already
configured, and they are as follows:
User1
– Password = 22222
Admin
– Password = 11111
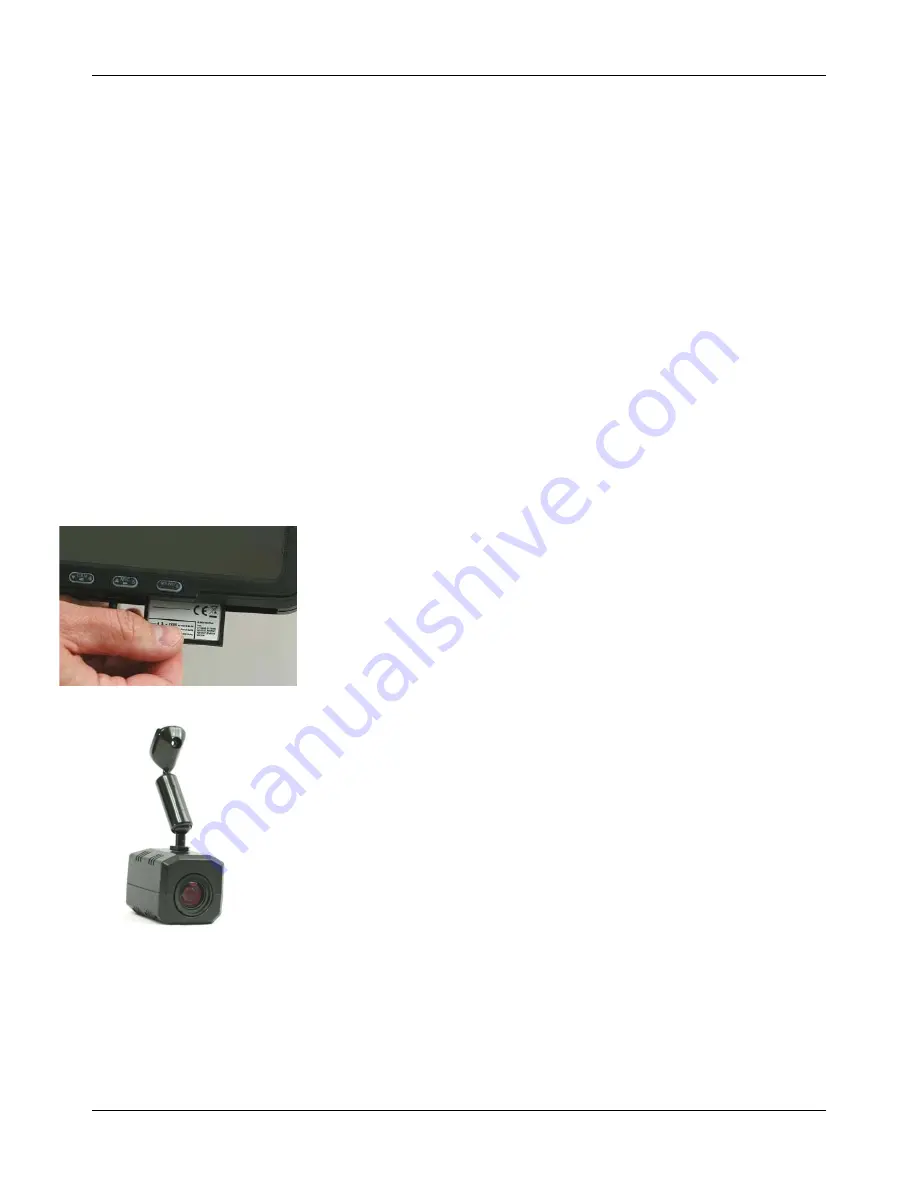
3. The DVM has been shipped with a 4GB CF card already installed. The
memory card must be fully inserted before powering up the unit or a
message “initializing CF card” will appear on the screen and the unit will
fail to start up. Please note that the DVM requires high-speed memory
cards. SanDisk brand Ultra II and Extreme III cards are the only CF
cards approved for use in the DVM. A 4GB CF card will not be included
with DVM-500 systems that are ordered with an 8GB or 16GB CF card.
Important:
Do not force the CF card into the slot. Doing so may
permanently damage the DVM.
The card only goes in one way, with
the back side of the card towards the front of the DVM and the colorful
label side facing the back of the DVM. The memory card should slide in
easily with slight resistance as the card seats into the slot. If the card is
difficult to insert, pull it back out and make sure it is facing the right
direction and align it carefully with the slot as the card is reinserted.
The
white label side should be facing towards the back of the vehicle, as
seen in the picture to the left.
Important: Do not insert or remove the CF card while the
DVM is powered on!
4. The main camera must be connected to the DVM using the included
cable. If it is not connected, the DVM will display the message “Power
down and connect camera” after logging in.
5. The wireless microphone (RMT) must be fully charged before using it
with the DVM. The RMT can be charged using the in-car charging cradle
or the desktop charging cradle. Two charging cradles are included in the
DVM-500 kit: one for vehicle use and one for desktop use.
Important: Charge the RMT for 12-16 hours before using it for
the first time. Failure to fully charge the RMT may result in
permanent loss of battery capacity. After an initial charge, the
RMT should fully recharge in approximately 4-5 hours.
(Steps continue on next page)


