USER’S MANUAL
68
MENU SETUP
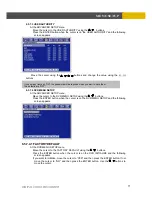
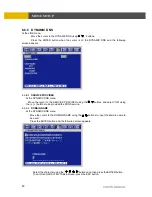
6.5.2.2 TIME ADJUST
At the CLOCK menu,
Move the cursor to the TIME ADJUST using the , buttons.
Press the ENTER button when the cursor is on the TIME ADJUST and the following screen
appears.
Select “ON” or “OFF” using the (-), (+) buttons when the cursor is on “INTERNET TIME
ADJUST”. If the INTERNET TIME ADJUST is “ON”, the time of DVR will be adjusted to the time
offered by the internet server.
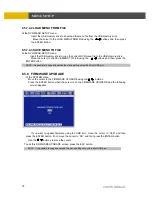
Move the cursor using the , , , buttons and then set the IP address of SELECT
TIME SERVER using the (-), (+) buttons.
Set the correct TIME ZONE standardizing GMT(Greenwich Mean Time).
Move the cursor to the DAYLIGHT SAVING TIME(Summer time) using the , buttons and
then select “ON” or “OFF” using the (-), (+) buttons.
If the DAYLIGHT SAVING TIME set “ON”, set up the starting date and time and end date and time.
Use the , buttons to move the cursor and use the (-), (+) buttons to change
the value.
To exit this TIME ADJUST menu, press the ESC button.
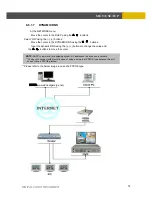
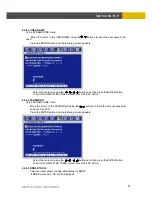
6.5.3 VIDEO STANDARD
At the SYSTEM menu,
Move the cursor to the VIDEO STANDARD using the , buttons.
Select the desired value using the (-), (+) buttons.
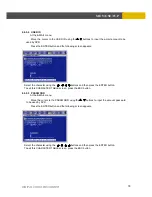
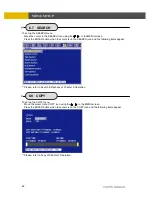
6.5.4 LANGUAGE
At the SYSTEM menu,
Move the cursor to the LANGUAGE using the , buttons.
Select the desired language using the (-), (+) buttons.
Available languages: ENGLISH, KOREAN, JAPANESE , POLISH, SPANISH, RUSSIAN,
CHINESE, TAIWANESE
If you select “AUTO”, this DVR can detect NTSC/PAL automatically boot time.
The default is “NTSC”.

