USER’S MANUAL
58
MENU SETUP
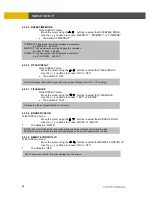
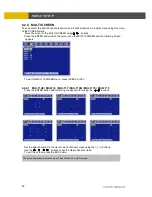
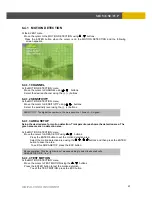
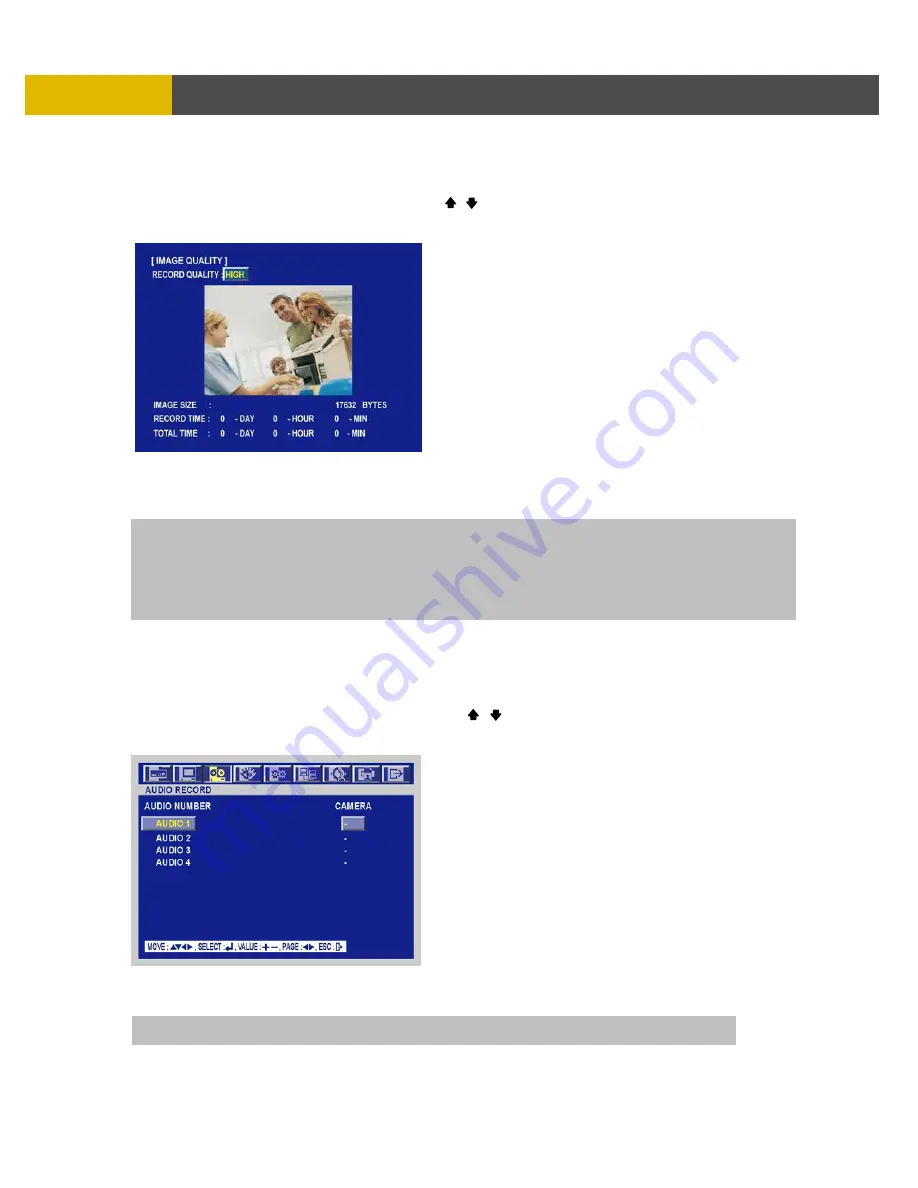
6.3.3 IMAGE QUALITY
At the RECORD menu,
Move the cursor to the IMAGE QUALITY using , buttons.
Press the ENTER button when the cursor is on the IMAGE QUALITY and the following screen
appears.
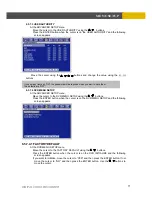
Select the desired RECORD QUALITY using the (-), (+) buttons.
And you can see the size of each image quality and how long you can record in the installed
HDDs by the image quality.
To exit this IMAGE QUALITY menu, press the ESC button.
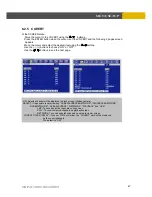
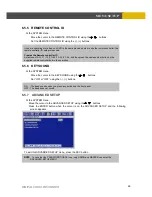
6.3.4 AUDIO RECORD
At the RECORD menu,
Move the cursor to the AUDIO RECORD using the , buttons.
Press the ENTER button when the cursor is on the AUDIO RECORD and the following screen
appears.
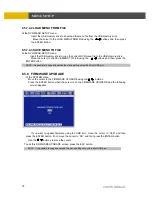
Select the audio recording channels using the (-), (+) buttons.
Press the AUDIO SEL button and then press the desired channel button on the front panel after
saving this menu and you can hear the selected channel audio.
NOTE
You have to turn off the “REC” button to use the image quality menu.
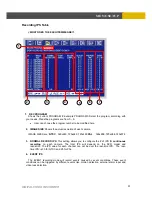
RECORD TIME: A period how long you can record in free space of installed HDD(s) by setting of Max. frame rate.
TOTAL TIME: A period how long you can record in total installed HDD(s) by setting of Max. frame rate.
** The better the image quality is, the bigger the file size is
and the worse the image quality,
the smaller the file size is.
NOTE :
AUDIO CHANNEL during live or playback

