3. Maintenance and troubleshooting
MERMAID E1100-I
STD00
Page 24 of 54
Disassembly / Assembly of the crankshaft with bearings replacement
After disassembling the side covers
,
remove the outer ring nut of the bearings from their covers
and the
inner ring nut
, with the remaining part of the bearing, from the two shaft extremities using a standard pin
extractor.
The new roller bearing can be mounted at room temperature with a press; it is necessary to lay them
on the lateral side of the relevant ring nuts with apposite rings. Making sure that the ring nuts are
correctly fitted in their seats.
Fluid End Repair
Disassembly of the head
– liners – valves
Loosen the screws M8x100 that fix the liners to the head as shown in fig.12. Unfasten the head screws
M12x260 N° 5 and N° 6 as shown in fig. 13.
Replace it with the supplied 4 x 700953532 to prevent
breaking of the plunger.
(Important!!!!)
1
2
4pcs x 7009953532
Summary of Contents for MERMAID E1100-I
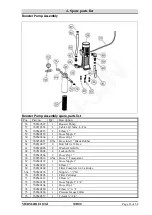
Page 38: ...4 Spare parts list MERMAID E1100 I STD00 Page 37 of 54 Pump assembly ...
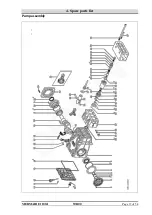
Page 46: ...4 Spare parts list MERMAID E1100 I STD00 Page 45 of 54 ...
Page 47: ...4 Spare parts list MERMAID E1100 I STD00 Page 46 of 54 ...
Page 53: ...5 Wiring Diagram MERMAID E1100 I STD00 Page 52 of 54 5 Wiring Diagram ...


