3. Maintenance and troubleshooting
MERMAID E1100-I
STD00
Page 26 of 54
Extract the delivery pads (fig.22 position 4) and the related guides (fig.23 position 3)
and springs
,
as
check for wear and replace components if necessary.
Assembly of the head
– liners – valves
Remove the pumping assembly with a fork wrench and check for wear as indicated in fig. 24- 25;
replace if necessary.
700953533 Deep Socket .
Remove the M 6x40 screws of the liner support (fig. 26, position 1) and separate the support (fig.27)
1
Summary of Contents for MERMAID E1100-I
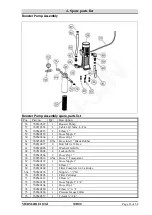
Page 38: ...4 Spare parts list MERMAID E1100 I STD00 Page 37 of 54 Pump assembly ...
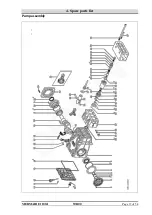
Page 46: ...4 Spare parts list MERMAID E1100 I STD00 Page 45 of 54 ...
Page 47: ...4 Spare parts list MERMAID E1100 I STD00 Page 46 of 54 ...
Page 53: ...5 Wiring Diagram MERMAID E1100 I STD00 Page 52 of 54 5 Wiring Diagram ...


