Accessing the Console
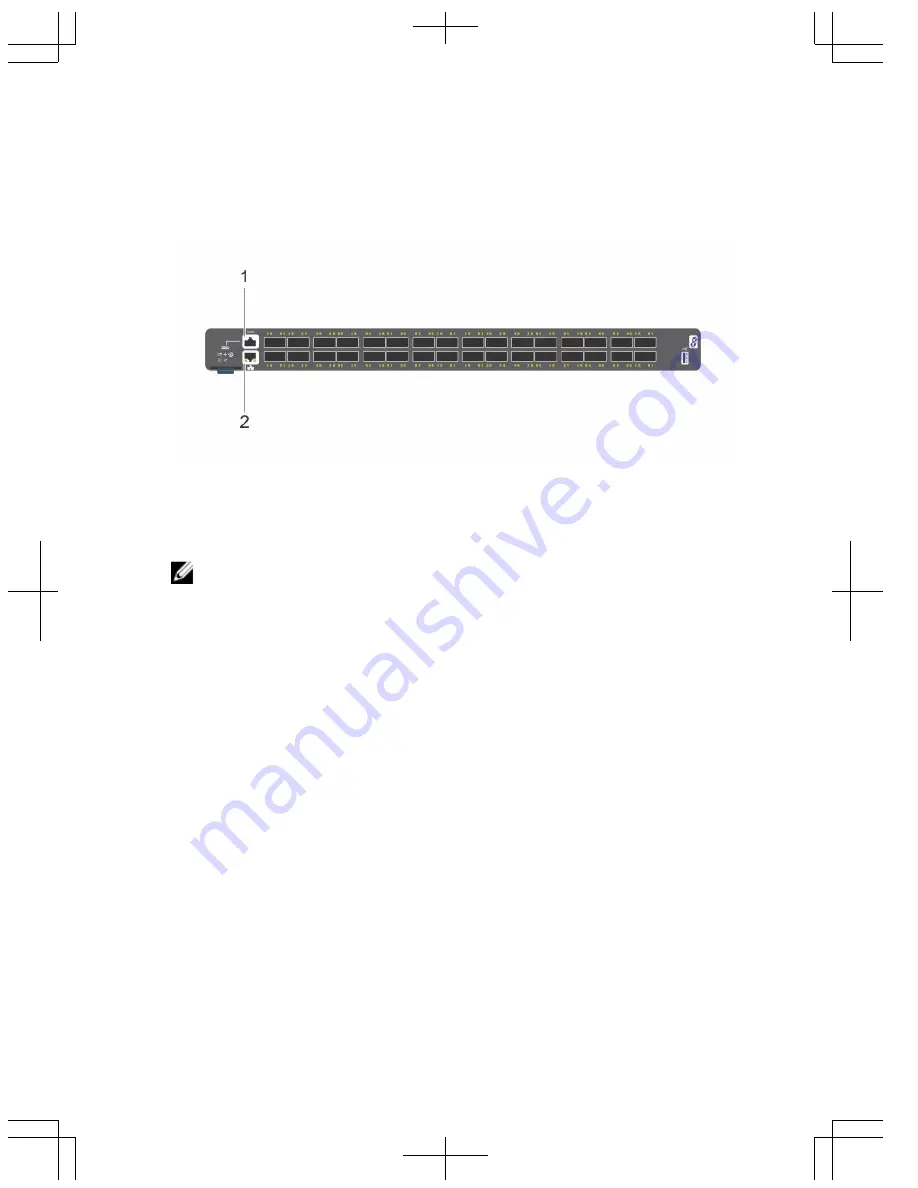
The RS-232 console port is on the left-hand side of the S6010-ON system as
you face the I/O side of the chassis, as shown in the following figure.
Figure 14. S6010–ON RS-232 Console and Management Ports
1.
RS-232 console port
2.
RJ-45 management port
NOTE: You must have a password configured on a virtual terminal line
before you can Telnet into the S6010–ON system. Therefore, use a
console connection when connecting to the system for the first time.
Before starting this procedure, be sure that you have a terminal
emulation program already installed on your PC.
1.
Install an RJ-45 copper cable into the console port. Use a rollover cable
to connect the S6010–ON console port to a terminal server.
2.
Connect the other end of the cable to the DTE terminal server.
3.
Set the default terminal settings as follows.
• 115200-baud rate (set the MicroUSB console port to the same rate)
• No parity
• Eight data bits
• One stop bit
• No flow control
26
Summary of Contents for S6010-ON
Page 1: ...Dell Networking S6010 ON Getting Started Guide Regulatory Model S6010 ON ...
Page 2: ......
Page 3: ...Dell Networking S6010 ON Getting Started Guide Regulatory Model S6010 ON ...
Page 6: ...4 ...
Page 34: ...32 ...
Page 37: ...Guía de introducción de Dell Networking S6010 ON Modelo reglamentario S6010 ON ...
Page 40: ...4 ...
Page 68: ...32 ...
Page 71: ...Guide de mise en route du S6010 ON Dell Networking Modèle réglementaire S6010 ON ...
Page 74: ...4 ...
Page 102: ...32 ...
Page 105: ...Guia de primeiros passos do Dell Networking S6010 ON Modelo normativo S6010 ON ...
Page 108: ...4 ...
Page 136: ...32 ...
Page 139: ......
Page 140: ......


