Stacking Dell PowerConnect Switches: 8132, 8132F, 8164, 8164F
17
console#
show switch
Management Standby Preconfig Plugged-in Switch Code
SW Status Status Model ID Model ID Status Version
--- ---------- --------- ----------- ----------- -------- -------
1 Mgmt Sw PCT8164F PCT8164F OK 5.0.0.3
2 Stack Mbr Oper Stby PCT8164 PCT8164 OK 5.0.0.3
3 Stack Mbr PCT8132 PCT8132 OK 5.0.0.3
The show switch stack-ports command can also be used to see all of the ports that have been added to
the stack as well as which ones are being used for stacking. To view only ports that are configured for
stacking, use the command
show switch stack-ports | include Stack
.
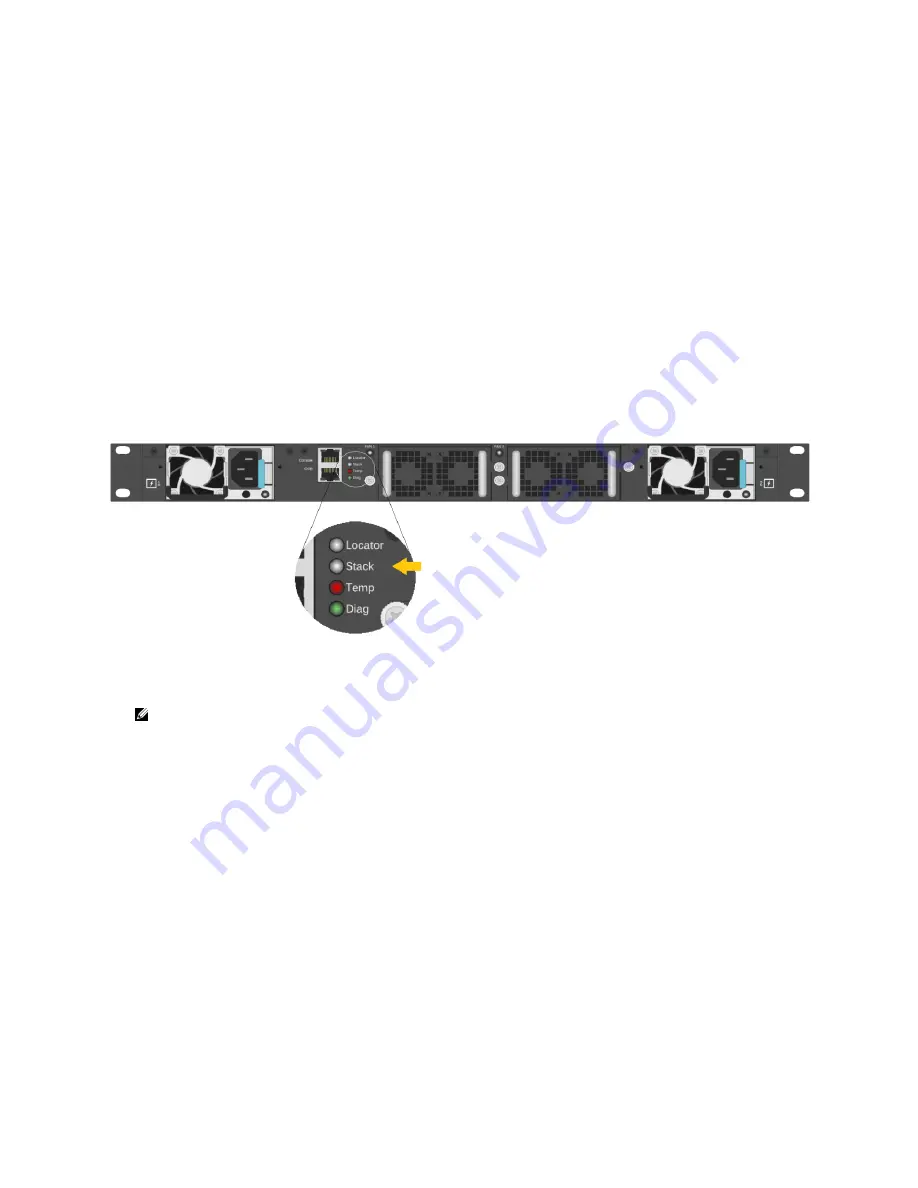
Figure 11 shows the Stack LED that is located on the back panel of every Dell PowerConnect 8100 series
switch.
Stacking LED for the Dell PowerConnect 8100/8100F series switch
Figure 11.
When the switch is the Master of a stack, the LED glows solid blue. If it is a stack member only, it
glows a solid amber. When in stand-alone mode, the LED is off.
Note:
Each stack members’ role (including the Master and Standby) can be defined any time
after the initial stack is created.
Web interface method
Make sure all switches are at the same firmware version prior to configuring the stack, or use the Stack
Firmware Synchronization (
boot auto-copy-fw
) feature to synchronize all firmware during the stack
setup process to that of the Master. The
boot auto-copy-fw
command is explained below in this
example.
Select a switch to be Master of the stack and for managing all ports and member units with the stack.
Login to the Web UI for this switch by entering the IP address of the switch into a supported Web
browser. A username and password is required and should be setup beforehand on each switch. See
the switch User Guide for more information regarding username, password, and Web access.


