TREK1000 User Manual
© Decawave 2016
This document is confidential and contains information which is proprietary to
Decawave Limited. No reproduction is permitted without prior express written permission of the
author
Page
26 of 54
6 T
HE
U
SER
I
NTERFACE
This section describes the TREK1000 User Interface and usage.
6.1 Launch the User Interface
Connect the PC to Anchor 0 using any of the USB cables. Ensure the LEDs on Anchor ID
turn on and the TREK software message appears on the EVB1000 display.
Figure 24: User Interface: Startup Message
Note that this Anchor is powered directly from the USB connection to the PC
– no external
power source is required.
Launch the PC application from DecaRangeRTLS.exe. This can be found in the
DecaRangeRTLS-PC folder.
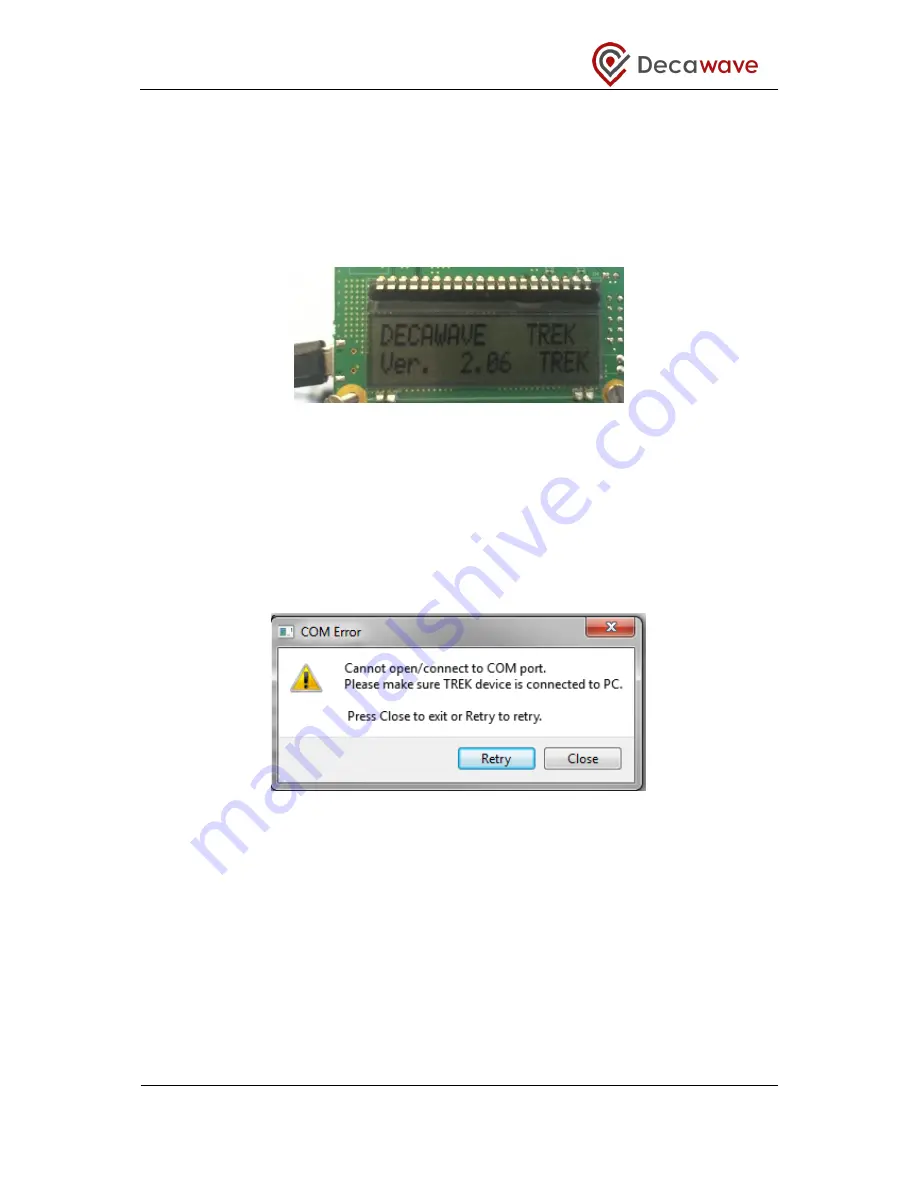
If there is no USB connection from the PC to Anchor 0 the following error message will
appear.
Figure 25: User Interface: Startup
– Error Message
In this case, make the connection to the EVB1000 unit, wait about 20 s and then click OK.
If problems persist then it may be necessary to modify the order in which COM port numbers
are assigned in the PC.
To do this, go to Device Manager -> Ports (COM and LPT), and see which devices are
assigned to which COM ports.
Select "STMicroelectronics Virtual COM Port (COMx)", and right click into
“Properties”.
Select the “Port Settings” tab and click “Advanced”. Modify the COM port number associated
with this port. The chosen port number should be lower than all other assigned ports and
should be in the range 3 to 49.


