20
DriveRack
®
DriveRack® 260 User Manual
Configuration Functions
Section 3
SECTION 3 – CONFIGURATION FUNCTIONS
The Configuring section of the DriveRack 260 will be your key to successful navigation of the configuration functions
of the DriveRack. The following information provides, descriptions about program functions and in depth configuration
options of the DriveRack 260.
3.1 Program Definition
The first step in understanding the programming capabilities of the DriveRack is to understand the components of
a complete “program.” Within an individual program, there are several levels of editing that make up the complete
program. When initially entering a program, you will be at the “program” mode level. This level supplies the user with
current program information such as: current signal path, effect usage, and program name/number. From this point, the
DriveRack 260 gives you the option of entering subsequent levels of operation that are dedicated to program editing.
These levels include Configuration mode and Effect Edit mode. All of these components combined, make up the
conventional “program”, and they are all unique to each individual program. The exception is the Utility menu which
is accessed via the Utility button and contains a global set of parameters and therefore, is not part of one particular
program, but rather all programs.
3.2 Navigating Factory Programs
From the factory, the 260 DriveRack ships with 25 factory programs that have been designed to accommodate virtually
any sound reinforcement and installation application. The factory programs offer a clear and concise explanatory title to
get you up and running in a timely manner. These programs can also be used as templates or starting points for the user
to create custom programs.
Selecting Programs:
The quickest way to get up and running with the DriveRack is to use any one of the factory programs that are available
in the box. To select a factory program, (from program mode), use the
DATA
wheel to scroll through the various
factory programs. As each factory program is selected, the display will clearly indicate the title that is directly related to
a specific application. Once a program is selected, ‘Not Loaded’ will flash in the display. To load this selected program,
press the
DATA
wheel in (this is the
SELECT
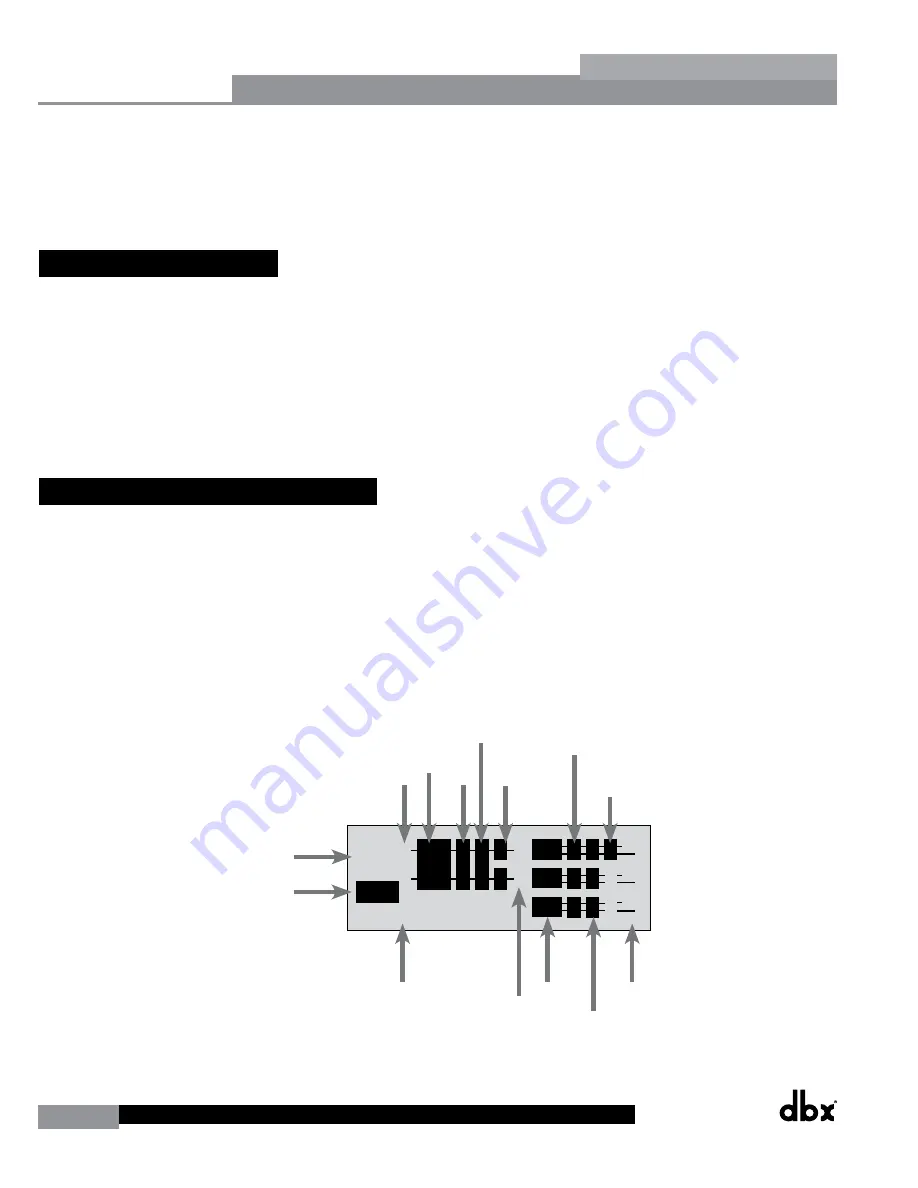
button). The display will appear something like this:
M
1
3
5
2
4
6
M
A
B
STw/2Delays
33
FACT
Over Easy OFF
Compressor ON
COMP THR
-50 -30 -12 -5 0
LR
-
0+
<DATA> - SELECTS CHARACTER
<PREV/NEXTPG> - LEFT/RIGHT:
PRESS <STORE> TO ADVANCE
NAME:
R
OCK VENUE
sSub
INSERT:
PRESS <STORE> TO ADVANCE
STORE: Program 1
U6
sSub
Replacing
PRESS <STORE> TO ADVANCE
STORE: ROCK VENUE
U1
DJ Setup
GEQ
P
2x2
2x2
2x2
L
P L
P L
D
D
D
C
G
D
D
D
D
Replacing:
U 1
Program 1
Graphic
EQ
Mixer
Gate
XOVER
Input
Processing
Chain A/B
Indicators
Limiter
Parametric
EQ
Output
Routing
Program
Name
Program #
Program Type
Compressor
Pre
XOVER
Delay
Post
XOVER
Delay
Summary of Contents for DriveRack 260
Page 9: ...DriveRack DriveRack 260 User Manual 7 Getting Started Section 1 Step by step Setup Procedure...
Page 10: ...8 DriveRack DriveRack 260 User Manual Getting Started Section 1...
Page 11: ...DriveRack DriveRack 260 User Manual 9 Getting Started Section 1...
Page 12: ...10 DriveRack DriveRack 260 User Manual Getting Started Section 1...
Page 13: ...DriveRack DriveRack 260 User Manual 11 Getting Started Section 1...
Page 14: ...12 DriveRack DriveRack 260 User Manual Getting Started Section 1...
Page 15: ...DriveRack DriveRack 260 User Manual 13 Getting Started Section 1...
Page 16: ...14 DriveRack DriveRack 260 User Manual Getting Started Section 1...


