15
Keyboard Controls
– PIP1, PIP2, DSK1 and DSK2
PIP Preset and PIP Program
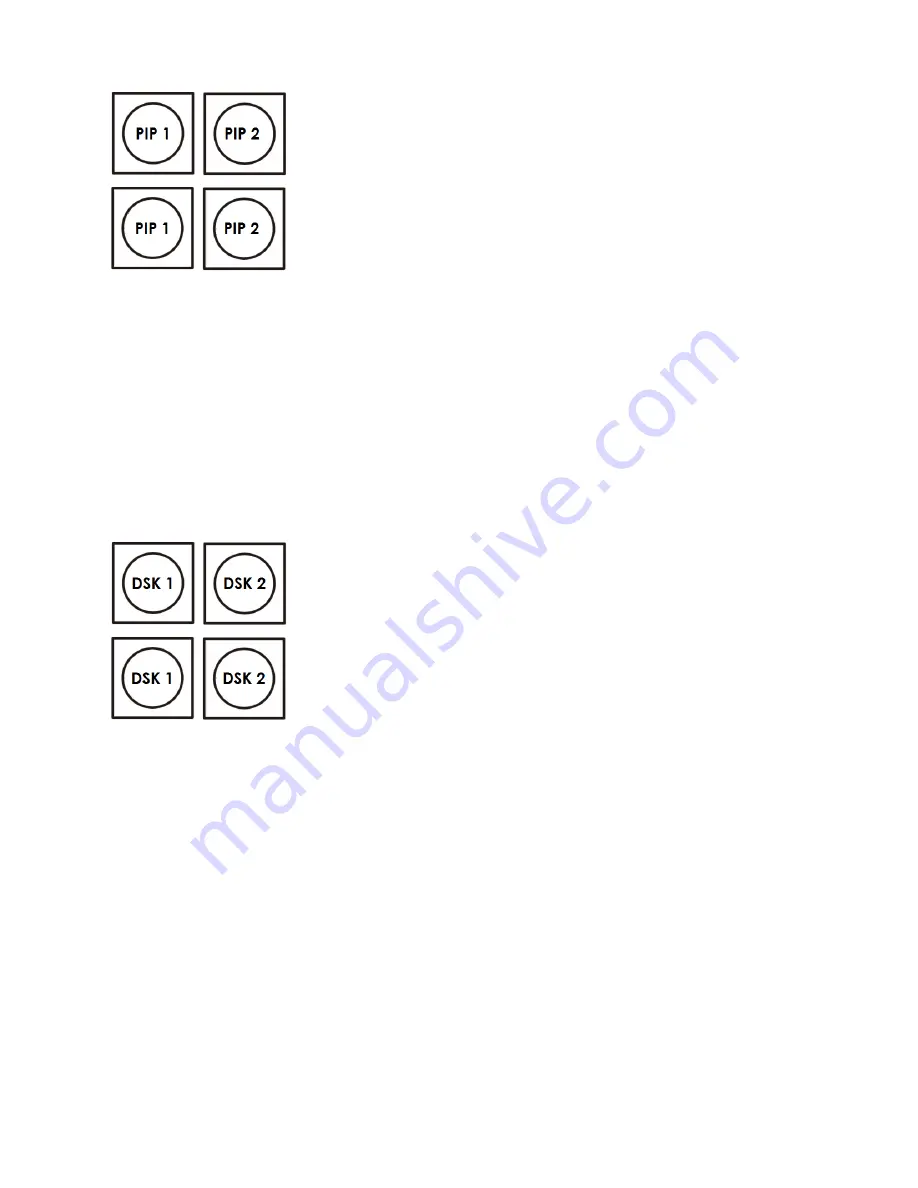
When looking at the top right corner of the SE-2800 Control Panel / Keyboard
there are four PIP keys. These are labelled Program and Preset. The upper
PIP1 and PIP2 keys relate to activating Picture In Picture images on the
Program outputs. The lower PIP1 and PIP2 keys relate to activating Picture In
Picture images on the Multi-view or Preview outputs.
Assigning a video source input to a PIP
Using the lower PIP1 or PIP2 buttons you can assign a selected video input to
the chosen PIP video layer.
1) First press and hold down the required PIP button on the lower row. The
Preset row of input sources will light.
2) While still holding down the PIP button, press to select the required input
from the Preset row.
3) The input will flash to confirm it is selected.
This selection will also be confirmed on the HDMI Multi-view, with a P1 or P2
label shown next to the selected input image.
The full PIP process is described on
page 21
.
DSK Preset and DSK Program
When looking at the top right corner of the SE-2800 Control Panel / Keyboard
there are four DSK keys. These are labelled Program and Preset. The upper
DSK1 and DSK2 keys relate to activating Down Stream Keying on the Program
outputs. The lower DSK1 and DSK2 keys relate to activating Down Stream
Keying on the Multi-view or Preview outputs.
Assigning an input to a DSK channel for keying
Using the lower DSK1 or DSK2 buttons you can assign a selected video input to
the chosen DSK video layer.
1. First press and hold down the required DSK button on the lower row. The
Preset row of input sources will light.
2. While still holding down the DSK button, press to select the required input
from the Preset row.
3. The input will flash to confirm it is selected.
This selection will also be confirmed on the HDMI Multi-view, with a T1 or T2
label shown next to the selected input image.
The full DSK process is described on
page 22
.


