38
and “Height” to determine the “Start Point” and “End Point”. If users want to set
the “End Point” to be the same as the “Start Point”, please press the “From
Current”
button once.
Please select your desired playing mode from the “Motion mode” drop-down
menu.
Please adjust your desired playing speed by pressing the “Slow”
,
“Medium”
, “Fast”
buttons or by adjusting the “Speed” slider
from the “Motion Speed” option.
Finally, please press the “Play”
button and then users can see the
selected screen to move from the “Start Point” to the “End Point” from the
external connected monitor. If users want to stop the playing, please press the
“Stop” button.
How to Save Current Settings by Preset for Recalling Directly in the Future
The KMU-100 control software allows users to save current settings in Preset for recalling
directly in the future.
Please follow following steps for saving and recalling the Preset settings.
How to Save Current Settings in Preset
At first, please make sure that your desired settings including “Horizontal position”,
“Vertical position”, “Width” and “Height” are set in advance.
Please press the “Save Preset”
button.
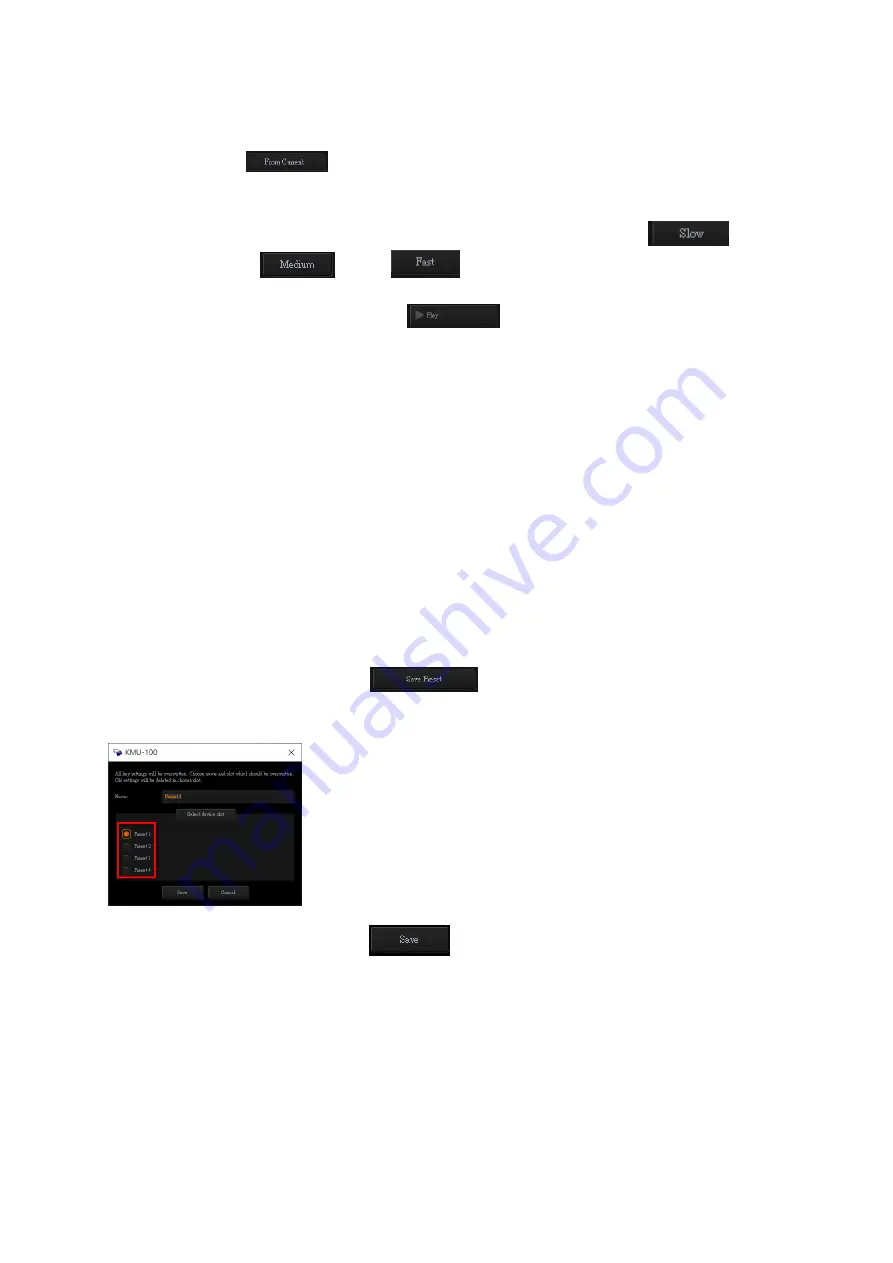
Please select your desired Preset slot from the Preset 1 to Preset 4 which are located
on the left side.
Please press the “Save” button
and then the current settings will be saved
as Preset.
How to recall the Pre-saved Preset Settings
Please press the Preset 1 to Preset 4 buttons for recalling the pre-saved Preset.
Summary of Contents for KMU-100
Page 1: ...PROCESSOR Instruction Manual ...
Page 54: ...54 11 System Diagram of the RMC 185 and KMU 100 Connection ...
Page 62: ...62 Power On Off Switch Switches the device ON OFF ...
Page 81: ...81 21 Dimensions KMU 100 KMU 100 ...
Page 82: ...82 RMC 185 RMC 185 Unit mm ...
Page 86: ...86 Note ...
Page 87: ...87 Note ...


