2 … Periodic Maintenance
Monthly or Quarterly
—19—
Replace Parts in Reverse Order
NOTE: If filters are dirty (not white by sev-
eral shades and possibly have visible debris)
replace the filters with new ones: see Step 6.–
of Checking Air Filters on page 20.
12. Carefully reinstall the filter gaskets and
housings, and reinstall each screw.
13. Reconnect both tubes onto the correct fit-
tings.
14. Connect shop air at the back of the FLX if it
isn’t already.
Check Vacuum
15. Switch the power on and check the pressure
at each probe tip. You can accomplish this as
follows:
15a.Clean the probe tips.
15b.Ensure that there is a standard output
module installed (not a Drop Module)
without a tray on it.
15c. Release the E-Stop and close the cover.
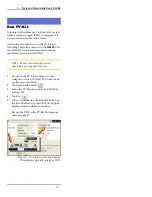
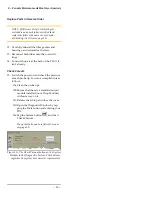
15d.Open the Diagnostic Window by tap-
ping the Tools button and entering your
PIN.
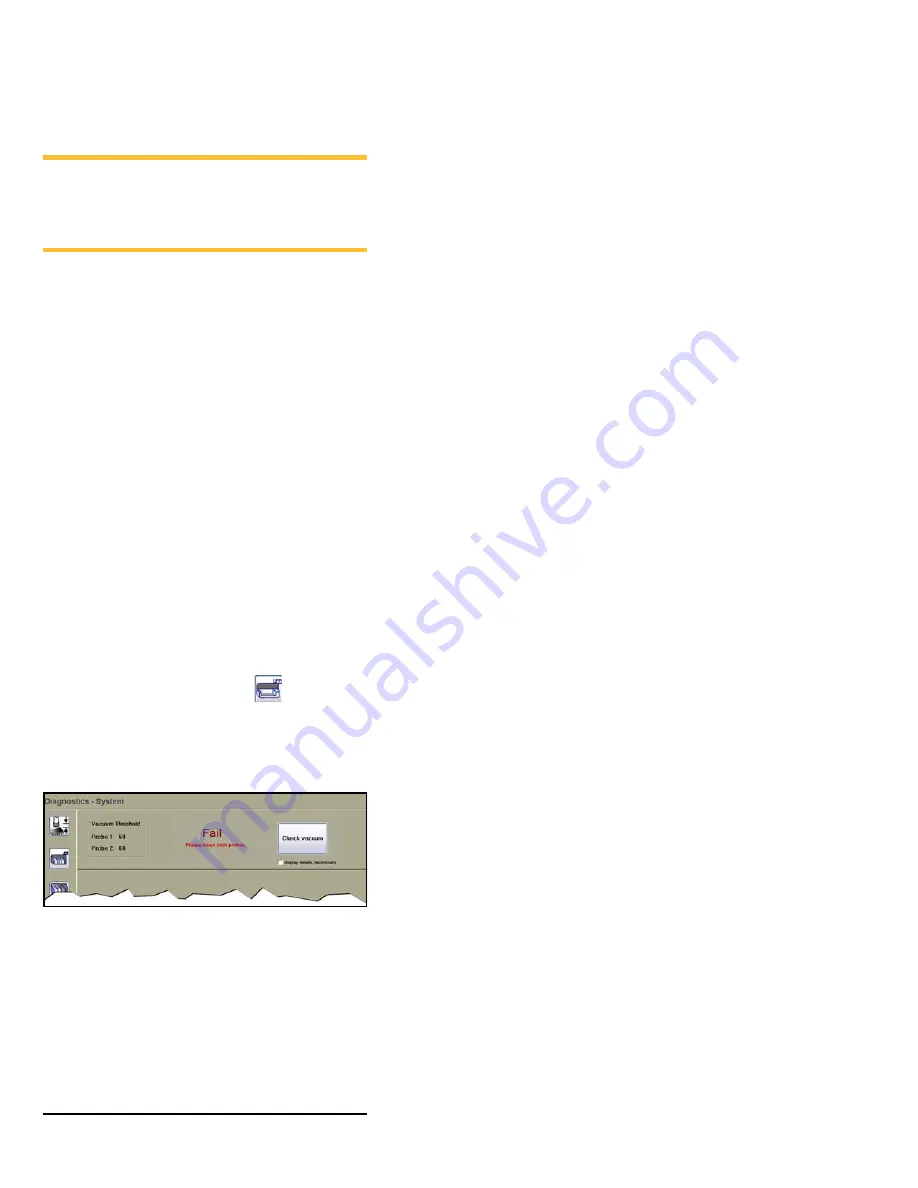
15e.Tap the System button
, and then
Check Vacuum
.
If any test fails, see
Figure 10—The Check Vacuum button on the System
Window in the Diagnostics Tools and the
Fail
mes-
sage when the system does not meet requirements.
Summary of Contents for FLX500
Page 4: ... Data I O FLX500 ii ...
Page 12: ... Data I O FLX500 Chptr 1 8 blank page ...
Page 28: ... Data I O FLX500 Chptr 2 24 blank page ...
Page 40: ... Data I O FLX500 Chptr 4 36 blank page ...
Page 42: ... Data I O FLX500 Chptr 5 38 Daily Sign off Clean the sockets page 10 Date Initials Notes ...
Page 43: ...5 Sign off Charts Daily Sign off 39 Daily Sign off Date Initials Notes ...
Page 44: ... Data I O FLX500 Chptr 5 40 Daily Sign off Date Initials Notes ...
Page 45: ...5 Sign off Charts Daily Sign off 41 Daily Sign off Date Initials Notes ...
Page 46: ... Data I O FLX500 Chptr 5 42 Daily Sign off Date Initials Notes ...
Page 48: ... Data I O FLX500 Chptr 5 44 Weekly Sign off Date Initials Notes ...
Page 52: ... Data I O FLX500 Chptr 5 48 blank page ...
Page 57: ... FLX500 ...

