Xtium2-CLHS PX8 User's Manual
Installing Xtium2-CLHS PX8
•
15
Sapera LT Library & Xtium2-CLHS PX8 Driver Installation
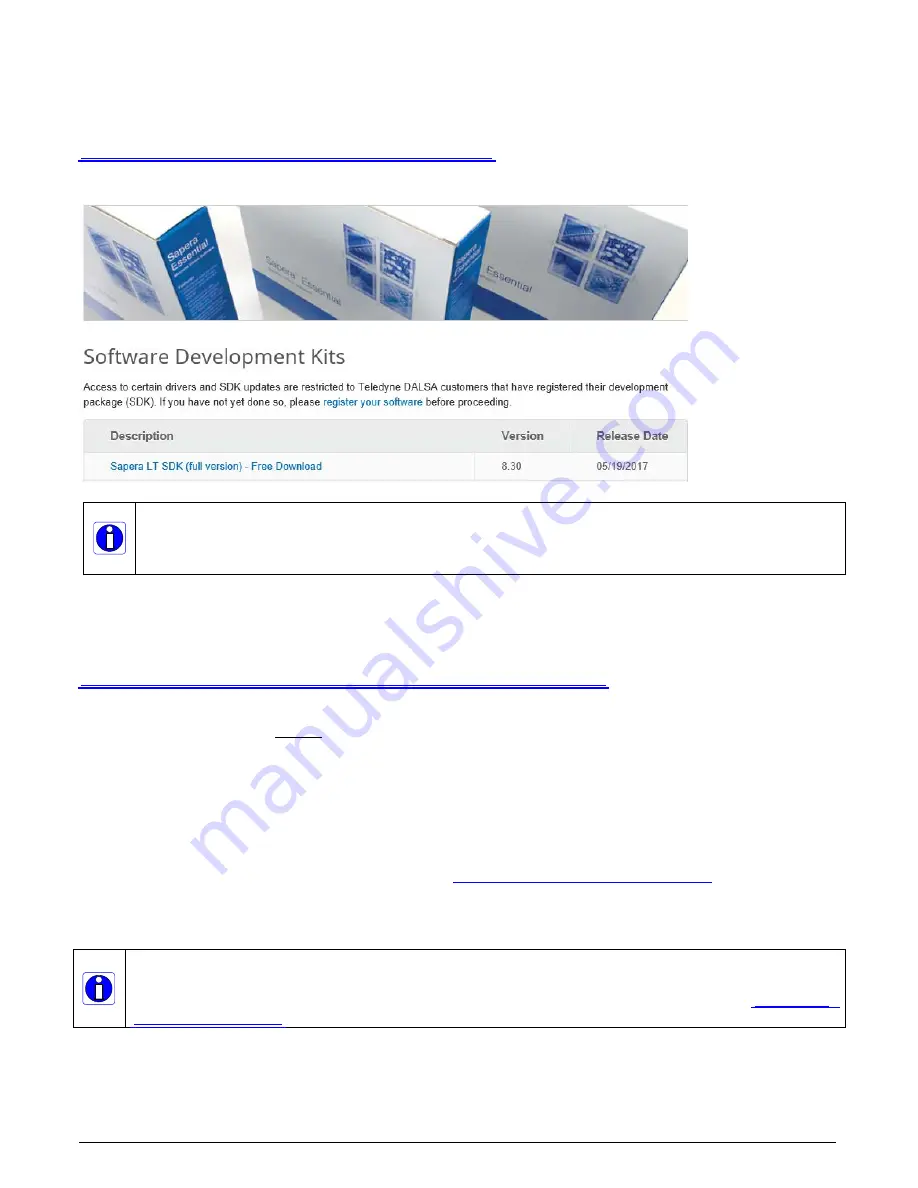
Sapera LT SDK (full version), the image acquisition and control SDK for Teledyne DALSA
cameras and frame grabbers is available for download from the Teledyne DALSA website:
http://teledynedalsa.com/imaging/support/downloads/sdks/
Run-time versions are also available for download at this location.
The Sapera LT SDK installation includes compiled demo and example programs, along with project
source code, in both C++ and .NET languages, for most Microsoft Visual Studio development
platforms. The Sapera LT ++ and Sapera LT .NET demo source code are found in the Sapera\Demos
directory.
Refer to Sapera LT User’s Manual for additional details about Sapera LT.
Teledyne DALSA Device Drivers
All Teledyne DALSA device drivers are available for download from the Teledyne DALSA website:
https://www.teledynedalsa.com/imaging/support/downloads/drivers/
Installation Procedure
Sapera LT is installed before Teledyne DALSA board drivers.
Download the Sapera LT SDK from the Teledyne DALSA website and run the executable file; the
installation menu is presented.
The installation program may prompt to reboot the computer. It is not necessary to reboot the
computer between the installation of Sapera LT and the board driver.
Download the Xtium2-CLHS PX8 device driver from the Teledyne DALSA website and run the
executable file; the installation menu is presented.
During the late stages of the installation, the
Xtium2-CLHS PX8 firmware loader
application
starts.
Reboot when all software and board drivers are installed.
If Windows displays any unexpected message concerning the board, power off the system
and verify the Xtium2-CLHS PX8 is installed in the slot properly. You should also note the
board’s status LED color and compare it to the defined LED states as described in


