100
•
Appendix E: Using the RGB12 Mode in CamExpert
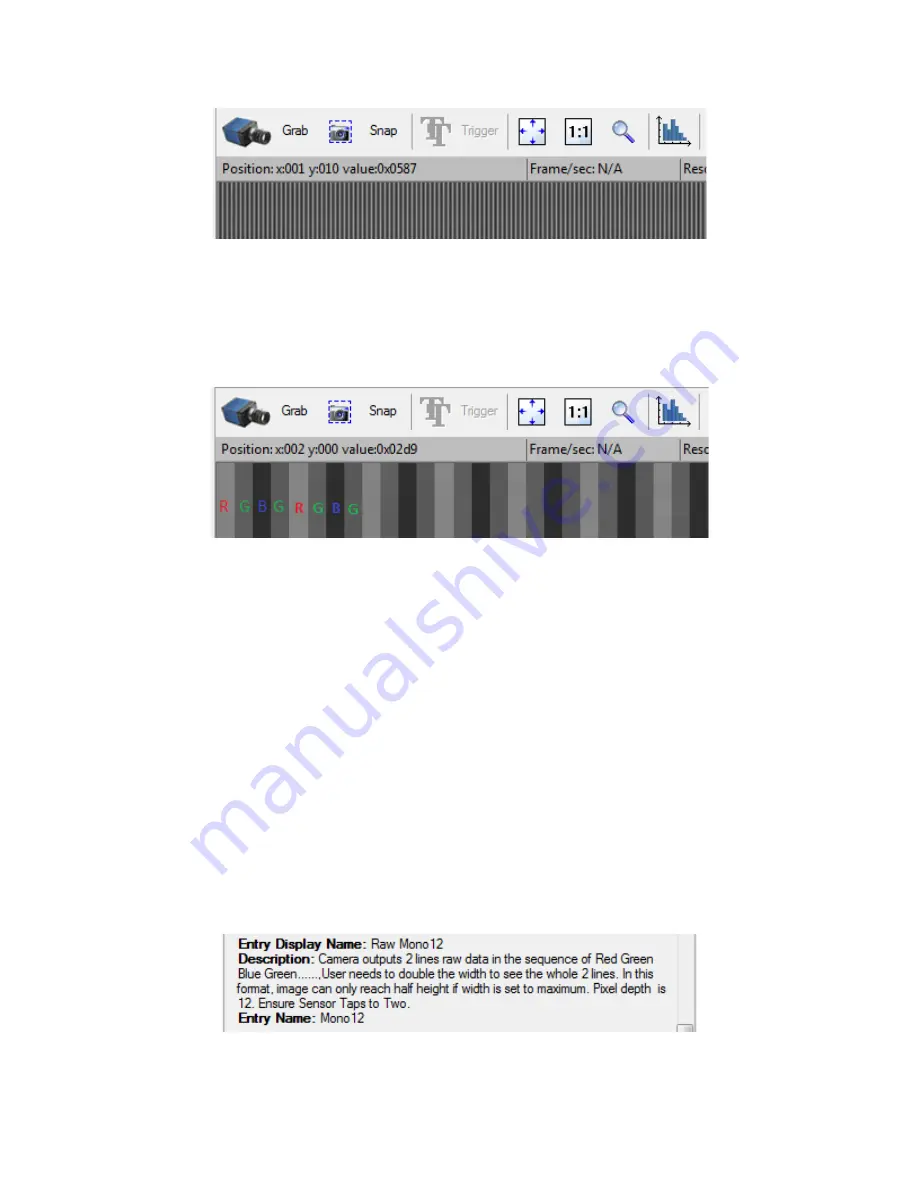
Figure 62. 12-bit color-as-mono image of the same dull object in Figure 60. (The imaging condition is exactly the same as Figure
60.)
If the striped image shown above is converted to a color image, it will be identical to the
image in the screen capture with the exception that the bit depth is 12 rather than 8.
Let’s zoom-in it and take a closer look:
Figure 63. Zoom-in image of Figure 62.
As the three colors’ brightnesses were set differently, it is not too difficult to figure out that
the colors are put in RGBGRGBG…order. This perfectly matches to the RGB12 mode output
format diagram, above, and it also proves that the configuration has been done properly.
Similarly, you also can easily configure the 4K camera. The only difference being the sensor
size. Therefore, the pixel format and the sensor taps’ options remain the same: ‘Raw
Mono12’ and ‘Two’ respectively. The image width, however, should be changed to 4096 x 2
= 8192.
Note that CamExpert displays the dual-line data in single line format. Therefore, the bottom
half of the image (e.g. if the image height is set to 480, then the bottom 240 lines’ data will
be invalid) will be set to zero automatically by CamExpert.
Tip for using the CamExpert
When a user clicks or selects any parameter in CamExpert an according assistant message
will usually show up at the left-bottom corner of the GUI. For example, if a user selects the
‘Raw Mono12’ from the ‘Pixel Format’ dropdown menu, CamExpert will display the following
help message:
This feature is very helpful when users operate a camera with the CamExpert GUI.


