


10
First-Time System Setup & Launch
Firefox
®
Browser
To enable JavaScript
®
language in the Firefox
®
browser,
follow the steps below:
1.
Open the Firefox
®
browser and navigate to
Tools
> Options
in the drop-down menu list.
2.
Click the
Content
tab in the
Options
dialog box.
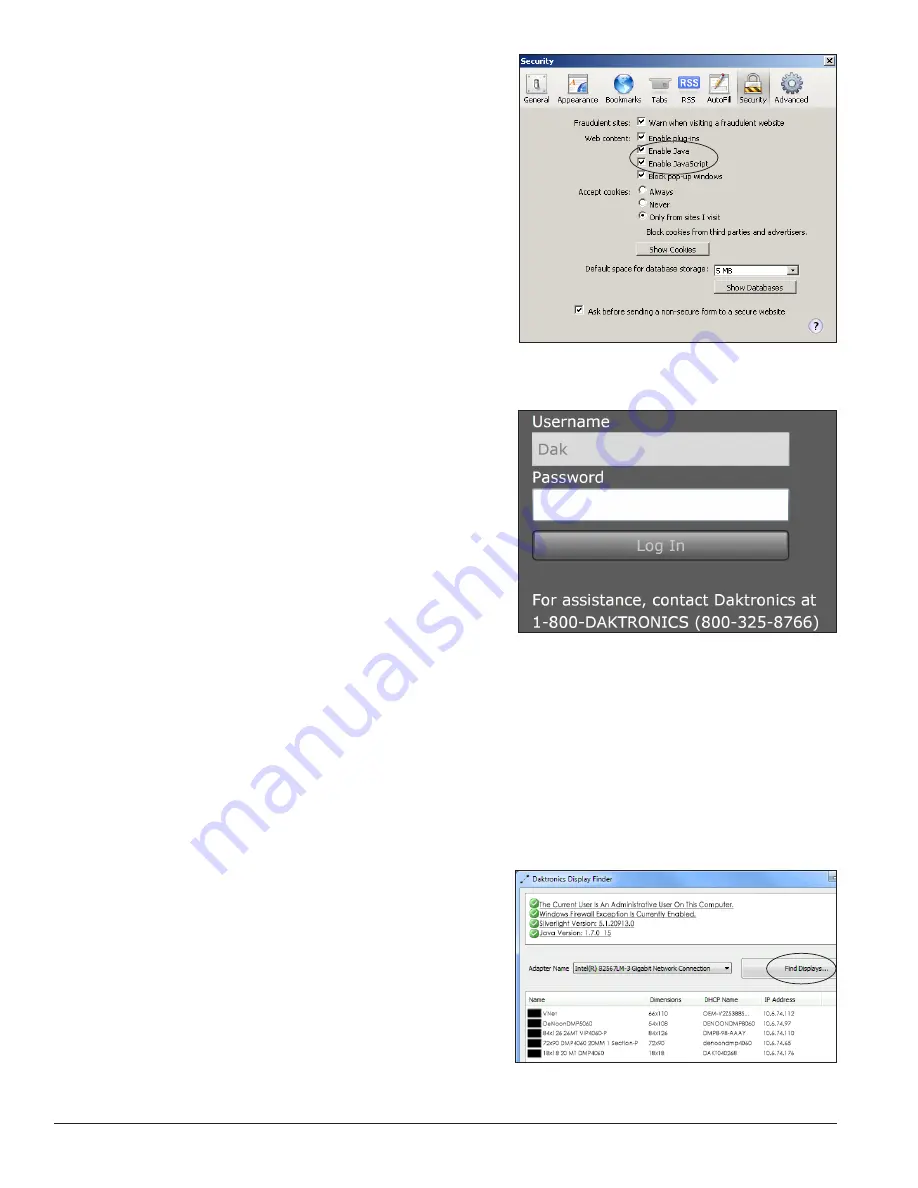
3.
Check the
Enable Java
and the
Enable JavaScript
boxes. Refer to
Figure 24
.
4.
Click
OK
.
2.5 VIP-4060 System Login
To log in to the VIP-4060, follow the steps below:
1.
Locate the system’s Dynamic Host Configuration
Protocol (DHCP) name on the label on the back of
the VIP-4060. This label will begin with either
M
or
DAKT
. Refer to
Figure 12
and
Figure 13
on
page 6 for examples.
Note:
The Internet Protocol (IP) address may be
used in place of the DHCP name.
2.
Open an internet browser window and enter
http://<DCHP>
into the address bar
(i.e. http://M41053 or http://DAKT020345). This
opens the login dialog box shown in
Figure 25
.
3.
Type
Dak
in the
Username
text box. The VIP-4060
is factory-configured with no password. Refer to
Figure 25
.
Note:
The display administrator can choose to password-protect the device after initial configuration.
Daktronics recommends adding a password.
4.
Click
Log In
.
If the above login procedure is not successful, perform the following steps:
1.
Open the
DisplayFind
application. Refer to
Launching DisplayFind Utility
on page 5.
2.
Click
Find Displays
. Refer to
Figure 26
.
3.
Locate and select the controller name.
Note:
If multiple controllers are found, reference
the MAC address or DHCP name from the label
on the back of the VIP-4060 to select the
appropriate system.
Figure 24:
Enable JavaScript
®
Language
Figure 25:
Login Dialog box
Figure 26:
Display Finder


