background image

REYQ8~16M8W1B
VRVII System air conditioner
4PW23712-1

Installation manual

10

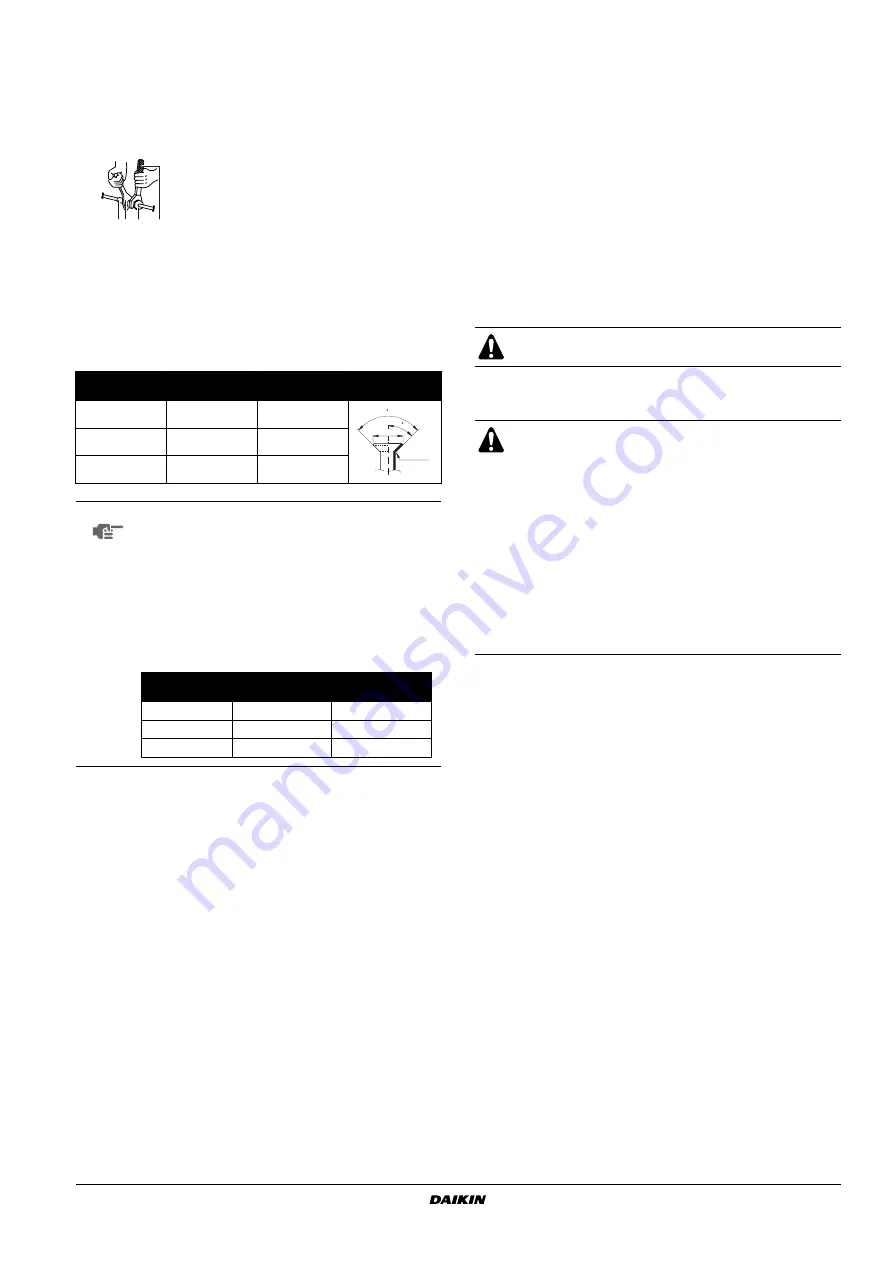
FLARE SHAPE and FLARENUT TIGHTENING TORQUE

Precautions when connecting pipes

See the following table for flare part machining dimensions.

When connecting the flare nuts, apply refrigerant oil to the inside
and outside of the flares and turn them three or four times at
first. (Use ether or esther oil).

When loosening a flare nut, always use two wrenches in
combination. When connecting the piping, always use a spanner
and torque wrench in combination to tighten the flare nut.

See the following table for tightening torque.
(Applying too much torque may cause the flares to crack.)

After all the piping has been connected, use nitrogen to perform
a gas leak check.

6.5.

Pipe insulation

After finishing the leak test and vacuum drying, the piping must be
insulated. Take into account the following points:

Make sure to insulate the connection piping and refrigerant
branch kits entirely.

Be sure to insulate liquid, suction gas, and discharge gas piping
(for all units) and oil equalizing pipe (only for REYQ18~48).

Use heat resistant polyethylene foam which can withstand a
temperature of 70°C for liquid side piping and polyethylene foam
which can withstand a temperature of 120°C for gas side piping.

If you think the temperature and the relative humidity around the
cooling pipes might exceed 30°C and RH 80%, reinforce the
insulation of the cooling pipes (at least 20 

mm thick).

Condensation might be formed on the surface of the insulation.

If there is a possibility that condensation on the stop valve might
drip down into the indoor unit through gaps in the insulation and
piping because the outdoor unit is located higher than the indoor
unit this must be prevented by sealing up the connections. See

figure 13

.

6.6.

Additional refrigerant charge

See 

figure 12

.

Pipe size

Tightening 

Torque (N•m)

A (mm)

Flare shape

Ø9.5

32.7~39.9

12.8~13.2

Ø12.7

49.5~60.3

16.2~16.6

Ø15.9

61.8~75.4

19.3~19.7

NOTE

You must use a torque wrench but if you are obliged to
install the unit without a torque wrench, you may follow
the installation method mentioned below.

After the work is finished, make sure to check that
there is no gas leak.

When you keep on tightening the flare nut with a
spanner, there is a point where the tightening torque
suddenly increases. From that position, further tighten
the flare nut within the angle shown below:

12 3

4

1

Piping union

2

Spanner

3

Flare nut

4

Torque wrench

R=0.4~0.8

45 

±

2

90 

±

2

A

Pipe size

Further tightening 

angle

Recommended 

arm length of tool

Ø9.5 (3/8")

60~90°

±200 mm

Ø12.7 (1/2")

30~60°

±250 mm

Ø15.9 (5/8")

30~60°

±300 mm

A

One outdoor unit installed

B

When multiple outdoor units installed

1

Liquid line stop valve

2

Suction gas line stop valve

3

Discharge gas line stop valve

4

Indoor to outdoor interconnecting piping

5

Sealing up treatment

6

Heat insulator

7

Oil-equalizing line stop valve

8

Oil-equalizing line

Be sure to insulate local pipes, as touching them can
cause burns.

Refrigerant cannot be charged until field wiring has been
completed.

Refrigerant may only be charged after performing the leak
test and the vacuum drying (see above).

When charging a system, care shall be taken that its
maximum permissible charge is never exceeded, in view of
the danger of liquid hammer.

Charging with an unsuitable substance may cause
explosions and accidents, so always ensure that the
appropriate refrigerant (R-410A) is charged.

Refrigerant containers shall be opened slowly.

Always use protective gloves and protect your eyes when
charging refrigerant.

1

Presssure reducing valve

2

Nitrogen

3

Tank

4

Siphon system

5

Measuring instrument

6

Vacuum pomp

7

Valve A

8

Valve B

9

Suction gas line stop valve

10

Liquid line stop valve

11

Discharge gas line stop valve

12

stop valve service port

13

Charge hose

14

Indoor unit

15

BS unit

16

Oil-equalizing line stop valve

17

Valve C

18

Outdoor unit

19

Dotted lines represent onsite piping

20

To indoor unit

Summary of Contents for VRV II REYQ8M8W1B

Page 1: ...NUAL REYQ8M8W1B REYQ10M8W1B REYQ12M8W1B REYQ14M8W1B REYQ16M8W1B REYQ18M REYQ20M REYQ22M REYQ24M REYQ26M REYQ28M REYQ30M REYQ32M REYQ34M REYQ36M REYQ38M REYQ40M REYQ42M REYQ44M REYQ46M REYQ48M System a...

Page 2: ...0 0 0 1000 1 50 0 1500 1500 1 2 4 5 3 5 3 3 1 722 737 80 80 765 A B 5 6 7 5 6 7 15 1 11 12 13 8 9 8 9 A B A B 1 1 2 10 14 3 4 7 15 14 7 1 2 4 5 6 7 3 7 8 9 10 11 1 5 F2 F1 F2 F1 F2 F1 F2 F1 F2 F1 2 1...

Page 3: ...15 15 F2 F2 F1 F1 A B C Q1Q2 3 2 1 1 5 5 5 4 A B C F1 F2 F1 F2 Q1 Q2 A B C F1 F1 F2 F2 Q1 Q2 F1 F2 F1 F2 F1 F2 F1 F2 1 2 9 3 4 5 6 7 TO IN D UNIT TO OUT D UNIT TO MULTI UNIT A1P F1 IN D OUT D F2 F2 F1...

Page 4: ...20 12 13 14 15 16 17 18 5 1 7 10 3 2 9 6 6 6 6 7 4 11 8 6 6 6 6 6 6 7 7 9 8 4 11 6 6 1 10 3 2 6 6 6 6 NOTES 20 REYQ8 10 REYQ12 16...

Page 5: ...e esta declara o se refere 09 10 erkl rer under eneansvar at klimaanl gmodellerne som denne deklaration vedr rer 11 deklarerar i egenskap av huvudansvarig att luftkonditioneringsmodellerna som ber rs...

Page 6: ...the REYQ M units Installation of the indoor units is not described in this manual Always refer to the installation manual supplied with these units for their installation REYQ8 16M8W1B VRVII System ai...

Page 7: ...dequate for servicing and the minimum space for air inlet and air outlet is available Refer to figure 1 and choose one of the possibilities In case of an installation site where only the sides A B hav...

Page 8: ...this manual may cause electronic noise generated from radio frequency energy The equipment complies to specifications that are designed to provide reasonable protection against such interference Howe...

Page 9: ...refrigeration technician and must comply with relevant local and national regulations CAUTION TO BE TAKEN WHEN BRAZING REFRIGERANT PIPING Do not use flux when brazing copper to copper refrigerant pipi...

Page 10: ...flare nuts included with the unit Using different flare nuts may cause the refrigerant to leak 5 Protection against contamination when installing pipes Take measures to prevent foreign materials like...

Page 11: ...own in the figure A or figure B Prohibited pattern Change to pattern 1 or 2 Change as shown in the figure below 3 If the piping length between the outdoor unit connecting pipe kits or between the outd...

Page 12: ...e total capacity of all the indoor units connected below the refnet header Note 250 type cannot be connected below the refnet header How to choose an outdoor branch kit needed if the outdoor unit capa...

Page 13: ...REYQ12 12 7 28 6 REYQ14 16 22 2 REYQ18 15 9 REYQ20 22 28 6 REYQ24 34 9 REYQ26 34 19 1 REYQ36 41 3 REYQ38 48 34 9 Outdoor capacity type Piping size outer diameter Normal size Size up REYQ8 10 9 5 12 7...

Page 14: ...uum drying Then after leaving the system in vacuum for 1 hour confirm that the vacuum gauge does not rise Stop valve operation procedure Introduction Confirm the sizes of the stop valves connected to...

Page 15: ...mm Flare shape 9 5 32 7 39 9 12 8 13 2 12 7 49 5 60 3 16 2 16 6 15 9 61 8 75 4 19 3 19 7 NOTE You must use a torque wrench but if you are obliged to install the unit without a torque wrench you may fo...

Page 16: ...within 30 minutes repeat step 2 If the operation stops immediately after restart there is a possibility that the system is overcharged The refrigerant cannot be charged more than this amount 4 After...

Page 17: ...installing a phase advancing capacitor not only will deteriorate power factor improvement effect but also may cause capacitor abnormal heating accident due to high frequency waves Therefore never inst...

Page 18: ...pped wires should be used for grounding See figure 14 See figure 20 1 Field power supply 2 Main switch 3 Earth leak detector 4 Fuse 5 Cool heat selector 6 Remote controller 7 Outdoor unit 8 BS unit 9...

Page 19: ...n of the cup washer An improper ground connection may prevent a good ground from being achieved 1 2 1 Round pressure terminal 2 Power wire Tightening torque N m M8 Power terminal block 5 5 7 3 M8 Grou...

Page 20: ...ts must be 30 m See the paragraph Fixing field line connection on page 14 A Electric wiring diagram Printed on the back of the electric box lid 1 Cut off the shaded zones before use 2 Through cover 3...

Page 21: ...switch box cover 1 when you are done Location of the dip switches leds and buttons Led state Throughout the manual the state of the leds is indicated as follows OFF ON blinking Setting the dip switch...

Page 22: ...ld setting For field setting For test operation For resetting the address when the wiring is changed or when an additional indoor unit is installed NOTE If you get confused in the middle of the settin...

Page 23: ...ic solenoid valve may rise during this operation The following items are automatically checked Check for miswiring Check if stop valves are open Check of refrigerant charge Automatic judgement of pipi...

Page 24: ...ation to ON The indoor unit and the outdoor unit expansion valves will fully open and some solenoid valves will be turned on The H1P led is on and the remote controller indicates test operation and ex...

Page 25: ...te the smallest room volume m3 In a case such as the following calculate the volume of A B as a single room or as the smallest room 3 Calculating the refrigerant density using the results of the calcu...

Page 26: ...Zandvoordestraat 300 B 8400 Oostende Belgium 4PW23712 1...

Reviews: