


SiENBE04-808_A
FTXS20/25/35/42/50G2V1B
System Configuration
80
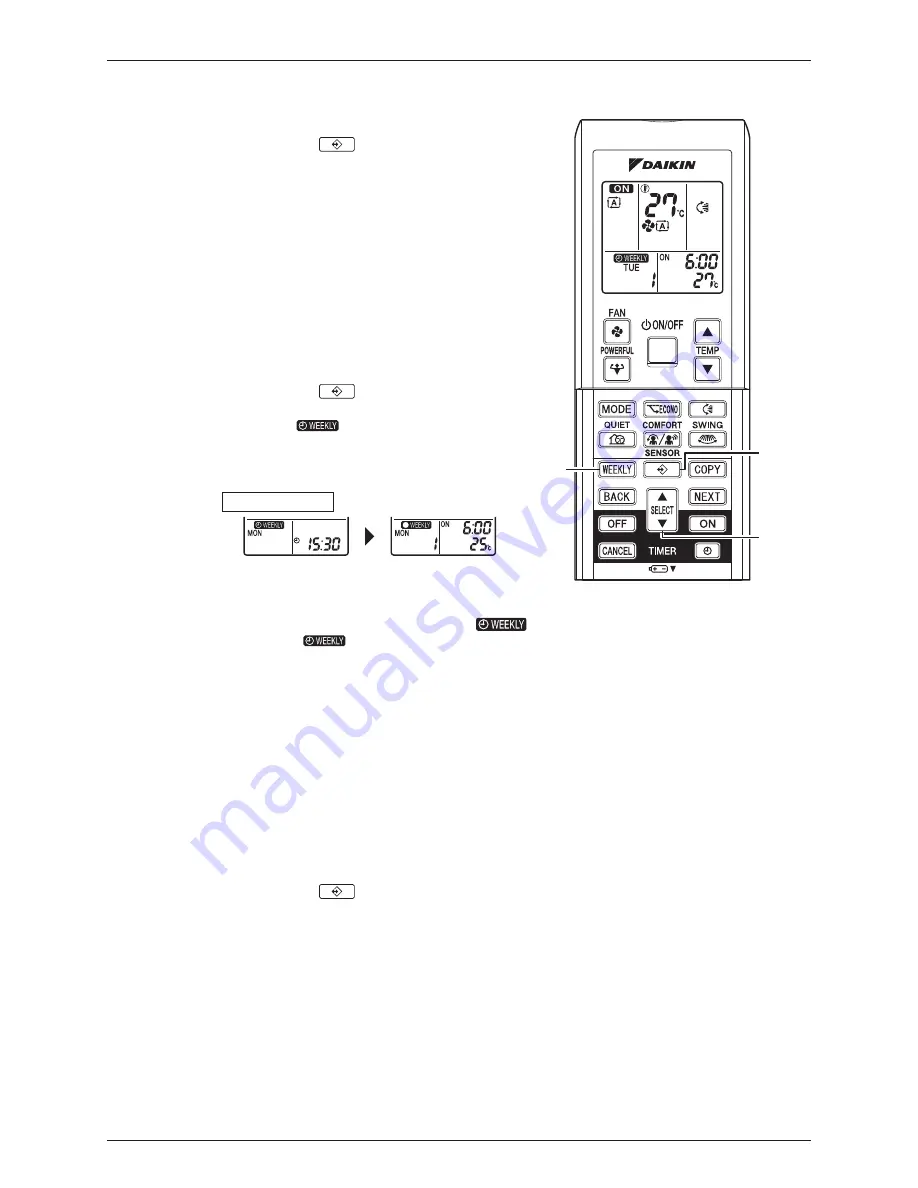
Confirming a reservation
•
The reservation can be confirmed.
1. Press “
button”.
•
The day of the week and the
reservation number of the current day
will be displayed.
2. Press “SELECT button” to select the day
of the week and the reservation number
to be confirmed.
•
Pressing the “SELECT button” displays
the reservation details.
•
To change the confirmed reserved
settings, select the reservation number
and press “NEXT button”. The mode is
switched to setting mode. Go to
Setting
mode
STEP
4
.
3. Press “
button” to exit
confirming mode.
•
“
” is displayed on the LCD
and WEEKLY TIMER operation is
activated.
•
The TIMER lamp lights up.
To deactivate WEEKLY TIMER operation
4. Press “WEEKLY button” while “
” is displayed on the LCD.
•
The “
” will disappear from the LCD.
•
The TIMER lamp goes off.
•
To reactivate the WEEKLY TIMER operation, press the “WEEKLY button” again.
•
If a reservation deactivated with “WEEKLY button” is activated once again, the last
reservation mode will be used.
To delete reservations
The individual reservation
•
Refer to
Setting mode
.
•
When selecting desired mode at STEP 4 in setting mode, select “blank”. The reservation will
be deleted.
The reservations for each day of the week
•
This function can be used for deleting reservations for each day of the week.
5. Press “
button”
6. Select the day of the week to be canceled with the “SELECT button”.
7. Hold the “WEEKLY button” for 5 seconds.
•
The reservation of the selected day of the week will be deleted.
All reservations
8. Hold “WEEKLY button” for 5 seconds while normal display.
•
Be sure to direct the remote control toward the main unit and check for a receiving tone.
•
This operation is not effective while WEEKLY TIMER is being set.
•
All reservations will be deleted.
Normal display
Confirmation display
Setting Displays
1, 3, 5
2, 6
4, 7, 8
SiENBE04-808_A.pdf 92
21/02/2011 13:20:00


