Installation manual
3
ERAP110~170MBYNN
Air-cooled condensing units
4PW22680-1E
■
Make certain that the foundation surface is even and flat.
■
Fix anchor bolts (1) into the concrete foundation.
When finally fixing the unit by means of these anchor bolts,
make sure that the washers for channel DIN434 (2), and both
field supplied rubber plates (3) and field supplied raw cork or
rubber sheets (4) for better vibration protection, are installed
as indicated.
I
MPORTANT
INFORMATION
REGARDING
THE
REFRIGERANT
USED
This product is factory charged with N2.
The refrigerant system will be charged with fluorinated greenhouse gases
covered by the Kyoto Protocol. Do not vent gases into the atmosphere.
Refrigerant type:
R407C
GWP
(1)
value:
1652.5
(1)
GWP = global warming potential
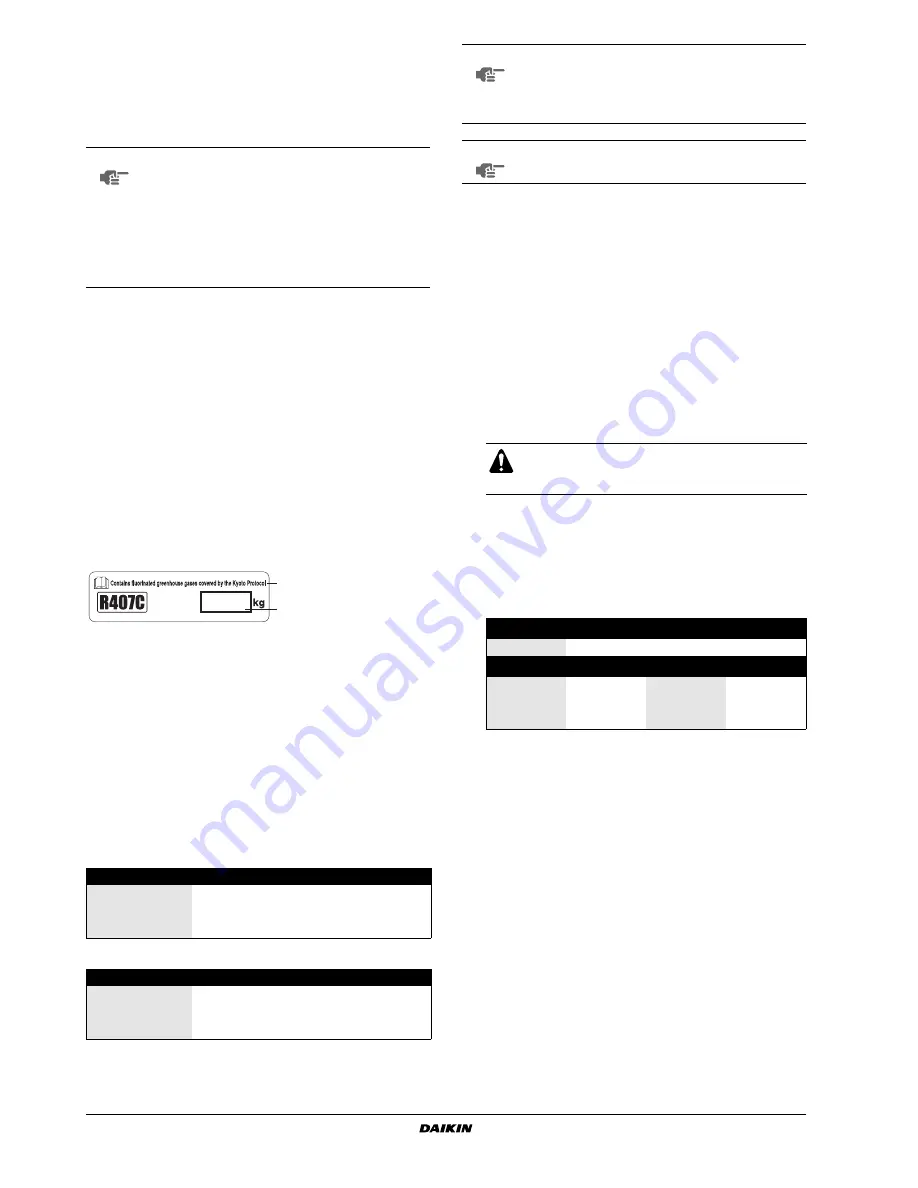
Please fill in with indelible ink,
■
the total refrigerant charge
on the refrigerant charge label supplied with the product.
The filled out label must be adhered in the proximity of the product
charging port (e.g. onto the inside of the service cover).
R
EFRIGERANT
CIRCUIT
Sizing and installation of the refrigerant circuit
Installation of the refrigerant circuit should be done by a licensed technician
and must comply with all relevant European and national regulations.
In order to minimize capacity loss, it is recommended to size the lines
in such a way that the pressure drop of each line does not result in an
evaporating temperature decrease of more than 1°C.
For this purpose we recommend that the equivalent length of the line
should not exceed the following criteria:
Liquid piping: equivalent length (m)
Suction piping: equivalent length (m)
Equivalent length=measured length of the Axnumber of
elbows.
A=0.5/m elbow for liquid piping
A=1.5/m elbow for suction piping
Connecting the unit to the refrigerant circuit
Cut the spinned tube pipes (a nitrogen holding charge will escape)
and connect immediately to the refrigerant circuit. Start vacuuming
immediately after connection.
Never leave the condensing unit 'open' for longer time since the
compressor oil is highly hygroscopic and will contaminate
immediately when exposed to air!
Open the liquid stop valve, discharge stop valve and suction valve (if
provided). Vacuum the unit and perform a leak test.
Charging the unit
1
Perform an integral pre-start inspection like explained in chapter
"Before starting" on page 5
.
It is also necessary to read the operation manual delivered with
the unit. This will contribute to understand the operation of the
unit and its electronic controller.
Pre-charge of refrigerant without operation of the unit
2
Calculate the refrigerant pre-charge according to table below:
Refrigerant charge [kg]=
➀
+
➁
xm
FL
+
➂
xm
FS
+
➃
x0.5
3
Use the 3/8” stop valve on the filter drier to pre-charge the unit
with the complete calculated pre-charge.
Do not operate the compressor for pre-charging, this to
avoid compressor damage!
NOTE
■
The measurement tabulated is based on the fact
the base is made in the ground (5) or on a
concrete floor (6). In case the base is made on a
rigid floor, it is possible to include thickness of
concrete floor in that of the base.
■
Ingredient ratio of the concrete is: cement 1, sand
2 and gravel 3. Insert iron bars of Ø10 at every
interval of 300 mm. The edge of the concrete
base should be planed.
ERAP110
ERAP150
ERAP170
7/8"
34
17
13
1"
50
34
25
1-1/8"
100
100
50
ERAP110
ERAP150
ERAP170
2-1/8"
25
17
13
2-1/2"
50
34
25
2-5/8"
100
50
34
2
1
1
total refrigerant charge
2
Contains fluorinated
greenhouse gases
covered by the Kyoto
Protocol
NOTE
To assure oil return to the compressor do not use
piping size above 2-1/8" for ERAP110 units or above
2-5/8" for ERAP150 and ERAP170 units for suction
in the upward direction! If necessary, use double
suction riser constructions.
NOTE
Make sure to install a sightglass in the liquid line as close
as possible to the expansion device of the evaporator.
Carefully perform all required procedures like
explained in chapters from which is referred to in
chapter
"Before starting"
, but do not start the unit.
➀
ERAP110
ERAP150
ERAP170
kg
31
32
32
➁
kg/m
➂
kg/m
7/8"
0.33
2-1/8"
0.040
1"
0.45
2-1/2"
0.056
1-1/8"
0.58
2-5/8"
0.061
➁
= refrigerant weight per meter field liquid line (kg/m)
➂
= refrigerant weight per meter field suction line (kg/m)
m
FS
= total length of the field suction line (m)
m
FL
= total length of the field liquid line (m)
➃
= refrigerant volume of the field evaporator (dm
3
)


