5 Electrical installation
Installation manual
18
EGSAH/X06+10DA9W(G)
Daikin Altherma 3 GEO
4P569811-1 – 2019.02
a
X2M
14a
21
L
N
YC
Y2
1
2
3
1×
1×
b
3
Fix the cable with cable ties to the cable tie mountings.
5.10
To connect the changeover to
external heat source
Wires: 2×0.75 mm²
Maximum load: 0.3 A, 250 V AC
Minimum load: 20 mA, 5 V DC
[9.C]
Bivalent
1
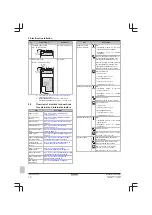
Open the following (see
"3.2.1 To open the indoor unit" on
):
1
Top panel
3
1
2
4
2
User interface panel
3
Front panel
4
Main switch box cover
2
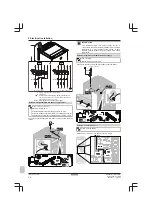
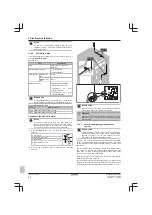
Connect the changeover to external heat source cable to the
appropriate terminals as shown in the illustration below.
1×
2×
X2X1
L
N
X2 X1
a
a
Installation of EKRP1HB is required.
3
Fix the cable with cable ties to the cable tie mountings.
5.11
To connect the power
consumption digital inputs
Wires: 2 (per input signal)×0.75 mm²
Power limitation digital inputs: 12 V DC / 12 mA detection
(voltage supplied by PCB)
[9.9]
Power consumption control
.
1
Open the following (see
"3.2.1 To open the indoor unit" on
1
Top panel
3
1
2
4
2
User interface panel
3
Front panel
4
Main switch box cover
2
Connect the power consumption digital inputs cable to the
appropriate terminals as shown in the illustration below.
Summary of Contents for Altherma 3 GEO
Page 38: ......
Page 39: ......
Page 40: ...4P569811 1 2019 02 Copyright 2019 Daikin 4P569811 1 0000000S ...


