background image

Pr

oduct

Information

1

Important Safeguards

CAUTION:

TO REDUCE THE RISK OF ELECTRIC

SHOCK, DO NOT REMOVE COVER (OR BACK). NO
USER-SERVICEABLE PARTS INSIDE. REFER
SERVICING TO QUALIFIED SERVICE PERSONNEL.

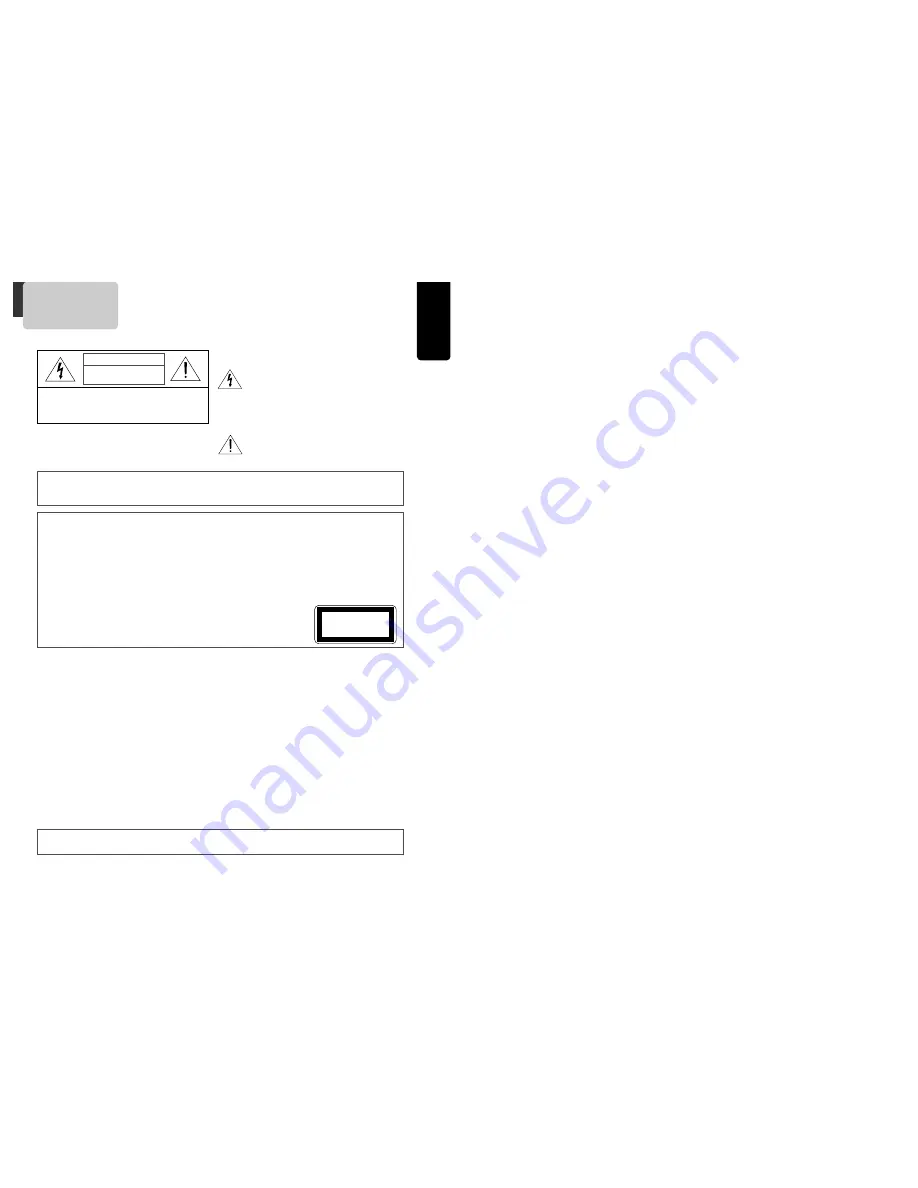
CAUTION

RISK OF ELECTRIC SHOCK

DO NOT OPEN

The lightning flash with arrowhead symbol,
within an equilateral triangle, is intended to
alert the user to the presence of uninsulated
“dangerous voltage” within the product’s
enclosure that may be of sufficient
magnitude to constitute a risk of electric
shock.

The exclamation point within an equilateral
triangle is intended to alert the user to the
presence of important operating and
servicing instructions in the literature
accompanying the appliance.

WARNING :

TO REDUCE THE RISK OF FIRE OR ELECTRIC SHOCK, DO NOT EXPOSE THIS APPLIANCE TO RAIN
OR MOISTURE.

CAUTION :

TO PREVENT ELECTRIC SHOCK, MATCH WIDE BLADE OF PLUG TO WIDE SLOT, FULLY INSERT.

IMPORTANT FOR LASER PRODUCTS
• LASER

:

This Digital Video Disc Player employs a Laser System. To ensure proper use of this product please
read this owner’s manual carefully and retain for future reference. Should the unit require
maintenance, contact an authorized service location - see service procedure. 
Use of control adjustments or the performance of procedures other than those specified may result
in hazardous radiation exposure. 
To prevent direct exposure to the laser beam, do not try to open the enclosure. Visible laser
radiation when open and interlocks defeated. 

DO NOT STARE INTO THE BEAM.

• DANGER

:  Visible laser radiation when open and interlock failed or defeated. 

Avoid direct  exposure to beam.

• CAUTION

: Do not open the top cover. There are no user serviceable parts 

inside the Unit; leave all servicing to qualified service personnel.

CLASS 1 
LASER PRODUCT

FCC NOTICE

:

This equipment has been tested and found to comply with the limits for a Class B digital device,
pursuant to part 15 of the FCC Rule. These limits are designed to provide reasonable protection
against harmful interference in a residential installation. This equipment generates, uses and
can radiate radio frequency energy and if not installed and used in accordance with the
instructions, may cause harmful interference to radio communications. However, there is no
guarantee that interference will not occur in a particular installation. If this equipment does
cause harmful interference to radio or television reception; which can be determined by turning
the equipment off and on, the user is encouraged to try to correct the interference by one or
more of the following measures:
• Reorient or relocate the receiving antenna.
• Increase the separation between the equipment and receiver.
• Connect the equipment to an outlet on a circuit different from that to which the receiver is

connected.

• Consult the dealer or an experience radio/TV technical for help.
This device complies with part 15 of the FCC Rules. Operation is subject to the following two
conditions:  (1) This device may not cause harmful interference, and  (2) This device must
accept any interference received, including interference that may cause undesired operation.

CAUTION: Any changes or modification in construction of this device which are not expressly approved by

the party responsible for compliance could void the user’s authority to operate the equipment.

Summary of Contents for DV6T512N

Page 1: ...ion code it does not operate Please only use a disc with region code 1 or ALL is a Prohibition mark If this mark is displayed in operating the product please wait for a while then use it If Prohibitio...

Page 2: ...ailed or defeated Avoid direct exposure to beam CAUTION Do not open the top cover There are no user serviceable parts inside the Unit leave all servicing to qualified service personnel CLASS 1 LASER P...

Page 3: ...entry as practical 13 Outdoor Antenna Grounding If an outside antenna or cable system is connected to the product be sure the antenna or cable system is grounded so as to provide some protection again...

Page 4: ...described below Please read carefully before using a DVD Video player Installation place and handling When you place this player near other devices they may affect poorly together When you place DVD V...

Page 5: ...ment 12 Connecting with an Analog Audio 13 Connecting with a dolby digital decoder or DTS decoder 14 Output Select 15 Clock Set 15 DVD Playback 16 VCR Playback 17 VCR Operation Memorizing TV Channels...

Page 6: ...move into a previous chapter or track REVERSE SEARCH button 1 VCR TIMER RECORDING button 2 DVD VCR CLOCK COUNTER button 3 DVD VCR TV VCR button 4 VCR Record button 5 DVD VCR NUMBER button VCR TRACKIN...

Page 7: ...cable Plug this cable into a splitter available at your local electronics store You should install a distributor additionally How to watch general broadcasting with recording CATV 1 1 Set Channel Sel...

Page 8: ...deo equipment 5 5 Press Pause button in DVD Video when unnecessary or undesired scene is displayed in recording Caution Recording is released automatically after 5 minutes since pressing PAUSE button...

Page 9: ...S LANGUAGE SELECT Move Select End SETUP ENTER CLOCK SET Time and Date Set Auto DST ON TIME AND DATE SET TIME AND DATE SET Move Select End SETUP ENTER Move Input End SETUP Move Input End SETUP Time hh...

Page 10: ...he operational status is flickering or poor adjust it with TRACKING button 1 1 2 2 3 3 To stop it press button For pause press PLAY PAUSE button in playback mode If you press this button once more it...

Page 11: ...emorized channels is displayed Please check the memorized channels To check the memorized channels press PR button on remote control 1 1 2 2 3 3 To Memorize Automatically Channels SETUP CLOCK SET TIME...

Page 12: ...hat is protected by method claims of certain U S patents and other intellectual property rights owned by Macrovision Corporation and other rights owners Use of this copyright protection technology mus...

Page 13: ...mer Program Setting Press T REC button You can set the Timer Program Before timer program setting clock should be set correctly and video mode should be selected Timer Recordings TIMER RECORDINGS Pres...

Page 14: ...lists the recording time hours minutes for each tape type according to recording speed Tape Type SP Mode Standard Play SLP Mode Extended Play T 60 1 00 3 00 T 90 1 30 4 30 T 120 2 00 6 00 T 160 2 40...

Page 15: ...rst index mark on the tape when you start at the beginning of the tape Searching with the tape counter go to search Using advanced features Using advanced features Play the tape automatically This fea...

Page 16: ...Consult a television guide for program broadcast information 28 Changing the on screen menu language Press SETUP button and select LANGUAGE SELECT 1 1 Select the language among English Spanish or Fren...

Page 17: ...k or first scene of current chapter or track Directly moving to a desired title DVD Press the TITLE PBC or MENU button A list of the titles on the disc is displayed For the case of VCD disc menu scree...

Page 18: ...R OFF VCD 00 45 1 2 T Playing a desired scene Confirming the current MP3 disc mode Display screen appears automatically in Playback mode It shows the MP3 File information in disc the directory MP3 Fil...

Page 19: ...the user presses AUDIO button English ENG French FRE Spanish SPA and others appear one by one Selecting a subtitle language Keep pressing SUBTITLE button till the user s preferred language appears If...

Page 20: ...l as CD audio To stop playback Press the STOP button To skip to the next or previous file Press the NEXT button of the remote control briefly while playing to skip ahead to the beginning of the next f...

Page 21: ...of a user s password please move to Change Password and enter new password 7 7 The initial password is 3308 In case you forget newly input password you can use 3308 as a password Video Audio Others OS...

Page 22: ...2 0 S VCD and Audio CD Disc type Playable Restriction DVD Possible Region number 1 or Region number All Video CD Possible Version 1 0 1 1 2 0 SVCD CVD CD Possible PCM CD G Possible Only Audio playback...

Page 23: ...t appear or poor screen appears Sound is irregular Remote control does not work Dolby Digital sound does not work AUDIO or SUBTITLE button does not work ANGLE button does not work while a DVD is playi...

Page 24: ...pe the tape is re ejected A videotape is not ejected A channel on video and a play screen does not appear Noise screen noise appears on screen Noise appears on screen after recording While in playing...

Page 25: ...Vp p Pr 0 7Vp p AUDIO output common use of DVD and VCR Audio output terminal 2 kinds 8 8dBm VCR 2 0Vrms DVD RCA JACK AUDIO output DVD only Analogue AUDIO output 2 CH 2 0Vrms Digital audio output COAXI...

Reviews: