


19
D-Link DWR-730 User Manual
Section 3 - Configuration
2G/3G Modem
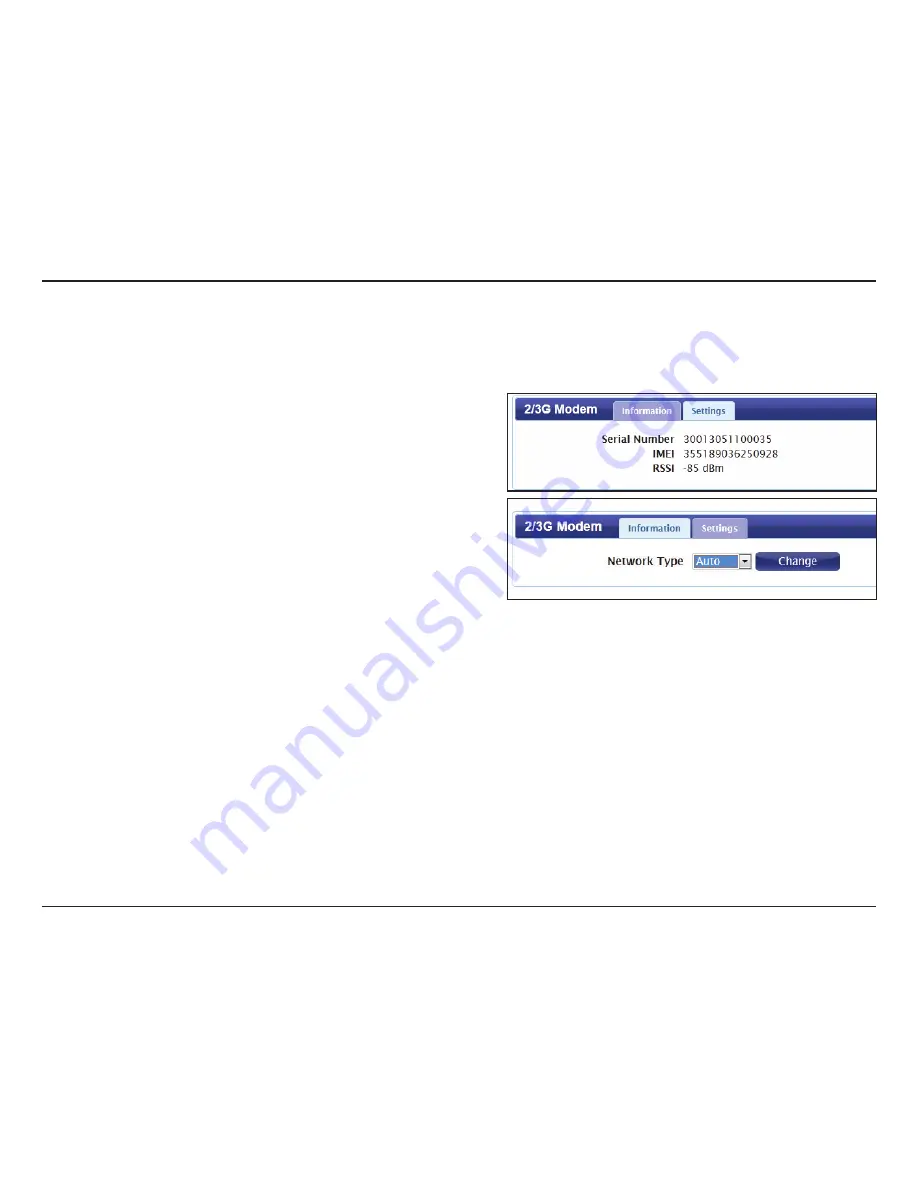
Information
Displays information about your 2G or 3G modem.
Settings
Select your preferred network type from the drop-down
menu:
Auto
- The modem will automatically select the modem type
depending on the network it is connected to.
3G Only
- The modem will only connect to 3G networks.
2G Only
- The modem will only connect to 2G networks.
If you wish to change the network type, select your new
network type and click
Change
to effect the change.
Re-enter the new PIN code.
Click
Apply
to apply the changes.
Information:
Network:
This section displays information about your 2G or 3G modem connection.