User Guide
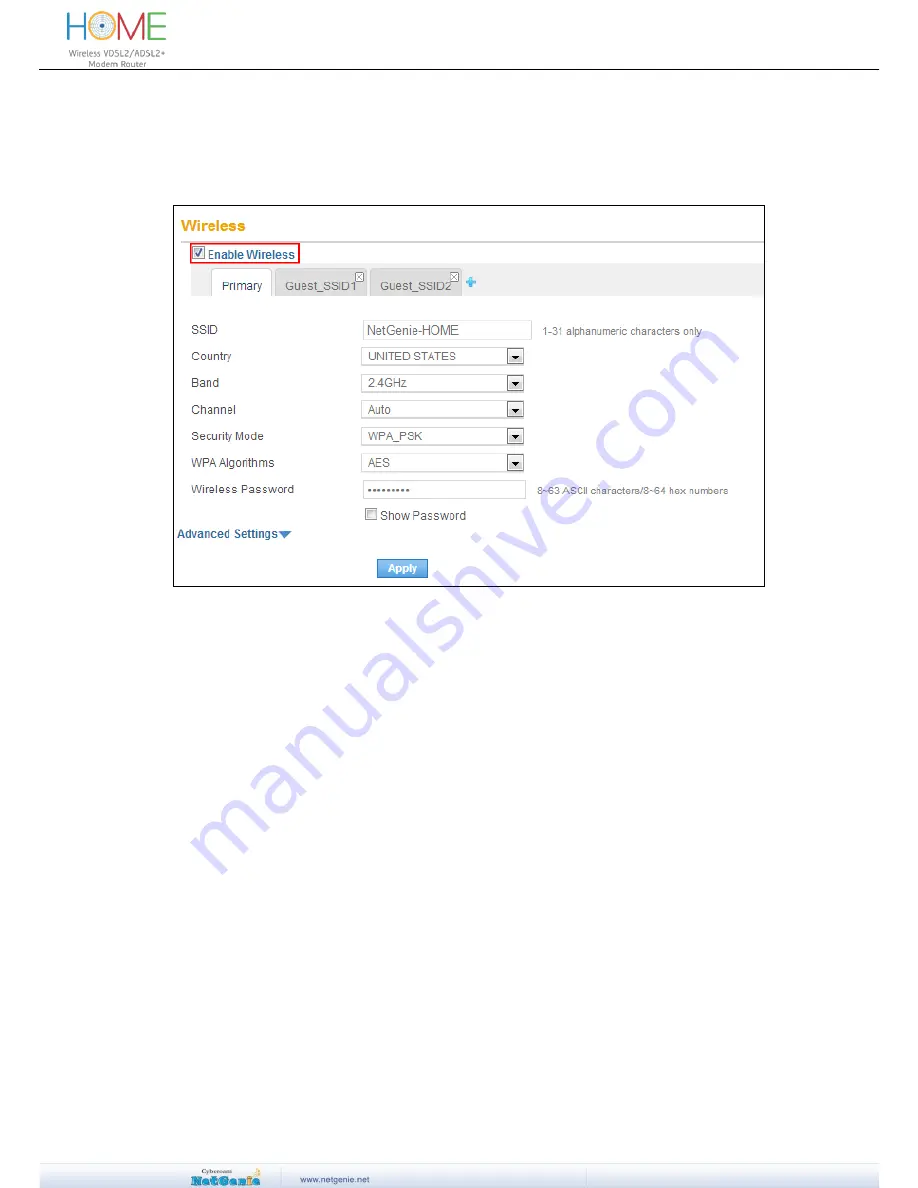
in your NetGenie appliance. If it does not, then follow the given steps:
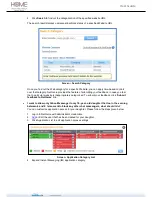
1. Log in to NetGenie with administrator credentials.
2. Go to
Network Settings
Wireless
and select the checkbox “Enable Wireless” to
enable wireless connectivity in your NetGenie appliance.
3. Click
Apply
to save the changes.
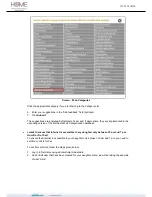
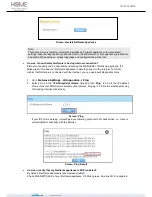
Screen- Enable NetGenie Wireless
How can I wirelessly connect my laptop to NetGenie?
To connect NetGenie wirelessly, you should have a wireless network adapter-enabled laptop.
When your laptop starts, it will automatically detect the wireless network (also called SSID)
named “NetGenie - XXXX” (XXXX- alpha numeric characters).”. Click the network icon in your
machine's system tray (bottom-right of your screen) and s
elect “NetGenie - XXXX”. After selecting
“NetGenie - XXXX”, you will be asked to enter the exact Security/Pass Key printed on the sticker
at the bottom of your appliance. This will connect you to the NetGenie appliance over Wi-Fi.
NetGenie also supports push button WPS to ensure easy and secure wireless network. Push the
WPS button on the backside of the appliance. WPS automatically configures the network name
(SSID) and WPA security key for your laptop when it joins the network, discarding the need to
manually enter the SSID and Pass Key. Since the security keys or passphrases are randomly
generated, the network remains secured.
Can I insert my telephone cable directly to my NetGenie appliance to access Internet?
Yes, you need to connect your telephone cable (RJ 11)
into NetGenie socket labeled as “DSL”.

