


Crestron
UPX-2
Universal Presentation Processor
If a project is running, the SETUP MENU can be accessed using one of three
methods:
Via Touch Screen
1. At unit startup, when the “Project Loading” progress bar and time
countdown is displayed, press and hold your finger on the touchpanel
display until the text “Loading Setup Screen” is displayed.
2. Press
the
SETUP
button to open the SETUP MENU. The SETUP MENU
will be displayed in the center of the screen.
NOTE:
If the SETUP MENU is not displayed in the center of the screen,
refer to the note on page 26 for instructions on adjusting the display.
NOTE:
If the touchpanel is out of calibration, the calibration menu will be
displayed. Refer to “Configuring Touch Screens” on page 31 for
information on calibrating the touchpanel.
Via USB Keyboard
1. Attach a USB keyboard as shown on page v.
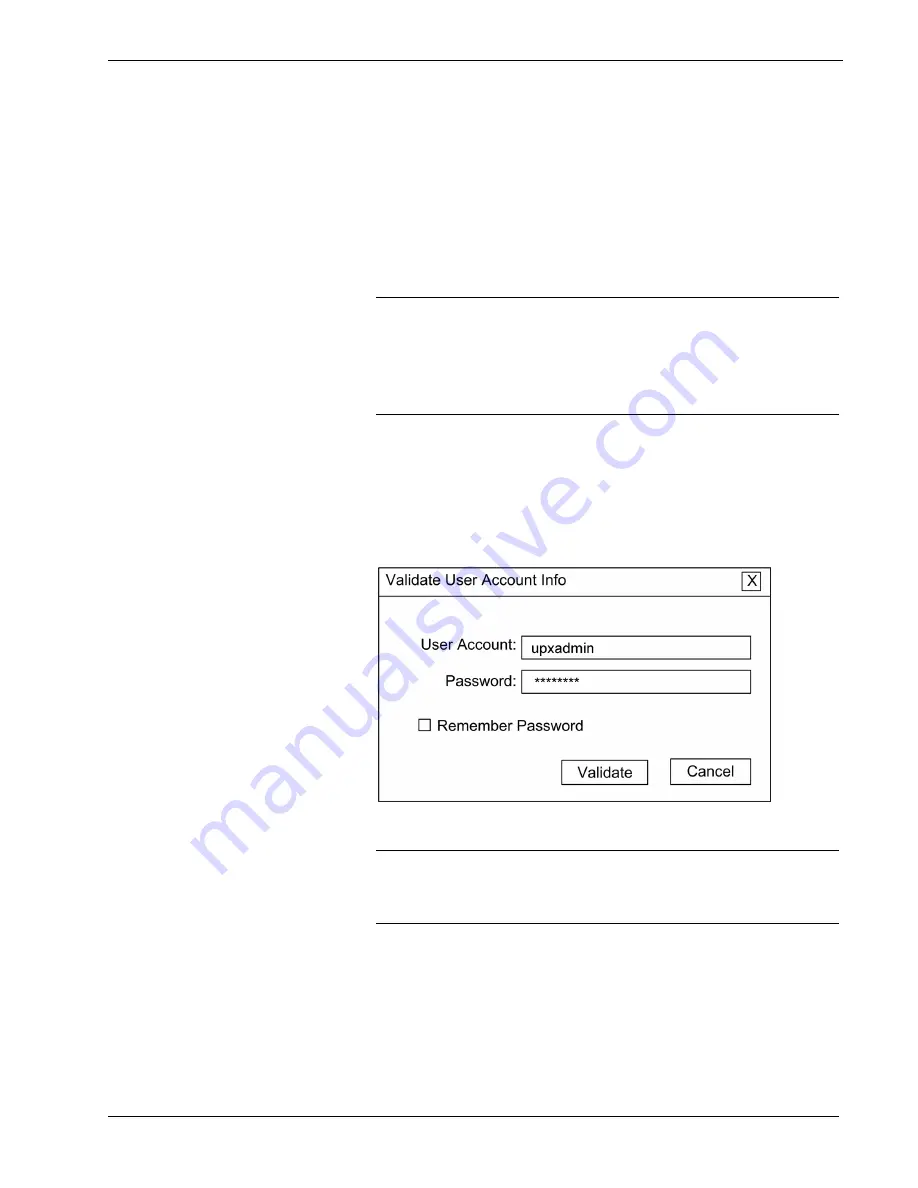
2. Open the “Validate User Account Info” window (shown below) by pressing
Ctrl+Alt+Shift
on the keyboard.
“Validate User Account Info” Window
3. Enter the user account name, and password and click
Validate
.
NOTE:
The default account name is
upxadmin
and the default password is
upxadmin
. The password is case sensitive. After logging in, the account
name and password can be changed from the “Security” window. Refer to
“Security” on page 27 for more information.
4. When the “UPX Debug Output” window
appears (shown in the following
diagram), select
Project | Enter Setup Mode
to enter the SETUP MENU
(shown on page 26). The SETUP MENU will be displayed in the center of
the screen.
24
¥
Universal Presentation Processor: UPX-2
Operations Guide – DOC. 6276B


