58
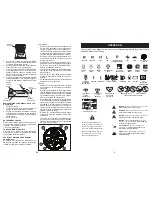
LIMPIEZA DE LA REJILLA DE AIRE
La rejilla de aire debe mantenerse sin mugre y
paja para evitar el daño al motor debido al sobre-
calentamiento. Límpiela con un cepillo de alambre
o con aire comprimido para re mov er la mugre y
las fibras de goma secas, pegadas.
FILTRO DE COMBUSTIBLE EN LINEA
El filtro de combustible debe cambiarse una vez
cada temporada. Si el filtro de combustible se
tapona, obstruyendo el flujo del combustible hacia
el carburador, es necesario cambiarlo.
1. Con el motor frío, remueva el filtro y tapone
las secciones de la línea de combustible.
2. Ponga el filtro de combustible nuevo en su
posición en la línea de combustible con la
flecha señalando hacia el car bu ra dor.
3. Asegúrese de que no hayan fugas en la
línea del combustible y que las grapas estén
colocadas en forma adecuada.
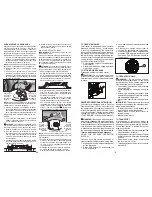
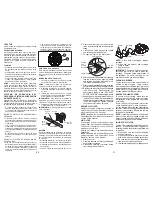
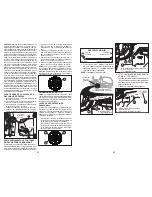
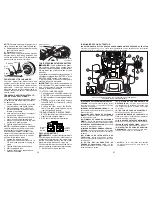
Manilla
Cubierta
Cartucho
Prefiltro de
Espuma
FILTRO DE AIRE
Su equipo no funcionará correctamente si el
filtro de aire está sucio. Cada 25 horas de func-
ionamiento o en cada temporada, reemplace el
pre limpiador; y el cartucho donde viene el papel
[
service paper cartridge]
reemplácelo cada 100
horas de operación o en cada temporada, según
el momento en el que primero ello sea necesario.
Lo que ocurre con mayor probabilidad es que el
limpiador del servicio de aire esté sucio.
NOTA:
Si es necesario, retire las cubiertas de
panel inferiores utilizando los pasos de la sec-
ción "Extracción de la cubierta del tablero inferior
izquierdo" de este manual.
1. Quite la cubierta.
2. Con mucho cuidado, quite el cartucho del filtro
de aire y el pre limpiador de la base.
3. Limpie la base con mucho cuidado para evitar
que caiga ninguna partícula en el carburador.
NOTA:
Si el cartucho está muy sucio o dañado,
reemplácelo.
4. Coloque firmemente en la base el nuevo pre
limpiador y el nuevo cartucho.
5. Cierre la cubierta.
IMPORTANTE
: Para limpiar el cartucho no se
pueden usar solventes derivados del petróleo,
como el keroseno, porque pueden deteriorar el
cartucho. No engrase el cartucho; ni use aire a
presión para limpiarlo.
FILTRO DE ACEITE DEL MOTOR
Cambie el filtro de aceite del motor cada tempo-
rada o vez por medio que cambie el aceite, si el
tractor se usa más de 100 horas en un año.
NOTA:
Si es necesario, retire las cubiertas de
panel inferiores utilizando los pasos de la sec-
ción "Extracción de la cubierta del tablero inferior
izquierdo" de este manual.
SISTEMA DE ENFRIAMIENTO DE AIRE
Para asegurar un enfriamiento adecuado,
asegúrese que la rejilla del césped, las aletas
de enfriamiento, y otras superficies ex ter nas del
motor se mantengan limpias en todo momento.
Cada 100 horas de operación (más a menudo
bajo condiciones extremadamente polvorosas
o sucias), remueva la caja del ven ti la dor y otras
tapas de enfriamiento. Limpie las aletas de en-
fria mien to y las superficies externas, según sea
necesario. Ase gú re se que se vuelvan a instalar
las tapas de enfriamiento.
AVISO
: Si se opera la máquina con una rejilla
del césped bloqueada, sucia, o con las aletas
de enfriamiento taponadas, y/o las tapas de
enfriamiento removidas se producirá daño en el
motor debido al calentamiento excesivo.
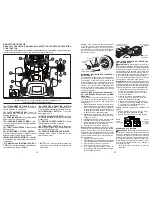
5.
Quite el casquillo de la guarnición inferior de
la válvula de desagüe e instale el tubo de
desagüe sobre la guarnición.
6.
Abra la válvula de desagüe empujando hacia
dentro y dando vuelta a la izquierda.
7. Para abrirse, tire hacia fuera la válvula de
desagüe.
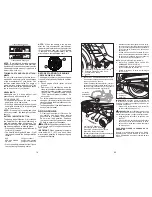
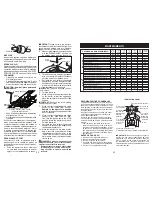
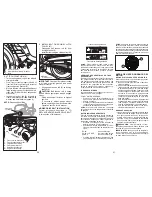
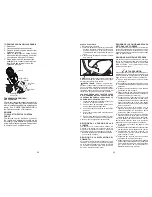
02463
Posición
cerrada y
bloqueada
Válvula de desagüe del aceite
Casquillo
Tubo de
desagüe
8. Después de que el aceite haya drenado
total-mente, cerrar y bloquee la válvula de
desagüe empujando hacia dentro y dando
vuelta en sentido de las agujas de un reloj
hasta que la clavija está en la posición blo-
queada según lo mostrado.
9. Remueva el tubo de desagüe y substituya
el casquillo sobre la guarnición inferior de la
válvula de desagüe.
10. Vuelva a llenar el motor con aceite a través
del tubo de la varilla indicadora de nivel
para relleno del aceite. Vacíelo lentamente.
No lo llene demasiado. Para la capacidad
aproxi ma da vea las “Especificaciones del
Producto” sección de este manual.
11. Use un medidor en la tapa/varilla indicadora
del nivel para relleno del aceite para revisar
el nivel. Mantenga el aceite en la línea de
lleno (FULL) en la varilla indicadora de nivel.
Apriete la tapa en el tubo en forma segura
cuando termine.
19
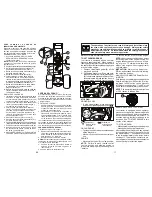
BLADE REMOVAL
1. Raise mower to highest position to allow
access to blades.
NOTE:
Protect your hands with gloves and/
or wrap blade with heavy cloth.
2. Remove blade bolt by turning coun ter-
clock wise.
3. Install new blade with stamped "GRASS
SIDE" facing the ground.
IMPORTANT:
To ensure proper as sem bly,
center hole in blade must align with star on
mandrel assembly.
4. Install and tighten blade bolt securely
(45-55 Ft. Lbs./62-75 Nm).
IMPORTANT
: Special blade bolt is heat
treated.
TRACTOR
Always observe safety rules when per form-
ing any main te nance.
BRAKE OPERATION
If tractor requires more than 5 feet (1,5 m)
to stop at highest speed in high est gear on
a level, dry concrete or paved surface, then
brake must be serviced. (See “TO CHECK
BRAKE” in the Ser vice and Ad just ments
section of this manual).
TIRES
• Maintain proper air pressure in all tires
(See the side of tires for proper PSI.)
• Keep tires free of gasoline, oil, or insect
control chemi cals which can harm rubber.
• Avoid stumps, stones, deep ruts, sharp
objects and other hazards that may cause
tire damage.
NOTE:
To seal tire punctures and pre vent
flat tires due to slow leaks, tire sealant may
be purchased from your local parts dealer.
Tire sealant also pre vents tire dry rot and
corrosion.
BLADE CARE
For best results mower blades must be sharp.
Re place worn, bent or damaged blades.
CAUTION:
Use only a replacement blade
approved by the manufacturer of your tractor.
Using a blade not approved by the manu-
facturer of your tractor is hazardous, could
damage your tractor and void your warranty.
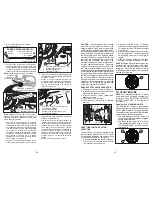
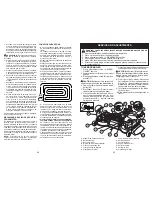
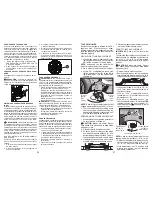
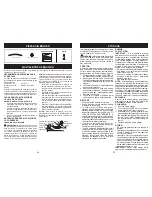
Blade
Blade Bolt
(Special)
Center Hole
Star
Mandrel
Assembly
OPERATOR PRESENCE SYS TEM
AND REVERSE OPERATION SYSTEM
(ROS)
Ensure operator presence and reverse
operation sys tems are work ing properly. If
your tractor does not function as described,
repair the problem immediately.
• The engine should not start unless the
parking brake is engaged, and the attach-
ment clutch con trol is in the dis en gaged
position.
CHECK OPERATOR PRESENCE SYSTEM
• While the engine is running, any attempt
by the op er a tor to leave the seat without
first setting the parking brake should shut
off the engine.
• With the engine running, the parking
brake engaged, and the at tach ment clutch
engaged, any attempt by the operator to
leave the seat should shut off the attach-
ment clutch.
• The attachment clutch should never oper-
ate unless the operator is in the seat.
CHECK REVERSE OPERATION (ROS)
SYSTEM
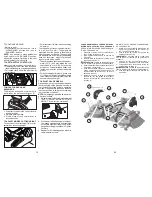
• With the engine running, the SmartSwitch
Ignition (SSI) button (F) solid green, and
the attachment clutch engaged any at-
tempt by the operator to shift in reverse
will disengage the attachment clutch.
• With the engine running, the SmartSwitch
Ignition (SSI) button (F) solid green, and
the Reverse Operation System (ROS)
button (G) lit, any attempt by the operator
to shift in reverse should NOT disengage
the attachment clutch.
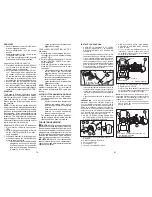
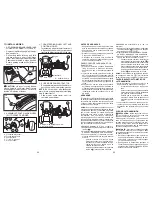
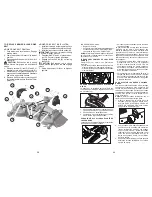
F
G
BATTERY
Your tractor has a battery charging sys tem
which is suf fi cient for normal use. How ev er,
periodic charging of the bat tery with an au-
tomotive charger will ex tend its life.

