8
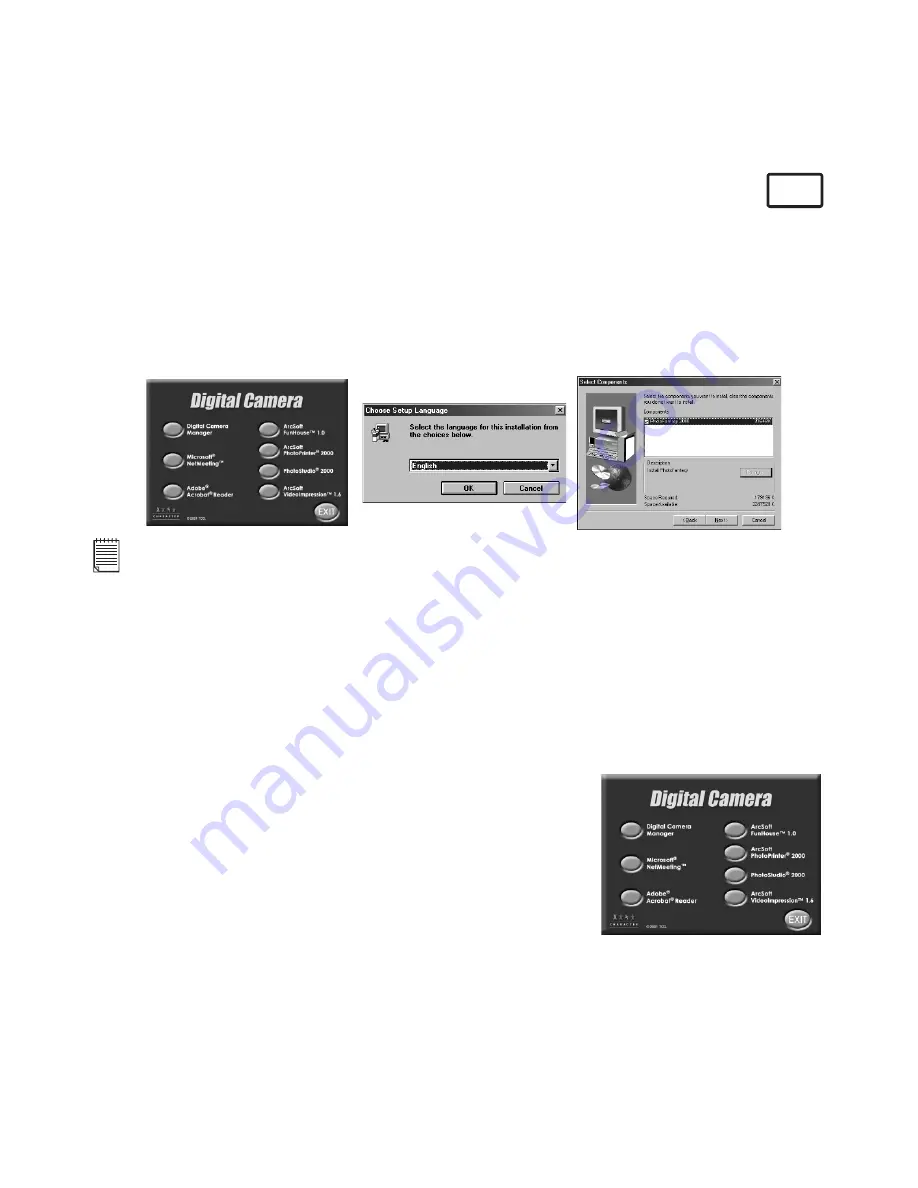
5.2.1 How to Install ArcSoft® Software
PC
1. Re-insert the CD-ROM disc into the CD-ROM drive and close the CD-ROM drawer.
2. An installation wizard will automatically launch.
3. Click the “ArcSoft® Software” icon.
4. Select the language for the installation and click “OK”.
5. Follow the on-screen prompts.
6. Select the software you want or you do not want installed by clicking on the tick boxes
next to the software title. Click “Next >” to continue.
7. Follow the instructions presented on the screen to complete the installation.
Note:
Don’t worry if you made a mistake and want to add in ArcSoft® titles you did not tick.
Re-insert the CD-ROM and follow steps 1 - 6 ticking only the software you want to add.
5.3 How to install Microsoft® NetMeeting™
NetMeeting™ provides the most complete conferencing solution for the Internet and
corporate intranet. Powerful features let you communicate with both audio and video,
collaborate on virtually any Windows-based application, exchange graphics on an electronic
whiteboard, transfer les, use the text-based chat program, and much more. Using your
PC and the Internet, you can now hold face-to-face conversations with friends and family
around the world.
To install the Microsoft® NetMeeting™:
1. Insert the CD-ROM disc into the CD-ROM drive and close
the CD-ROM drawer.
2. An installation wizard will automatically launch.
3. Click the “Microsoft® NetMeeting™” icon.
4. Follow the instructions presented on the screen to
complete the installation.
5. You will have a choice during installation to place a desktop
icon on your desktop for easy access directly to the
software.


