12
START-UP PROCESS
I
t’s now time to start your Water Witch. Complete the following process to test your unit
and confirm all components are operating correctly:
STEP 1:
Ensure the project is filled to the required water level.
STEP 2:
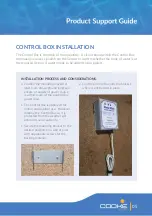
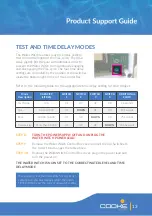
Ensure the sensor and solenoid plugs are connected to the correct ports
of the Control Box (Sensor on the left and Solenoid on the right).
STEP 3:
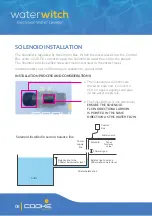
Turn the power and water supplies on and ensure the solenoid flow
directional arrow is pointing in the same direction as the water flow.
STEP 4:
Lift the Sensor from the balance line and hold it upside down to simulate
full water level. The ON and SENSE lights should flash in unison every
2-4 seconds.
STEP 5:
Turn the Sensor around the right way up to simulate low water level. The
ON light should continue to flash every 2-4 seconds and the FILL light
should be solid. The Solenoid should also open and add water to the project.
STEP 6:
Repeat steps 4 & 5 a few times to confirm the unit turns on and
off correctly.
STEP 7:
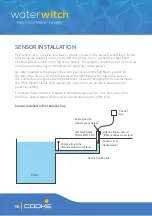
Attach the sensor end cap to the sensor balance line and hold the sensor
cable while you loosen the cable gland. Slowly lower the Sensor until the
water flow stops and the ON and SENSE lights flash every 2-4 seconds.
Re-tighten the cable gland to set the sensor level.
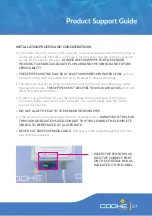
THE SENSOR IS NOW SET AT THE CORRECT LEVEL. COMPLETE STEPS 8-10
ON THE FOLLOWING PAGE TO SET THE CORRECT TIME DELAY MODE.


