Paging Interface Adapter
18
10.
Select
Save to Zone -
In order to reduce redundant key strokes, you can duplicate your original entry and then
edit the area that requires changing.
a.
Enter the zone you are copying in the first blank.
b.
Enter the ending zone you want to program.
Ie.. Save to: 2 to 32. This will copy all data from zone 2 to 32.
c.
The screen will refresh and display Zone 32 (the last zone number
you entered.
d. Select Save to Zone
11.
Editing Default file using
FIND ZONE
a. In the box next to
Fine Zone
, enter the number of the contact you want
to edit.
12. Select
Fine Zone
.
13. The zone information for the zone you entered will appear. You can now make
changes.
14. Editing Default file using
Prev or Next
a. In the box next to
Fine Zone
, enter the number of the contact you want
to edit.
b. Select
Fine Zone
.
c. The zone information for the zone you entered will appear.
You can now make changes.
15. Select Next to display the next input to be programmed
a. Continue until all inputs have been programmed.
Non-Voltage Input (default)
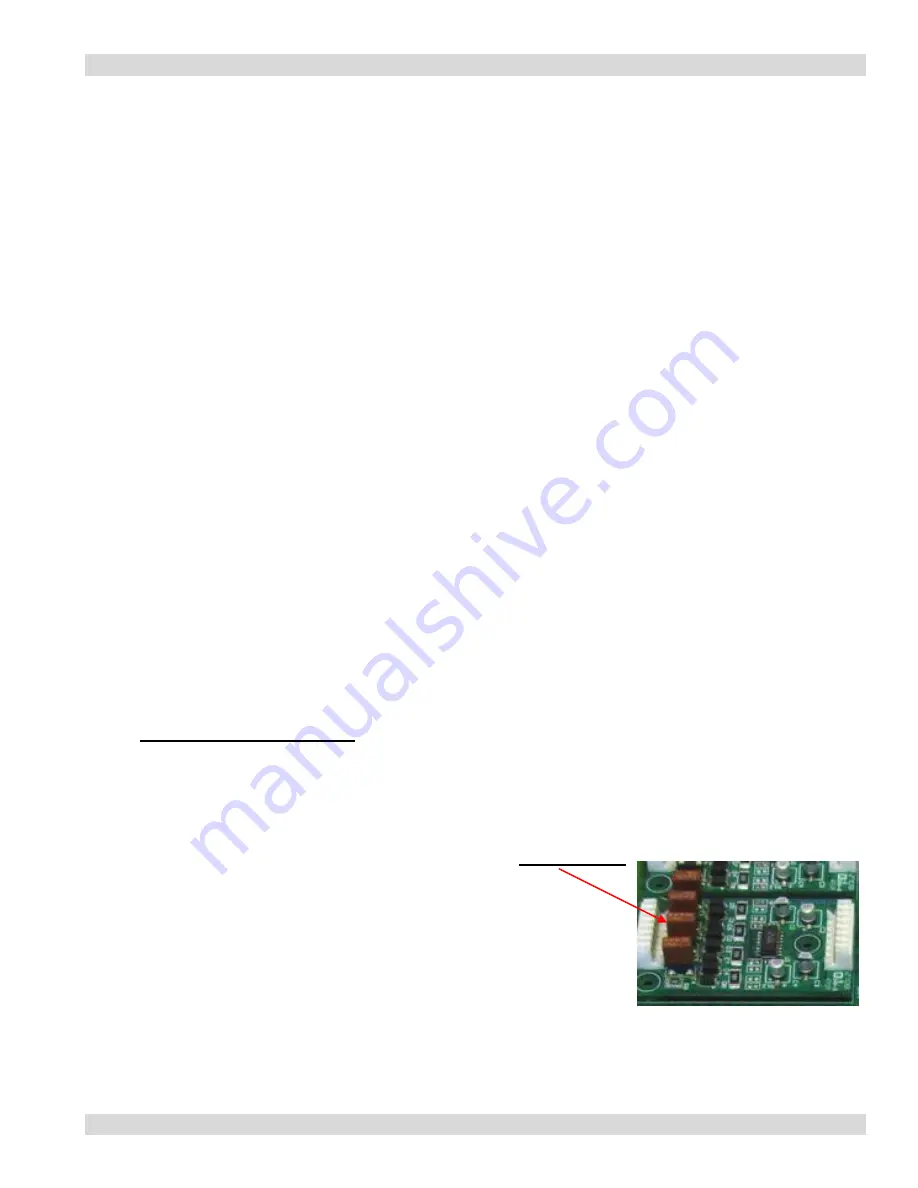
If the unit was ordered for Non-Voltage input, you must have the Fuses inserted and the black
Jumper attached to
JP3
for non-voltage input contacts 1-32 or
JP4
for non-voltage input contacts
33-64. JP3 and JP4 is located at the top(where the power connector is located) of the PIA on the
right and left side of the unit.
Start on Zone #1
Removal Fuse
1. Select the Input Alert Type.
a.
Dry N/O
b.
Dry N/C
2. Enter Room Numbers 1-9999 if applicable.
3. Enter the Active Message information.
Dry Contact Input Logic Card
4. Enter Reset Message Information.
with Fuses Installed.
Summary of Contents for PIA3264
Page 1: ...Paging Interface Adapter Model PIA3264 Revision 2 3 4 ...
Page 35: ...Paging Interface Adapter 35 Cornell Continue ...
Page 36: ...Paging Interface Adapter 36 Engineered Electronics ...
Page 37: ...Paging Interface Adapter 37 Heritage MedCall ...
Page 38: ...Paging Interface Adapter 38 ...


