


17
CAUTION
It may be necessary to remove the ECKGSR03
sprocket clip, or the sprocket entirely, to ensure good
engagement between the tool and the shaft
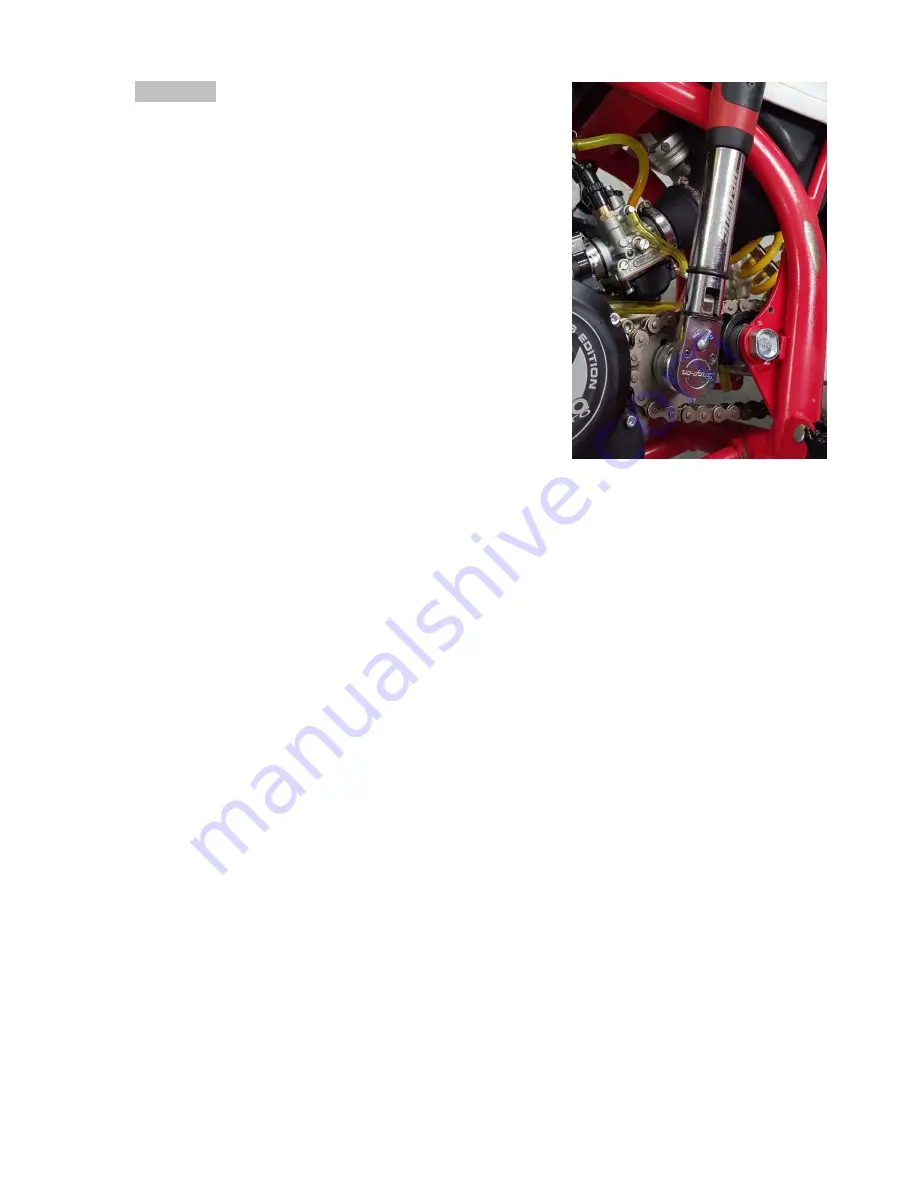
4. Verify with a torque wrench applied to the
Sprocket Socket that the V3 CFD does not
slip below 108 Nm (80 ft-lb) in either direction.
5. If there is slippage below 108 Nm (80 ft-lb)
remove the cotter pin and tighten the castle
nut on the CFD one more position (it is a left
hand thread nut so you must turn it counter
clockwise)
NOTE:
This V3 CFD torque checking method is
possible do to with the chain on. Just put the bike on
a stand so that the rear wheel can turn freely.
NOTE:
The CFD hubs can be removed with the
universal puller (MCMUTL70).
If it slips below the value, the CFD must be readjusted as per described in the
service section of this manual.
NOTE:
If the bike makes a whir, whir, whir, sound coming from the clutch side
engine cover it is very probable that the CFD has slipped enough that the brass
bushing has worn sufficiently to let the gear operate off center. Time to install a
CFD refresh kit (EKMU0033).
Summary of Contents for CX50P3
Page 23: ...23 This Page Intentionally Left Blank...
Page 24: ...24 Parts Engine Bottom End and Transmission...
Page 26: ...26 Parts Engine Clutch and Kick Lever...
Page 31: ...31 This page left intentionally blank...
Page 32: ...32 Parts Forks Triple Clamps...
Page 34: ...34 Parts Forks Leg Assembly...