
O P E R A T I N G M A N U A L
8 0 0 . 7 4 9 . 2 7 6 1
w w w . c o a c h c o m m . c o m
3 3
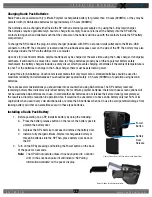
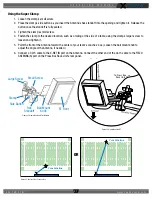
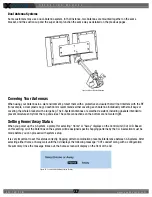
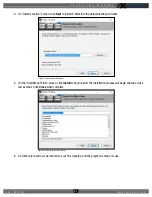
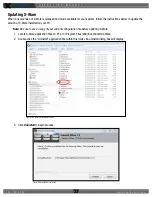
6. Connect a Cat 5 cable from your PC to the LAN port on the rear of the X-System CU (in the Press Box Rack Unit.)
See page 14 for a diagram of the CU rear and the location of the LAN port.
7. Complete the procedures detailed in the Game Day
Setup section on page 5 of this manual.
8. Double-click on the X-Ware icon on your desktop to
open X-Ware. X-Ware will open and connect to the CU,
and you will be able to view the real-time status of all
connected and paired X-System devices from X-Ware.
See page 34 for more information about X-Ware
Operation.
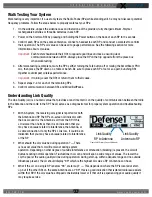
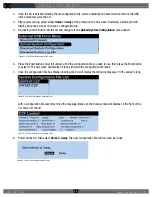
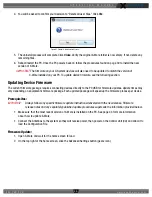
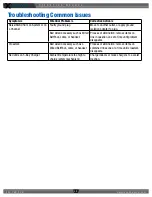
Note:
If X-Ware is not connected to your CU or if the CU
is not powered on, you will see the following message when you open the game day interface of
X-Ware: “Waiting for Control Unit.”
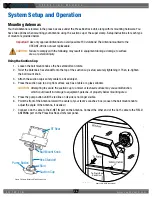
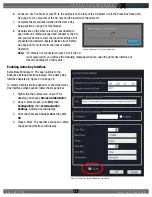
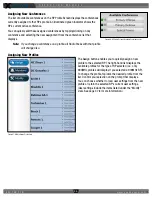
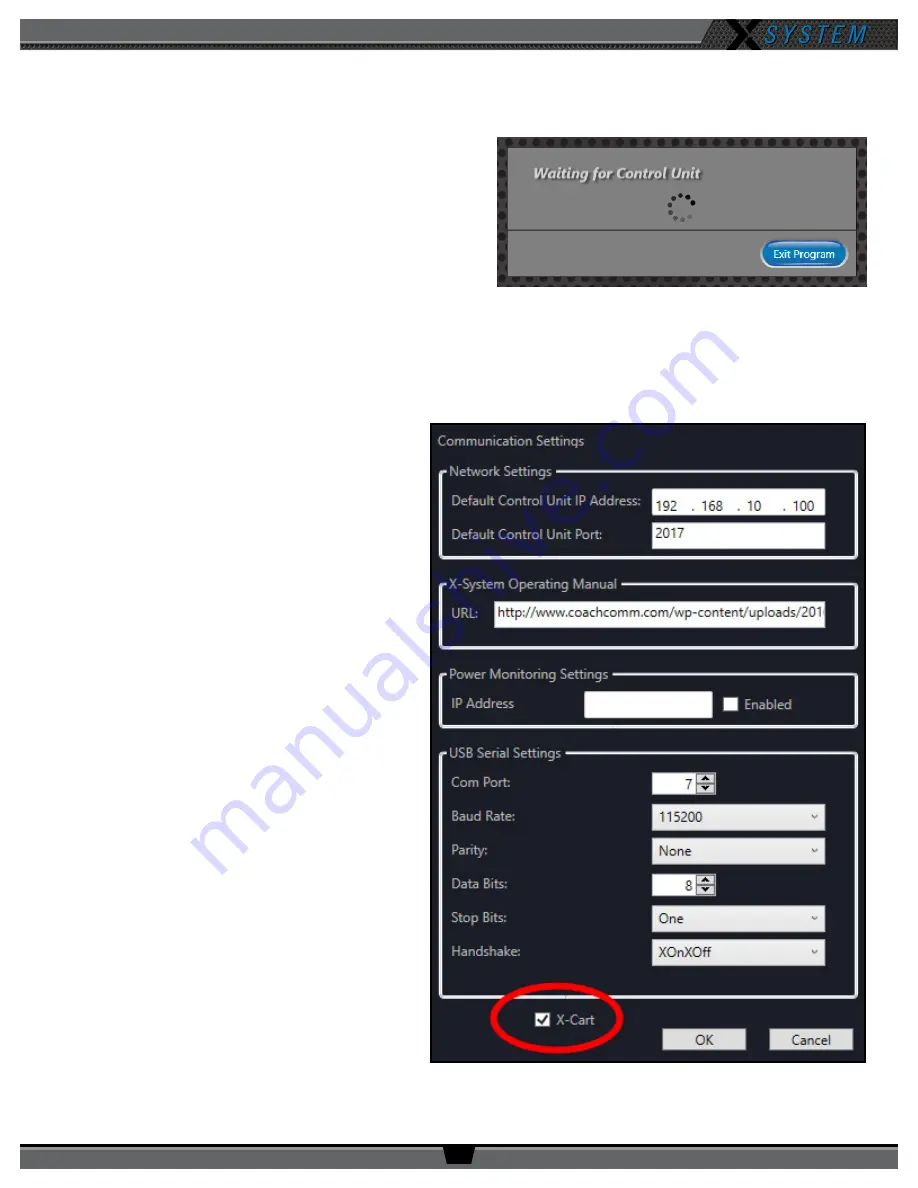
Enabling Game Day Interface
Sometimes Windows 10 PCs open X-Ware to the
Advanced Settings interface instead of the Game Day
Interface depicted in Figure 43 on page 34.
To modify X-Ware’s startup behavior to show the Game
Day Interface when opened, follow the steps below:
1. Right-click the X-Ware icon on your PC’s
desktop and choose
Run as Administrator
.
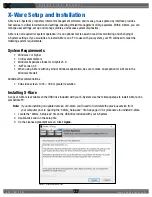
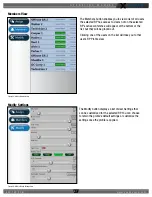
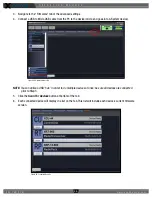
2. Once X-Ware is open, click
Edit,
then
Configuration
, then
Communication
Settings
. A dialog box will display.
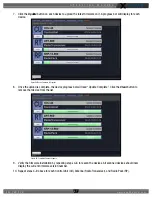
3. Click the checkbox beside
X-Cart
, then click
OK
.
4. Close X-Ware. The next time you open X-Ware,
the game day interface will display.
Figure 41: Waiting for Control Unit X-Ware Screen
Figure 42: Checkbox to Enable X-Ware Game Day Interface


